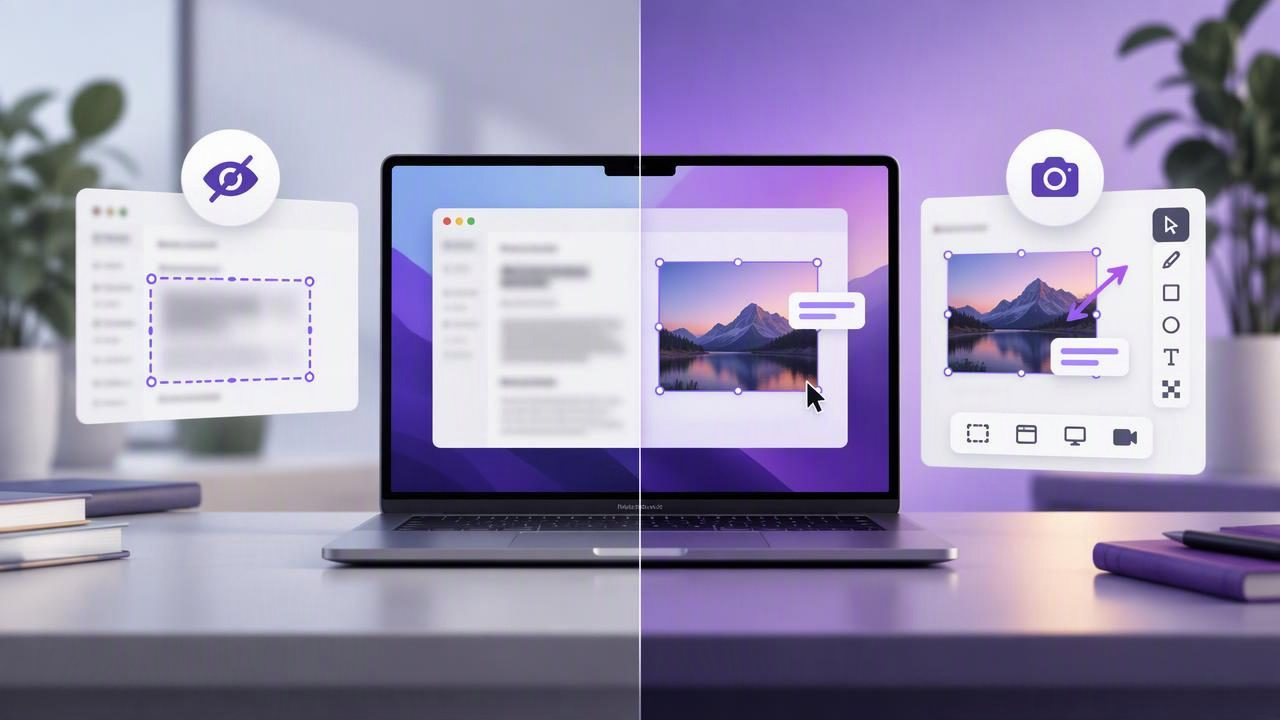
When a screenshot contains a customer name, email address, access token, or private message, blurring the right detail matters. But the best tool depends on more than its blur button. You may need to capture a region, explain a bug with arrows, prepare a tutorial, or share an image without sending every capture to a cloud service.
This guide compares a focused Mac screenshot blur tool with CleanShot X. Rather than treating them as identical products, it looks at their different strengths: targeted editing and straightforward sharing on one side, and a broader set of capture and productivity features on the other. The right choice is the one that matches your regular workflow and privacy requirements.
What Does a Screenshot Blur Tool Need to Do?
A blur tool should help you hide sensitive information without obscuring the point of the image. That means it should make it easy to select the relevant area, apply a clear effect, inspect the result, and export or share the finished screenshot. Some tools offer blur, while others also provide pixelation or solid cover shapes. Each option has a different visual result.
- Blur softens the selected area. It can suit incidental details, but a weak effect may leave text recognizable.
- Pixelation breaks the area into blocks. It is visually obvious, though the result depends on the strength of the effect and the original content.
- Opaque cover hides information with a solid shape. It is often the clearest choice when the content must not be readable.
Whatever method you choose, check the exported image at its actual size. Do not assume that a small preview proves a password, email, or other private detail has been concealed. For highly sensitive data, remove the information or cover it completely rather than relying on a subtle blur.
Focused Blur Tool vs. CleanShot X: The Main Difference
A focused screenshot editor is designed to make a small number of common tasks quick: capture a region or display, add marks, hide details, then copy, save, or share. CleanShot X is a broader Mac capture utility with a larger collection of tools. Depending on the version and configuration, its feature set can include multiple capture modes, annotation, screen recording, scrolling capture, and cloud-related options.
That difference is more useful than asking which app has the “best blur.” If blur is one step in a frequent workflow, the surrounding steps matter: how quickly you can capture, whether the editor supports your annotations, where files go, and how much software complexity you want to manage.
| Consideration | Focused screenshot blur tool | CleanShot X |
|---|---|---|
| Typical emphasis | Capture, annotate, conceal, and export | A wider screenshot and screen-capture toolkit |
| Annotation needs | Often covers core marks such as arrows, shapes, text, blur, or steps | Offers annotation alongside its broader capture workflow |
| Advanced capture | May prioritize region and full-display captures | May suit workflows needing additional capture modes and utilities |
| Sharing and storage | Depends on the app; check whether sharing is optional and where files are stored | Review current cloud features, settings, and plan details |
| Best fit | People who want a direct, repeatable screenshot-editing flow | People who will use several capture and productivity features |
Feature availability and licensing can change, so check each product’s current documentation before buying. The table describes broad product positioning, not a promise that every feature is available in every version or plan.
When a Focused Screenshot Blur Tool Makes Sense
A dedicated editor can be a good fit when most of your visual communication starts with a still image. For example, a support specialist may capture a settings panel, blur a customer email, add an arrow to the relevant control, and paste the result into a ticket. A designer might mark a spacing issue with a shape and a short note, then send the image to a teammate.
In these cases, a simple sequence is valuable. You do not necessarily need screen recording, scrolling capture, or a large collection of utilities. A smaller tool can reduce the number of decisions between capture and delivery. That is not automatically better for everyone; it is useful when the extra features in a larger app would rarely be used.
Look for a workflow that supports:
- Region capture for focused bug reports and feedback.
- Full-screen capture when surrounding context, menus, or layout matter.
- Useful annotations, such as arrows, shapes, text, and numbered steps.
- Convenient output, including copying, saving, or dragging the finished image where it is needed.
- Clear privacy behavior, especially around automatic uploads, history, and sharing.
When CleanShot X May Be the Better Choice
CleanShot X may be a stronger match if you want more than screenshot annotation in a single Mac utility. Someone who regularly captures scrolling pages, records the screen, or uses additional capture conveniences may benefit from having those functions close at hand. A larger toolkit can reduce app switching when its features are part of everyday work.
It can also make sense if your existing process already depends on its particular controls or sharing setup. Switching tools has a cost: you need to rebuild habits, check output settings, and make sure collaborators can still use the files you send. If your current workflow is reliable, a different blur tool needs to offer a meaningful improvement—not merely a shorter feature list.
Before choosing, test the tasks you actually perform. Capture a real example, apply a blur or cover, add your usual marks, and export it. If you also record tutorials or capture long pages, test those tasks separately. A feature list is useful for narrowing options, but a short hands-on trial reveals whether the workflow feels natural.
Privacy: Check the Whole Screenshot Workflow
Privacy is not just a question of whether an app offers a blur button. Consider where the original capture and edited image are stored, whether recent history stays on your Mac, whether sharing is automatic or user-initiated, and what happens when you copy or export a file. Cloud features can be useful, but you should understand when they are used and what is uploaded.
For sensitive work, make privacy part of your routine:
- Capture only the area needed to explain the issue.
- Remove or fully cover credentials and personal information.
- Inspect the final image before copying or sending it.
- Choose a destination deliberately, especially when a cloud link is involved.
- Follow your organization’s rules for customer or regulated data.
A local-first workflow can be appealing when you want captures to remain on your Mac unless you decide to share them. It does not replace careful handling, but it makes the path from capture to upload more deliberate. Confirm the specific app’s storage and sharing behavior rather than inferring it from its marketing language.
How to Choose: A Practical Decision Checklist
Use these questions to compare a focused Mac screenshot blur tool with CleanShot X—or with any alternative—against the work you do every week:
- Do you mainly edit still screenshots? If so, prioritize quick region capture, reliable blur or cover options, and the annotations you use most.
- Do you need advanced capture modes? If scrolling capture, recording, or other utilities are routine, a broader product may be worth the added scope.
- How do you deliver images? Check copy, save, drag-and-drop, and link-sharing options against the apps your team already uses.
- Where should captures live? Review local history, automatic uploads, cloud settings, and retention controls.
- How is the license priced? Compare the current purchase terms, included updates, supported Macs, and any optional services. A subscription is not automatically a poor value; it depends on how much you use.
- Is the app compatible with your Mac? Verify macOS requirements and test performance on the machine you use for work.
For a fair comparison, use the same sample screenshot in each app. Note the time from capture to finished image, whether you can conceal data confidently, and whether the export fits your needs. This small test is more informative than choosing by brand recognition or counting features.
Bottom Line
The choice between a screenshot blur tool and CleanShot X is really a choice between a focused editing flow and a wider capture toolkit. If your priorities are region or full-screen capture, clear annotation, dependable concealment, and straightforward output, a lean screenshot editor may be enough. If you regularly use a range of capture and recording features, CleanShot X may justify its broader scope.
Start with your most common task, then weigh convenience, privacy, compatibility, and total cost. For Mac users who prefer a focused, local-first approach with optional Google Drive sharing, Snip Halo is one example to evaluate alongside other tools. Whichever app you choose, make the final image easy to understand—and verify that private details are truly hidden before sharing.
