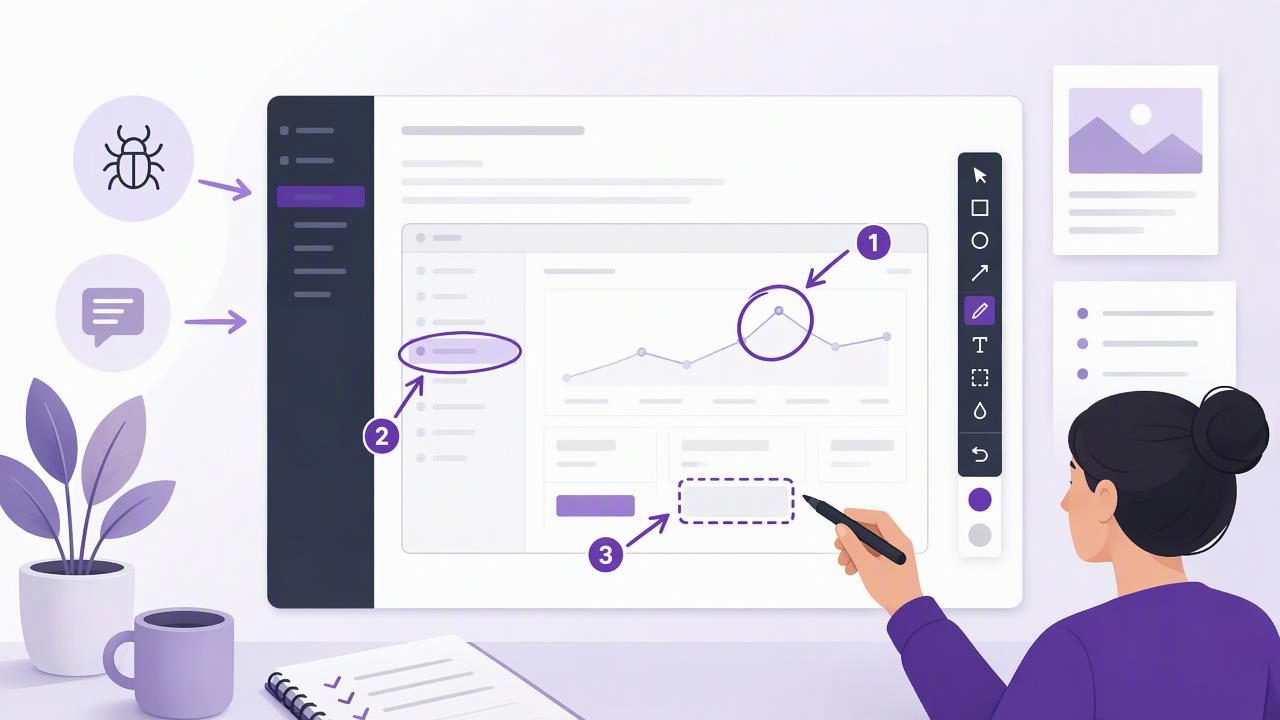
Technical writing is often treated as a discipline of words, but strong documentation depends just as much on visuals. A well-annotated screenshot can show a user where to click, explain an unfamiliar interface, identify a bug, or reduce a complicated process to a few easy steps. The right screenshot annotation tool guide for technical writers starts with one idea: screenshots should remove ambiguity, not create more of it.
Whether you write product documentation, knowledge-base articles, onboarding guides, release notes, internal procedures, or support responses, your screenshots need to be accurate, readable, and quick to produce. This guide explains what technical writers should look for in a screenshot annotation workflow, how to create better visuals, and which features matter most for documentation work on a Mac.
Why Screenshot Annotation Matters in Technical Documentation
Written instructions can be interpreted in different ways. Even a direct sentence such as “Select the settings icon in the top-right corner” can leave readers searching through a crowded interface. An annotated image gives them immediate visual confirmation.
Screenshot annotation improves technical communication because it can:
- Point readers to the exact control, menu, field, or status indicator they need.
- Make long procedures easier to scan and follow.
- Reduce support tickets caused by unclear instructions.
- Help developers, designers, and QA teams discuss interface issues precisely.
- Protect sensitive information before an image is shared externally.
- Make documentation more accessible for visual learners and non-native speakers.
The goal is not to decorate every screenshot. It is to direct attention. A useful annotation makes the intended action obvious within seconds.
Core Features in a Screenshot Annotation Tool
Technical writers do not always need advanced image editing software. They need fast, dependable tools that support repeatable documentation workflows. When evaluating a screenshot annotation tool, prioritize the features that help you capture, mark up, export, and reuse images with minimal friction.
Region Capture and Full-Screen Capture
A good workflow begins with capturing the right area. Region capture lets you select a specific portion of the screen, such as a settings panel, dialog box, browser tab, or error message. This keeps screenshots focused and prevents unrelated interface elements from distracting the reader.
Full-screen capture is useful when context matters. For example, a troubleshooting guide may need to show the entire application window, a multi-panel dashboard, or the relationship between a menu and the content underneath it. Technical writers should be able to choose either capture mode quickly without interrupting their writing flow.
Arrows, Shapes, and Text
Arrows are one of the most valuable annotation tools because they tell readers exactly where to look. Use arrows for clickable buttons, small icons, toggles, and menu items. A simple rectangle or circle can highlight a larger area, such as an entire section of a configuration page.
Text labels are useful when the image needs clarification that the surrounding copy cannot provide. For example, a label can identify an optional setting, note a required value, or warn the reader not to change a particular field.
For consistency, use one visual language across a documentation set:
- Use arrows for actions the reader should take.
- Use rectangles or outlines for sections to review.
- Use circles sparingly for small controls.
- Use text labels only when the meaning is not otherwise clear.
- Use the same colors, line thicknesses, and font sizes throughout.
Numbered Step Markers
Numbered markers are especially valuable for procedures with multiple actions in a single screen. Instead of creating several nearly identical screenshots, you can show a sequence on one image: first select a tab, then enter a value, then click Save.
They work best when the accompanying text follows the same order. For example:
- Open Account Settings.
- Select Notifications.
- Enable the Email Alerts toggle.
- Click Save Changes.
The screenshot should show matching markers 1 through 4. This creates a strong connection between the written steps and the interface.
Blur and Redaction Controls
Technical writers frequently work with screenshots containing sensitive data: customer names, email addresses, API keys, internal URLs, account numbers, or unreleased product details. A blur tool helps conceal this information before an image is added to documentation or sent to a client.
However, blur is not always appropriate. If an image will be published publicly or includes highly sensitive information, crop it out whenever possible. For confidential credentials and private security data, use a solid opaque shape rather than a light blur. The key principle is simple: do not assume a partially obscured value is unreadable.
How to Create Documentation Screenshots That Readers Can Follow
Good screenshot annotation starts before you draw an arrow. Use a repeatable process so your visuals stay clean, useful, and consistent across articles.
1. Prepare the Screen Before Capturing
Close unrelated windows, hide personal notifications, and remove distracting browser tabs. If possible, use a test account with realistic but non-sensitive sample data. Set the interface to a reasonable zoom level so labels are large enough to read without making the screenshot unnecessarily large.
Before capturing, ask: What must the reader see to complete this step? Everything else is optional and may be a candidate for cropping.
2. Capture Only the Necessary Context
Too much context can make an image confusing, while too little context can make it hard to orient the reader. Capture the smallest area that still explains the action. For a button inside a modal, include the modal title and the nearby fields. For navigation instructions, include enough of the sidebar or header to show where the reader is.
This approach also keeps file sizes manageable and makes screenshots easier to place in a documentation platform.
3. Add One Clear Visual Message
Each screenshot should support one primary message. If the user needs to click a button, point to that button. If they need to compare two values, highlight those values. Avoid combining arrows, outlines, labels, and numbered markers unless each annotation has a clear purpose.
When every element is highlighted, nothing is highlighted.
A clean screenshot allows readers to identify the relevant control without needing to decode a busy overlay.
4. Match Image Annotations to the Written Copy
Documentation becomes harder to follow when the text says “Click the blue button” but the screenshot uses a red arrow and the interface has several blue buttons. Use exact control names in your instructions, and ensure your screenshot identifies the same target.
For a more reliable workflow, draft the written step first, then add the annotation that proves or supports it. This reduces mismatches when interface copy changes during product updates.
5. Export in a Format That Fits the Destination
PNG is usually the best choice for interface screenshots because it preserves sharp text, icons, and lines. JPEG can reduce file size for photographic images, but it may make small interface text look soft. If your documentation platform automatically compresses uploads, begin with a crisp source image and test the published result.
Also consider how you will move images into your writing environment. A practical screenshot tool should let you copy an annotated capture to the clipboard, save it locally, or drag it directly into a documentation editor, support ticket, chat message, or project management tool.
Screenshot Annotation Use Cases for Technical Writers
| Use Case | Best Annotation Style | Key Goal |
|---|---|---|
| Product tutorial | Numbered markers and arrows | Show a sequence of actions clearly. |
| Bug report | Arrow, outline, and concise label | Identify the unexpected behavior or UI location. |
| Knowledge-base article | One arrow or shape per image | Support a specific written instruction. |
| Design review | Shapes, labels, and blur | Give precise visual feedback while protecting data. |
| Internal SOP | Numbered steps and callouts | Help team members complete repeatable processes. |
Choosing the Right Screenshot Tool for Your Workflow
There is no single best tool for every technical writer. The best option depends on whether you prioritize speed, editing depth, collaboration, cloud sharing, privacy, or pricing. Before choosing, compare tools based on the workflow you use most often rather than the longest possible feature list.
Consider these questions:
- Can you capture a region and full display without complex setup?
- Can you annotate immediately with arrows, shapes, text, blur, and numbered steps?
- Can you copy, save, or drag a finished image where it needs to go?
- Does the app keep recent captures available for quick reuse?
- Are screenshots stored locally by default, or automatically uploaded?
- Does it support your preferred sharing method when you need to send images externally?
- Is the pricing model appropriate for your budget and long-term use?
Some popular screenshot applications emphasize scrolling capture, recording, extensive cloud features, or team collaboration. Those capabilities can be useful, but they may be unnecessary for a writer who primarily needs clean static screenshots and fast annotations. A smaller tool with a focused workflow may be the better choice if it helps you document software without adding extra steps.
Build a Consistent Screenshot Style Guide
If you create documentation regularly, establish a lightweight visual style guide. It does not need to be complex. A one-page reference can improve consistency across your articles and make collaboration easier for other writers, support specialists, and product teams.
Your screenshot style guide can define:
- Standard screenshot dimensions or maximum width.
- Preferred capture mode for common article types.
- Arrow color, thickness, and direction.
- Rules for numbered markers and multi-step images.
- When to use blur, cropping, or opaque redaction.
- File naming conventions, such as
configure-email-alerts-step-2.png. - Accessibility requirements, including descriptive alt text.
Alt text is especially important. Do not simply write “screenshot of settings.” Describe the action or information the image conveys, such as: Notifications settings panel with the Email Alerts toggle highlighted.
Final Checklist Before Publishing an Annotated Screenshot
- Is the target control easy to identify immediately?
- Does the image match the text exactly?
- Have you removed or hidden sensitive information?
- Are labels readable at the published size?
- Have you avoided unnecessary annotations?
- Is the screenshot current for the version of the product being documented?
- Does the image include useful alt text?
A dependable screenshot annotation workflow helps technical writers turn complex software tasks into instructions readers can act on confidently. For Mac users who value local-first capture history, straightforward markup, and optional sharing through their own Google Drive, Snip Halo is one focused option to consider.
