A screenshot is often the fastest way to explain what words cannot. Whether you are reporting a software bug, documenting a process, reviewing a design, or helping a teammate find the right setting, a focused image can remove ambiguity in seconds. But a plain image is not always enough. People need to know where to look, what to click, and which details should stay private.
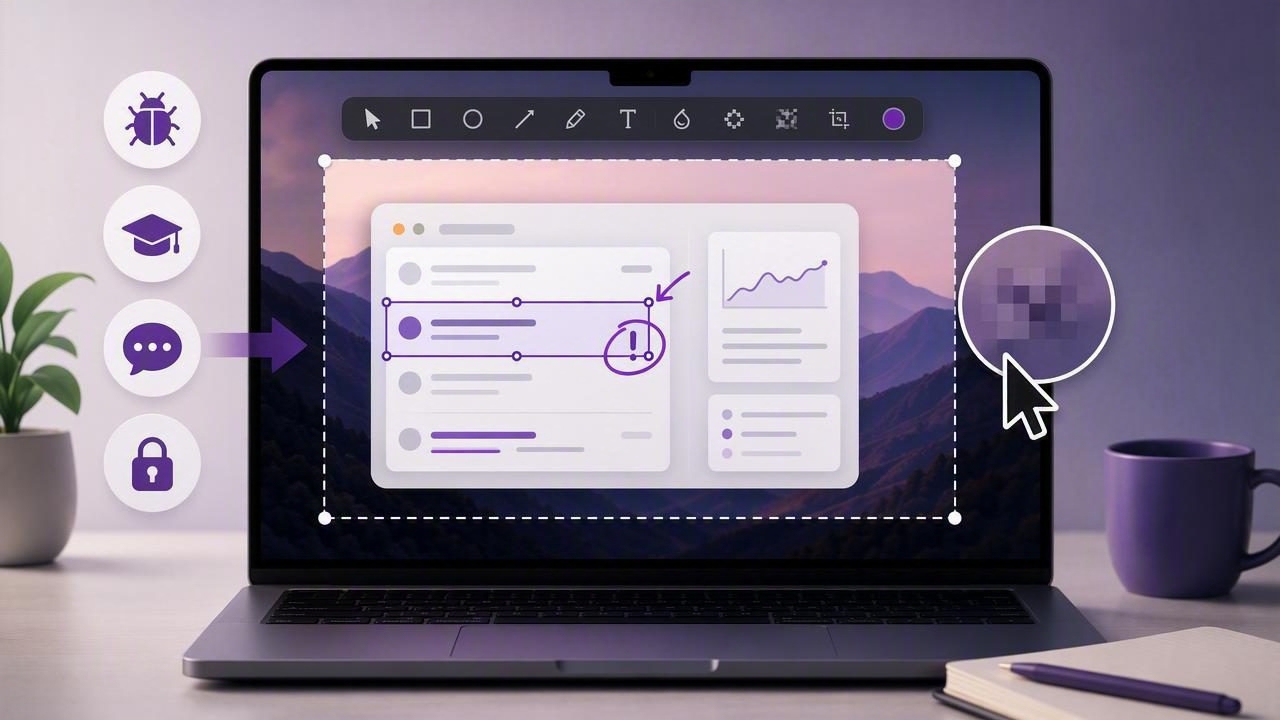
That is where a region capture app for editable annotations before export becomes valuable. Instead of taking a screenshot, saving it, opening a separate editor, and exporting another version, you can capture the exact area you need and annotate it immediately. Arrows, shapes, text, blur, and numbered steps turn a raw capture into a useful visual instruction before it ever leaves your Mac.
This guide explains what to look for in an annotation-first region capture workflow, how it supports common professional tasks, and how to choose a Mac screenshot tool that fits the way you communicate.
What Is Region Capture With Editable Annotations?
Region capture lets you select a specific rectangular area of your screen rather than capturing the entire display. It is ideal when you want to focus attention on a dialog box, browser section, error message, menu, dashboard widget, or small interface detail.
Editable annotations are the markup elements you can add before exporting, copying, saving, or sharing the image. Typical tools include:
- Arrows to direct attention to a button, field, or visual change.
- Rectangles and circles to frame relevant interface elements.
- Text labels to clarify context or add short instructions.
- Blur or redaction to hide passwords, account names, customer data, or private messages.
- Numbered step markers to show an ordered sequence of actions.
The key phrase is “before export.” When markup happens directly after capture, the screenshot remains part of one fast workflow. You do not need to hunt for the file, reopen it in Preview, use a design app for a simple arrow, or accidentally share the unedited original.
Why Annotating Before Export Matters
The difference between an unmarked screenshot and an annotated one can be substantial. A plain capture asks the recipient to interpret the image. An annotated capture gives them a guided visual path.
For example, imagine reporting a login issue to a developer. A full-screen image of a browser window may contain the relevant error, but it can also contain dozens of competing details. A tighter region capture with a red outline around the error, an arrow to the affected field, and blurred personal information tells the developer exactly what happened.
Editing before export also improves consistency. You can use the same colors, arrow style, and numbered steps across internal documentation or client feedback. Over time, people learn how to read your visuals quickly, which makes collaboration more efficient.
Benefits of an annotation-first workflow
- Capture only the relevant information and reduce visual clutter.
- Explain issues faster without long back-and-forth messages.
- Protect sensitive information before an image is copied or uploaded.
- Create clearer tutorials with visible action sequences.
- Keep screenshots useful without relying on a full image editor.
Common Use Cases for a Region Capture App
A good screenshot workflow is useful far beyond basic screen capture. The best use cases share one trait: someone needs to understand an interface, issue, or requested change quickly.
Bug reports and QA testing
Engineers and quality assurance teams need reproducible evidence. A region capture can isolate an unexpected button state, layout problem, validation message, or broken component. Add a numbered sequence to show the steps leading to the issue, then use text labels to identify the expected and actual behavior.
Useful rule: one screenshot should answer one question. If the image shows too many unrelated areas, capture a smaller region or use separate images.
Product and design feedback
Design reviews often stall because comments such as “move this up a little” are vague. An arrow, highlighted box, and concise label make feedback actionable. Mark the exact padding issue, alignment mismatch, or copy change directly on the relevant area rather than describing it in a long message.
Technical documentation and tutorials
Step-by-step instructions work better when readers can see each action. Numbered markers are especially useful for onboarding guides, help-center articles, internal standard operating procedures, and how-to posts. Capture each important interface region and label the controls in the order users should select them.
Customer support and remote assistance
Support teams can guide a customer to a setting without scheduling a screen-sharing call. A cropped image with one arrow and one label is often more helpful than a paragraph of navigation instructions. Before sending, blur email addresses, account balances, order IDs, or anything else that should not be exposed.
How to Build a Faster Mac Screenshot Workflow
The best region capture workflow should be deliberate but not slow. Use the following process to create clean, useful screenshots consistently.
- Prepare the screen. Close unrelated windows, remove notifications, and position the relevant content clearly.
- Capture the smallest useful region. Include enough context for the reader to recognize the interface, but avoid unnecessary surrounding content.
- Annotate with purpose. Use arrows for direction, shapes for emphasis, text for explanation, and numbered markers for sequence.
- Blur sensitive details first. Treat privacy as part of the editing process, not an afterthought.
- Review at normal viewing size. Make sure labels are readable and arrows point precisely to the intended control.
- Choose the right output action. Copy to the clipboard for chat, drag into an app for quick collaboration, save locally for records, or share through an approved service.
This sequence is simple, but it prevents common problems such as sending the wrong image, exposing private data, or creating screenshots that recipients cannot interpret.
Choosing the Right Annotation Tool for Each Markup Need
| Annotation | Best For | Practical Tip |
|---|---|---|
| Arrow | Pointing to one control or visual change | Keep arrows short and avoid crossing lines. |
| Rectangle or circle | Highlighting a group of related elements | Use one shape per concept whenever possible. |
| Text | Clarifying what the recipient should notice | Write brief, specific labels rather than paragraphs. |
| Blur | Hiding confidential or personally identifiable information | Check browser tabs, avatars, sidebars, and notification banners too. |
| Numbered marker | Showing ordered steps in a process | Use a logical sequence and limit each image to a manageable number of steps. |
Region Capture vs. Full-Screen Capture
Both capture modes are useful, but they solve different communication problems. Full-screen capture is better when context matters: a multi-window workspace, a presentation layout, an entire dashboard, or a visual comparison across applications. Region capture is better when precision matters.
For most bug reports, tutorials, and visual feedback, region capture has a practical advantage: the recipient immediately sees the relevant area. It also reduces the amount of private or distracting information that might appear in the image.
A simple decision framework is:
- Use region capture when the message concerns a specific control, error, interface component, or process step.
- Use full-screen capture when the relationship between multiple windows or areas provides essential context.
- Use a series of region captures when teaching a multi-step workflow.
Privacy Considerations Before You Export
Screenshots can reveal more than intended. Browser tabs may expose project names, menu bars can show account details, and a small notification can disclose a private conversation. A local-first screenshot workflow gives you an important opportunity: review and edit the image before it is sent anywhere.
Before exporting, check for:
- Email addresses, phone numbers, home addresses, and customer names.
- Passwords, API keys, access tokens, and recovery codes.
- Financial information, account balances, invoices, and order details.
- Private browser tabs, chat alerts, calendar events, and filenames.
- Internal project information that should not be visible externally.
Blur can be appropriate for low-risk visual concealment, but for highly sensitive data, consider recapturing the image with the information removed entirely. The safest screenshot is the one that never includes confidential content in the first place.
What to Look for in a Mac Screenshot App
Mac users have many screenshot app options, from lightweight capture utilities to larger tools with recording, hosting, and collaboration features. The right choice depends on whether you need a simple image workflow or a broader media platform.
If your priority is editable annotations before export, evaluate these practical criteria:
- Fast region selection: Can you capture a precise area without friction?
- Immediate markup: Are arrows, shapes, text, blur, and steps available right after capture?
- Flexible output: Can you copy, save, drag, or share the finished image easily?
- Local-first privacy: Does the app avoid automatic uploads and background recording unless you choose otherwise?
- Pricing clarity: Do you prefer a subscription, a free tool with limits, or one-time Mac software?
Some users need advanced recording, cloud libraries, or team administration. Others simply want a responsive capture-and-annotate tool that stays out of the way. For the latter group, a focused option such as Snip Halo can suit a local workflow with optional Google Drive sharing when needed.
Make Every Screenshot Easier to Understand
A screenshot should not merely prove that something exists. It should help someone take the next action. By using a region capture app with editable annotations before export, you can create visuals that are cleaner, safer, and easier to understand.
Capture the smallest relevant area, mark only what matters, blur private details, and choose an output method that fits the task. Those small habits can turn screenshots from passive images into effective tools for bug reporting, tutorials, product feedback, and everyday collaboration.
