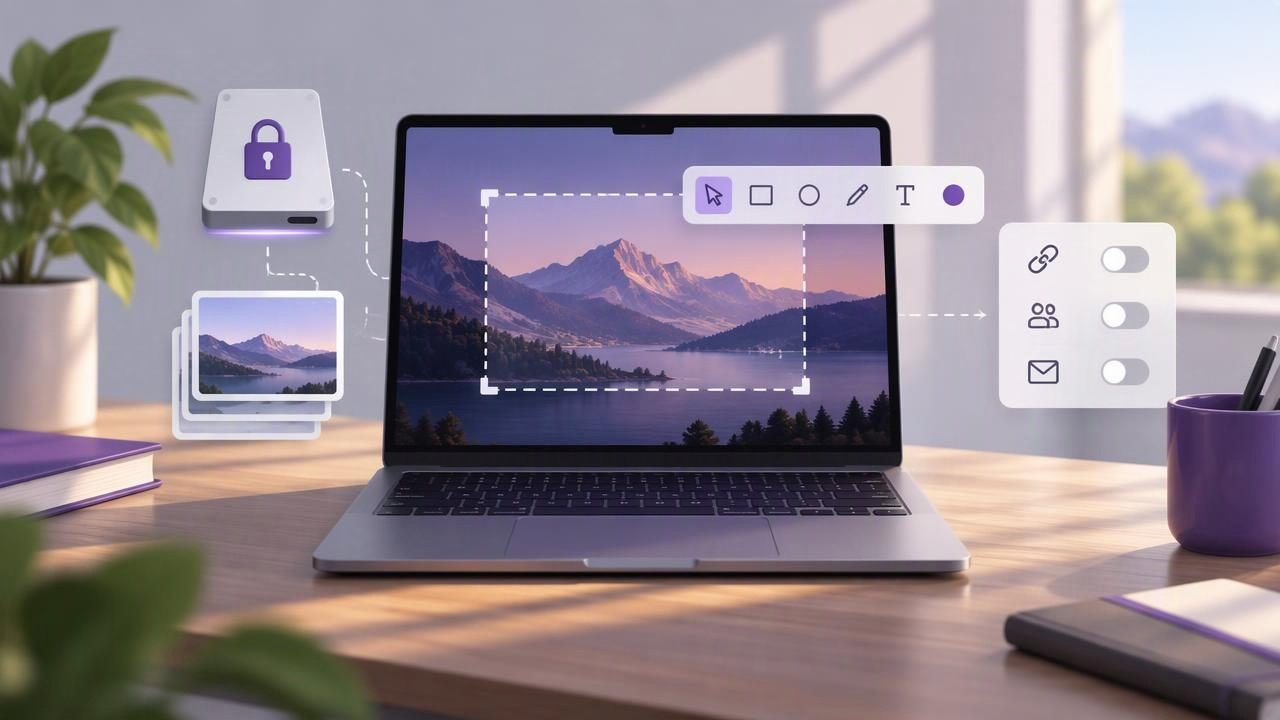
Screenshots often contain more than the detail you intend to share. A bug report might show a customer name in a sidebar, while a design review could include an unfinished project or a private message in the background. Choosing a private screenshot app for Mac is therefore about more than capture quality: it is about controlling where images go, what they reveal, and how they are shared.
A good privacy-conscious workflow does not have to be complicated. You can capture a region or full display, mark the relevant area, and send the image using a destination you trust. This guide explains what to look for, how to assess popular app categories, and how to make everyday screenshot sharing safer.
What makes a screenshot app private?
Privacy can mean different things depending on the tool. For one person, it means screenshots remain on the Mac unless they choose to share them. For another, it means having clear control over storage, upload settings, and retention. Rather than relying on labels such as secure or private, look at the app’s actual workflow.
A local-first screenshot app keeps captures and recent history on your device by default. Sharing is an intentional step, not an automatic consequence of taking a screenshot. That distinction matters when you handle internal product details, personal information, client work, or support conversations.
Local storage is not a substitute for good device security. Anyone with access to an unlocked Mac may still be able to see files stored on it. But avoiding automatic uploads can reduce the number of services and accounts involved in a basic capture workflow. It also gives you a clearer choice about when an image leaves your computer.
Privacy questions to ask before installing
Before choosing an app, check how it handles the moments before, during, and after capture. Product pages and settings screens should make the answers understandable. If important behavior is unclear, ask the developer or test with non-sensitive images first.
- Where are captures stored? Find out whether screenshots and recent history stay local, and whether the app lets you choose a save location.
- Does capture trigger an upload? Check whether images are sent to a company server automatically or only after you choose a sharing option.
- What happens to clipboard content? Copying an image can be convenient, but confirm that copying does not also publish or upload it.
- Can you control sharing destinations? Look for clear controls if you want to send files through your own cloud storage rather than an app-managed service.
- Is there background recording? For a simple screenshot workflow, you may prefer an app that captures only when you explicitly request it.
- How are old captures handled? Learn whether history can be cleared and whether saved files remain in a location you can manage.
These questions help separate capture and editing from hosting and distribution. Some apps combine all of those functions; others keep the screenshot on your Mac and leave the next step to you. Neither approach is automatically right for everyone, but the difference should be deliberate.
Build a safer Mac screenshot workflow
Privacy is partly a product choice and partly a habit. A repeatable process helps you avoid sending the wrong image or exposing details that are irrelevant to your point. Try this sequence for bug reports, tutorials, and visual feedback:
- Prepare the screen. Close unrelated windows, hide notifications, and move private information out of view. If you are documenting a website, use a test account when practical.
- Choose the smallest useful capture. Use region capture for a focused control or error message. Capture the full display only when surrounding context helps someone understand the issue.
- Inspect before annotating. Check the image for names, email addresses, access tokens, browser tabs, and other incidental details. Do not assume a small detail is unreadable after sharing.
- Add purposeful annotations. Use an arrow, shape, short label, or numbered marker to direct attention. Blur sensitive content rather than covering it with a shape that might be moved or removed later.
- Review the finished image. Make sure annotations point to the right place, text is legible, and no sensitive detail remains visible.
- Choose a destination intentionally. Copy the image into a trusted work tool, save it to a known folder, or share it through a storage account you control.
- Clean up when appropriate. Delete temporary exports and clear recent history if your work requires it. Follow your organization’s retention rules for records that must be preserved.
This routine adds only a few seconds, but it can prevent confusing feedback and accidental disclosure. For recurring work, create a short team checklist so everyone knows what to inspect before sending a screenshot externally.
Use annotations to reduce unnecessary sharing
Clear screenshot annotation can improve privacy as well as communication. If a reviewer needs to see one button, you may not need to include an entire desktop. A crop, arrow, or numbered step can make the useful area obvious without adding more context than necessary.
Keep annotations specific. An arrow should point directly to the relevant control; a text label should explain the action or issue in a few words. Numbered step markers work well for tutorials and reproducible bug reports because they show sequence without requiring a long explanation in the image itself.
Blur is useful when you need to retain the surrounding interface but conceal a name, message, or identifier. Zoom in after applying it to verify the result. For highly sensitive information, the safer choice may be to recapture the screen with that information removed, rather than relying on an edit.
For a bug report, pair the annotated image with a short description: what you expected, what happened, and how to reproduce it. The screenshot should support the report, not carry every detail. This keeps the image focused and makes the problem easier to triage.
Local storage and cloud sharing can work together
Keeping captures local by default does not mean avoiding cloud tools altogether. Teams often need screenshots in a shared folder, a project board, or a support ticket. The key is to make that transfer an explicit choice and understand which account or service receives the file.
For example, you can save an annotated image locally, review it, and then upload it to a folder in your own Google Drive. This separates editing from sharing and lets your team apply its existing access and retention policies. Before sending a link, check who can open it: a link that allows anyone with the URL to view a file may be broader than intended.
Also consider the destination’s permissions and the screenshot’s lifespan. A project channel may be suitable for a temporary design comment, while a customer record may belong in an approved support system. Avoid placing confidential captures in personal storage when your organization requires managed accounts.
How screenshot apps differ
Mac screenshot tools vary in how much they combine capture, annotation, organization, and sharing. A comparison is most useful when you assess the workflow you need rather than treating every feature as equally important.
| App or category | What to assess | Questions for a privacy-focused workflow |
|---|---|---|
| CleanShot X alternatives | Capture options, editing, history, and sharing controls | Can you keep routine captures local and choose when to share? |
| Shottr and Xnapper | Speed, annotation tools, and the way each app handles saved images | Are blur, arrows, and export destinations suitable for your tasks? |
| Snagit | Whether its broader capture and documentation features fit your work | Do you need its wider toolkit, or would a simpler screenshot flow be easier to manage? |
| Dropshare and Monosnap | How capture connects with hosting, links, or collaboration | Which service receives files, and can you control access and retention? |
| Built-in macOS capture | Whether basic capture meets your editing and organization needs | Will you need another tool for annotation, history, or a specific sharing path? |
Features and policies can change, so verify current behavior in each app’s documentation and settings. In particular, distinguish between an app that can share online and one that uploads every capture automatically. A cloud feature may be useful without being part of your default workflow.
Choose based on your real capture habits
Before buying or switching, list the tasks you perform in a typical week. Do you mostly capture small interface regions? Do you create tutorials with numbered steps? Do you need blur for support screenshots? Do you regularly share through a specific cloud account, or do you simply copy images into chat?
Then test the full path, not only the capture button. Take an image, add an arrow and text, blur a detail, copy or save the result, and check where the file went. Review the app’s privacy information and confirm that optional sharing behaves as expected. A brief trial using harmless sample images can answer more than a long feature list.
Consider pricing and maintenance as part of the decision. A subscription can make sense when you rely on hosted collaboration or frequent service updates. If you need a focused Mac utility, a one-time license may be a better fit. Compare the total cost, supported macOS versions, update terms, and number of devices covered rather than judging by the initial price alone.
A practical standard for private screenshots
The best private screenshot app for Mac is one that fits your work while making data movement understandable. Look for local storage by default if that matches your needs, visible sharing choices, useful region and full-screen capture, and annotation tools that help you communicate without exposing extra information.
Make the final review part of the habit: check the content, check the annotations, and check the destination. That simple standard works whether you use built-in macOS tools or a dedicated editor. For people who want a native Mac workflow with local-first captures and optional Google Drive sharing, Snip Halo is one example to consider alongside the alternatives.
