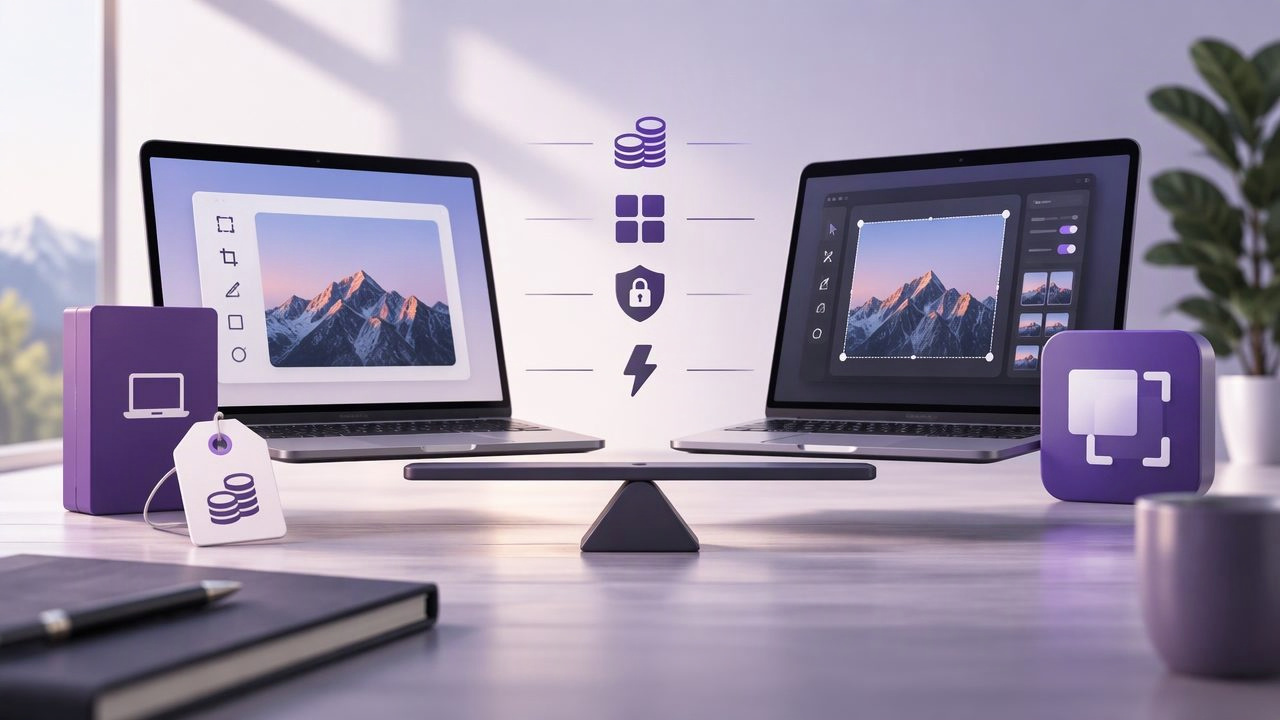
Choosing between a one-time purchase Mac app and Xnapper is not just a question of price. It is a decision about how you capture, annotate, and share screenshots—and whether the app’s approach fits your everyday work. A polished screenshot may help with a presentation, while a quick region capture marked with arrows and numbered steps may be better for a bug report or support reply.
To compare the options fairly, look at the license terms alongside the actual workflow. Consider what happens after payment, which editing tools you use, where screenshots are stored, and whether the app makes sharing easier or more complicated. Because software plans and features can change, confirm current details on each developer’s pricing and product pages before buying.
What does a one-time purchase mean?
A one-time purchase generally means paying once for a license rather than renewing a monthly or annual subscription. That can make budgeting more predictable, especially if you use screenshot software regularly but do not want another recurring bill. However, a single payment does not automatically mean every future major upgrade will be included. Check whether the license covers updates, how many Macs it supports, and what happens if you replace a computer.
Also distinguish a lifetime license from lifetime compatibility. A developer may provide ongoing updates, but future macOS changes can still affect whether an older app works as expected. The practical question is not only how you pay today, but whether the license and support policy suit the years you expect to use the tool.
Where Xnapper may fit
Xnapper is known as a Mac screenshot tool for creating polished images. Its appeal may be strongest when presentation matters: for example, when you want a screenshot to look clean in a product update, social post, or documentation page. Before choosing it, review its current feature set and plan details directly, since pricing, included capabilities, and license options can change.
Think about the output you need most often. If you mainly want a visually refined image, a tool built around screenshot presentation may match your priorities. If your routine is to capture a small screen area, point out a specific control, blur sensitive information, and send the result to a colleague, compare how quickly each app supports that sequence. A long list of features matters less than a smooth path from capture to useful communication.
Compare the complete workflow, not just the price
It is easy to compare a subscription total with a one-time price and stop there. A better comparison includes the time and effort required for common tasks. Try each app, if possible, with the same real-world example: capture a settings panel, add two callouts, hide private details, and share the image. Notice how many steps it takes and whether the result is easy to understand.
| What to compare | Questions to ask | Why it matters |
|---|---|---|
| License | Is payment recurring? How many Macs are covered? Are upgrades included? | Reveals the likely cost and limits beyond the first purchase. |
| Capture | Can you select a region or capture a full display quickly? | Capture speed affects how often you use the app in daily work. |
| Annotation | Are arrows, shapes, text, blur, and numbered markers available? | These tools turn an image into actionable feedback. |
| Sharing | Can you copy, save, drag, or share through a service you already use? | A good handoff avoids extra export and upload steps. |
| Privacy | Where are captures stored? Does sharing happen automatically? | Storage defaults matter when screenshots include work or personal information. |
| Maintenance | How are updates, support, and macOS compatibility handled? | These details affect long-term value after purchase. |
Annotation features that matter in everyday use
For bug reports and technical support, an annotation should answer a question, not merely decorate the image. Use an arrow to identify the relevant button, a shape to outline an area, and short text to explain what went wrong. Blur account details or other sensitive content before sharing. When you need to describe a sequence, numbered step markers can make the order clear without filling the screenshot with paragraphs.
Check whether these tools are available directly in the screenshot workflow. If you have to export the image and open a separate editor for routine markup, that extra step can become a real cost in time. Also test whether annotations remain readable at the size where recipients will view the image. Small text and low-contrast colors can make an otherwise useful screenshot difficult to follow.
Capture speed and output flexibility
Region capture is useful when the recipient needs to focus on one dialog, chart, or page element. Full-screen capture provides context when a problem depends on the surrounding interface. A practical Mac screenshot app should make it straightforward to choose between these types of capture without forcing you to crop later.
After editing, consider how you typically pass images along. Copying is convenient for chat and email; saving works well for ticket attachments and documentation; dragging can make it easy to move a capture into another app. If you use cloud storage, check whether it is an optional destination or part of an automatic upload process. Flexibility is especially useful for teams that share some screenshots but prefer to keep others on the Mac.
Privacy: check the defaults
Screenshots can reveal customer names, internal dashboards, private messages, or account details. Read the app’s privacy information and determine where captures and recent history are kept. Ask whether the app uploads files automatically, records activity in the background, or sends images to a service when you use a sharing feature.
Local-first storage can be a good fit when you want captures to stay on your Mac unless you choose to share them. It does not remove the need to review what you send, but it gives you more control over when an image leaves your device. If a product offers cloud sharing, check which account owns the files, what permissions are applied, and whether you can choose the destination. Optional sharing through your own Google Drive, for example, differs from a workflow that routes every image through a vendor-hosted service.
Estimate the real cost over time
Compare the one-time price with the subscription cost over the period you expect to use the app. Include taxes where applicable, renewal frequency, and the possibility that a plan or price may change. Then consider the cost of features you would otherwise need elsewhere, such as a separate image editor or file-sharing service. Do not assume a higher-priced tool is better value, or that a one-time license is automatically the right choice; value depends on actual use.
A subscription can make sense if it gives you ongoing features or services you rely on and the recurring charge fits your budget. A one-time license may be appealing if your needs are stable and you prefer a predictable expense. In either case, review cancellation or refund terms and verify whether the version you are purchasing includes the features you need today.
A quick decision checklist
- Choose by workflow: Write down your three most common screenshot tasks and test them in order.
- Check the license: Confirm payment frequency, Mac limits, upgrade coverage, and transfer rules.
- Test annotation: Try arrows, shapes, text, blur, and numbered steps on a real image.
- Review storage: Find out where captures and recent history stay, and whether uploads are optional.
- Measure friction: Count the steps from capture to a copied, saved, or shared result.
- Recheck current terms: Use the developer’s current product and pricing information rather than relying on old reviews.
So, which should you choose?
In the one-time purchase Mac app vs Xnapper decision, start with the kind of screenshot you need to produce. If polished presentation is the main goal, assess Xnapper’s current editing and export workflow. If you regularly explain bugs, teach a process, or give visual feedback, prioritize fast region and full-screen capture, practical annotation tools, and a clear route to sharing. Then compare the license terms using the time horizon that makes sense for you.
There is no universal winner: the better app is the one that handles your everyday tasks with fewer interruptions and a payment model you are comfortable with. For Mac users weighing a local-first workflow, Snip Halo is one option to include in a hands-on comparison; check its current license and features alongside any alternatives before deciding.
