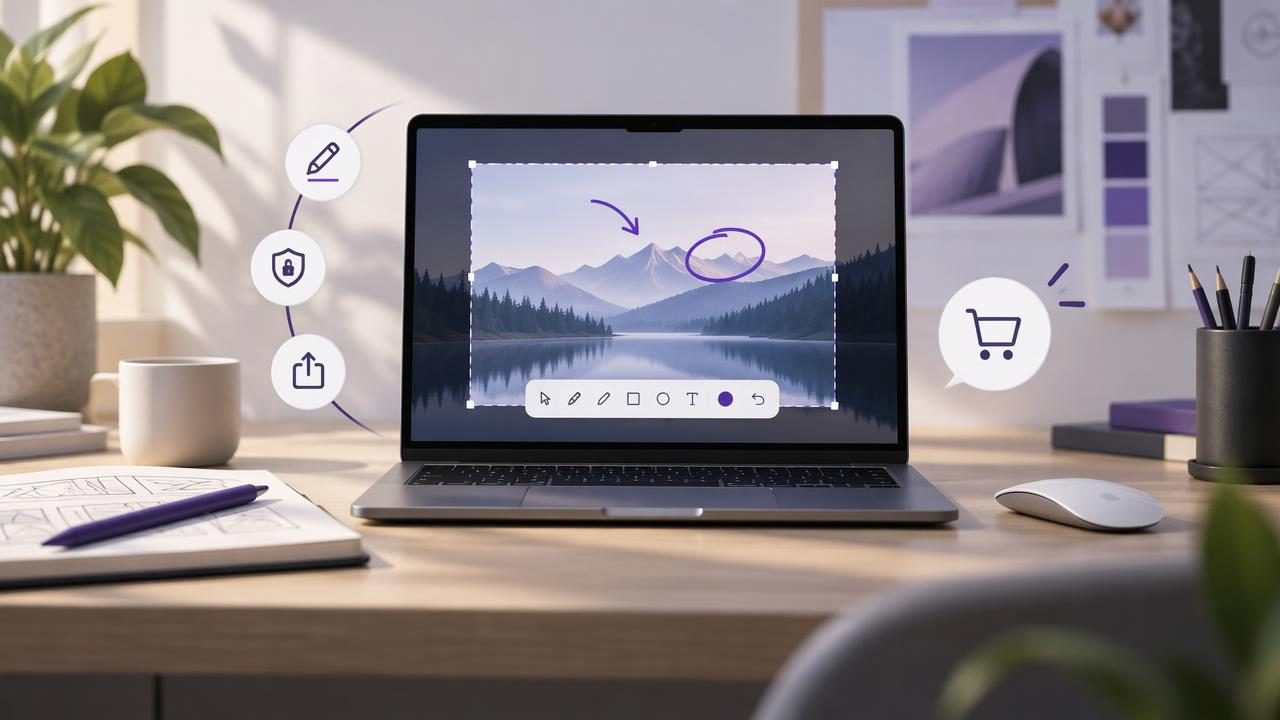
Designers rely on screenshots to explain a layout, flag a visual bug, collect feedback, and show a teammate exactly what needs attention. macOS includes built-in capture tools, but a dedicated screenshot app can make the steps after capture faster: select a region, add a clear annotation, and send or save the result.
If you are comparing tools, the purchase model matters alongside the editing features. A one-time purchase can be appealing if you want a dependable utility without another recurring bill. This one time purchase Mac app guide for designers covers what to check before buying, how to build an efficient screenshot workflow, and how popular options differ.
What does a one-time purchase actually include?
A one-time purchase usually means paying once for a license to use a particular version or product under its terms. It does not automatically promise every future major upgrade, cloud service, or feature at no additional cost. Read the licensing and update policy before you buy, especially if you expect to use the app on more than one Mac.
Compare the total cost with what you will actually use. A subscription may make sense when it includes collaboration, cloud storage, or regular updates that your team depends on. A paid-once app may be a better fit when your needs are focused on capturing, annotating, and sharing screenshots without a larger service attached.
Check whether the app is native to macOS, which system versions it supports, and how it handles multiple displays. Also look for clear information about trial limits, refunds, license transfers, and whether the purchase is direct or through an app store. These details shape the long-term value as much as the price does.
Start with your design workflow, not a feature checklist
Before comparing screenshot apps, name the work you need them to do. A designer reviewing a web page may need quick region capture and arrows. Someone documenting a mobile prototype may need numbered steps and text labels. A product designer reporting a bug may need to blur customer information before sending an image to engineering.
Try mapping one common task from beginning to end:
- Capture: Can you select a precise region or capture the full display without extra steps?
- Clarify: Can you add arrows, shapes, text, blur, or numbered markers directly to the image?
- Deliver: Can you copy, save, drag, or share the result in the format your recipient expects?
- Repeat: Can you complete the same task quickly without searching through menus?
A tool that performs your everyday task smoothly is often more useful than one with a long feature list. Try a few real examples during any trial period. Capture a small UI detail, mark up a full-screen layout, and prepare an image that includes information you would need to hide.
Evaluate the capture and annotation tools
Region capture is valuable when you need to isolate a button, spacing issue, or component without making the recipient inspect the whole desktop. Look for a selection process that feels precise and repeatable. Full-screen capture is useful for showing overall context, such as a page hierarchy or a bug that only appears within a larger interface.
After capture, annotations should make the image easier to understand—not cover the design. Arrows point to a specific detail, shapes outline an area, and short text labels add context. Blur can conceal private or sensitive information. Numbered step markers are especially useful for tutorials, handoffs, and feedback that describes a sequence of actions.
Pay attention to how editing and exporting work together. Can you adjust an annotation before sharing? Is the final image easy to copy to a design review, attach to a bug report, or save for documentation? If the tool keeps recent captures available, find out where that history is stored and how you can clear it.
How familiar Mac screenshot apps differ
App names are only a starting point. Features, pricing, and license terms can change, so check each developer’s current product page before deciding. Think of the following as a way to frame your research, not a fixed ranking.
| App | What to investigate | Potential fit |
|---|---|---|
| CleanShot X | Its capture, editing, and sharing workflow, plus the current licensing options | Designers wanting a broad screenshot toolkit |
| Shottr | Its annotation and capture features, supported macOS versions, and purchase terms | People comparing focused Mac screenshot utilities |
| Xnapper | Its image presentation features and how well they suit your review process | Sharing polished visuals with minimal preparation |
| Snagit | Its wider image and screen-capture workflow and the cost of its current plan | Teams with documentation needs beyond quick markup |
| Dropshare and Monosnap | How their sharing or cloud workflows handle destinations, privacy, and ongoing costs | Users who prioritize link-based delivery or online collaboration |
These products are not interchangeable. Some emphasize editing, some focus on online sharing, and others cover a broader capture workflow. Compare the exact tasks you do rather than assuming every app includes the same tools or pricing model.
Build annotations that designers can act on
A useful screenshot communicates one main point. Before drawing, decide what the viewer should notice or do. Use an arrow to identify a specific control, an outline to show a region, and a short label to explain the issue. If the feedback involves several actions, number them in the order they should happen.
Keep the annotation visually distinct from the interface. Choose readable text, avoid stacking shapes over important content, and use a consistent color for related notes. For a bug report, include enough surrounding UI to establish context. A tightly cropped image can hide which page, state, or control is involved.
For example, a design review might show a full-screen page with a numbered marker on the navigation, an arrow pointing to a misaligned button, and a brief note explaining the expected spacing. A concise caption can then say what browser or screen size was used. The image supports the feedback; it should not require a paragraph of explanation to decode.
Keep privacy and sharing in the decision
Screenshots can contain names, account details, internal tools, customer data, or notifications that were not meant to be shared. Before sending an image, inspect the entire capture—not just the area you annotated. Use blur where appropriate, and verify that it fully conceals the information you want to protect.
Also ask whether captures remain local by default or are automatically uploaded. Local-first storage can give you a clearer understanding of where working images live. If you need cloud delivery, look for an explicit sharing action and understand which account or service receives the file. An optional connection to your own Google Drive, for example, differs from automatic background uploads.
Confirm what happens to recent history, temporary files, and shared links. A simple workflow should make it clear when an image is copied, saved locally, or sent elsewhere. For sensitive work, test the process with a non-confidential screenshot before using it on real project material.
Estimate value beyond the sticker price
Compare the cost over the period you expect to use the app. Include subscriptions, renewal terms, upgrades you may need, and any separate cloud charges. Then consider the time saved per task. If a tool removes several repeated steps from daily design reviews, even a modest one-time fee may offer value; if you rarely annotate images, the built-in macOS tools may be enough.
Make sure the license matches how you work. Designers may use a personal Mac and a work Mac, share machines, or need seats for a team. A license for two devices is not necessarily the same as permission for two people. Check the developer’s terms rather than relying on assumptions based on the word “lifetime.”
A practical buying checklist
- Does it support your macOS version and display setup?
- Can you capture both a selected region and a full display?
- Are arrows, shapes, text, blur, and numbered steps available where you need them?
- Can you copy, save, drag, or share images in your normal workflow?
- Are local storage, history, and optional cloud-sharing behavior clearly explained?
- Are device limits, upgrade terms, and total costs easy to understand?
- Does the app feel fast and comfortable during a real design task?
Choose the tool that makes feedback clearer
The best screenshot app for a designer is not necessarily the one with the most features. It is the one that makes capture, annotation, and delivery feel natural while respecting your budget and privacy expectations. Test the workflow with the kinds of design feedback you send every week, then compare the full license terms—not just the headline price.
If a focused, local-first Mac workflow is what you are looking for, Snip Halo is one option to include in that comparison. Whatever you choose, the goal is the same: make visual feedback easier to create, easier to understand, and easier to act on.
