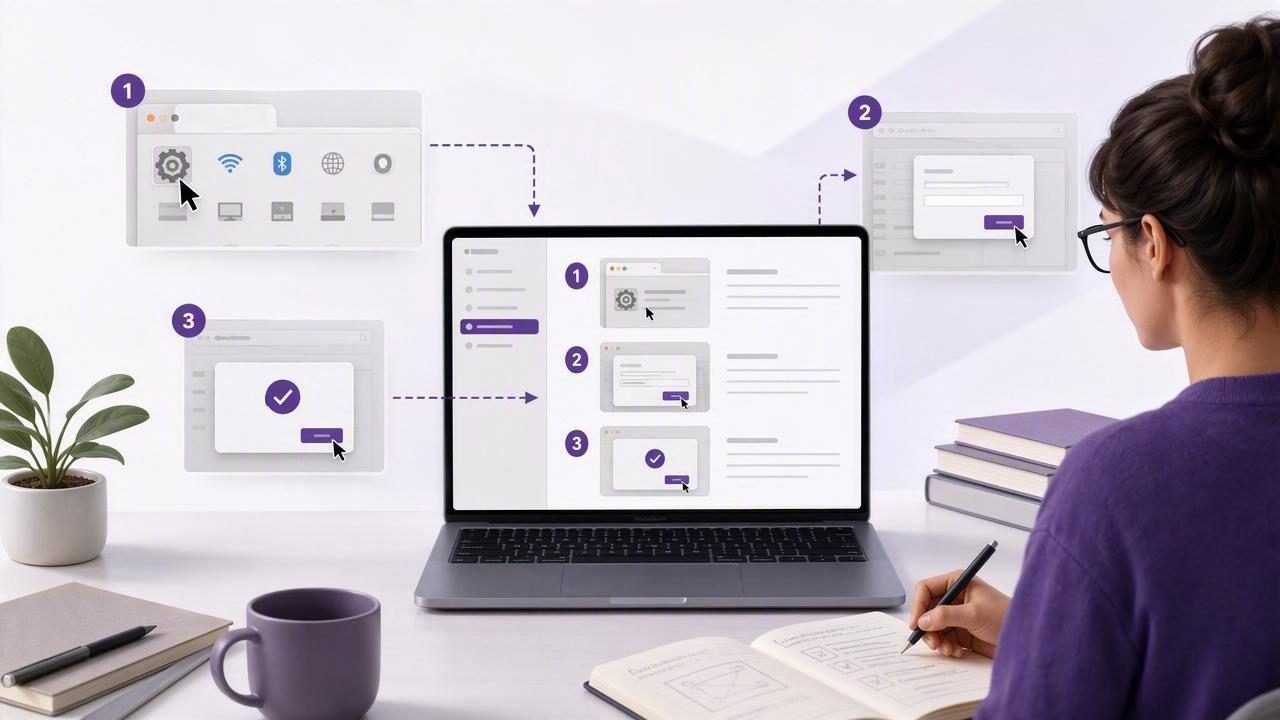
Technical documentation succeeds when readers can complete a task without guessing. Clear instructions matter, but visual direction often matters more. When a user must locate a small menu item, configure several settings, or follow a precise sequence, a well-marked screenshot can eliminate confusion that several paragraphs of text may create.
A numbered screenshot maker for technical writers helps turn ordinary screen captures into step-by-step visual instructions. Instead of describing an interface with vague phrases such as “click the icon in the upper-right area,” writers can place a numbered marker directly on the relevant control. The result is faster scanning, fewer support requests, and more accessible documentation for readers with different levels of product familiarity.
This guide explains how to create an effective numbered screenshot workflow on Mac, when numbered annotations are most useful, and how to keep images accurate, readable, and privacy-conscious.
Why Numbered Screenshots Work in Technical Documentation
People usually do not read software instructions from top to bottom with full attention. They scan headings, inspect images, try a step, and return to the instructions only when something does not match their screen. Numbered callouts make this behavior easier to support because they connect written steps to visual locations immediately.
For example, compare these two instructions:
Open Settings, select Integrations in the sidebar, choose Google Drive, and then click Connect.
The sentence is understandable, but a first-time user may still wonder which sidebar item to select or whether the correct button is “Connect,” “Authorize,” or “Sign in.” A screenshot with markers 1, 2, 3, and 4 removes that uncertainty.
Numbered screenshots are especially valuable because they:
- Show the exact order of actions in a multi-step interface.
- Reduce word count without sacrificing specificity.
- Help non-native speakers navigate unfamiliar labels and layouts.
- Make dense screens easier to understand at a glance.
- Give support teams a reusable format for customer replies and troubleshooting guides.
- Create a visual audit trail for QA notes, bug reports, and product feedback.
When to Use a Numbered Screenshot Maker
Not every screenshot needs numbered steps. A simple image of a finished dashboard, for example, may only need a caption. Use numbered markers when the reader needs to take actions in order or identify controls that are difficult to find.
Software Tutorials and Knowledge Base Articles
Product tutorials are the most obvious use case. A numbered image is useful whenever an action passes through multiple menus, dialog boxes, tabs, or settings panels. It is particularly effective for onboarding guides, account configuration, permissions, export instructions, and workflow walkthroughs.
Bug Reports for Developers
A reproducible bug report should make the path to failure unambiguous. Numbered screenshots can show the state before an issue occurs, the control a tester selected, and the unexpected result. Pair each marker with a matching numbered reproduction step in the issue tracker.
For example:
- Open the project settings.
- Select Notifications.
- Enable the daily summary toggle.
- Click Save.
- Observe that the confirmation message does not appear.
A single annotated capture can often provide the context that a developer would otherwise request in several follow-up messages.
Visual Feedback and Review Comments
Design reviews, release checks, and editorial feedback also benefit from numbered markers. A reviewer can label each issue and add a concise note: “1: button alignment,” “2: missing tooltip,” or “3: text wraps at smaller widths.” This is cleaner than drawing many arrows without a defined order.
Build a Repeatable Mac Screenshot Workflow
The best screenshot workflow is not just about capturing an image. It is a short, repeatable process that protects sensitive information, avoids outdated UI, and produces images that remain useful after publication.
1. Prepare the Screen Before Capturing
Start with a clean, realistic product state. Close unrelated apps, dismiss notifications, and use a test account when possible. Ensure the relevant controls are visible and that the window is large enough to be legible in your documentation layout.
Before capturing, check for information that should not appear in published images:
- Customer names, email addresses, and profile photos
- API keys, passwords, tokens, and recovery codes
- Internal URLs, project names, or unpublished feature flags
- Financial data, personal messages, or calendar events
- Browser tabs and desktop files that reveal unrelated work
A local-first screenshot workflow is helpful here because captures can stay on your Mac while you review and redact them. Share only the finalized image rather than uploading every draft to a third-party service.
2. Choose Region Capture or Full-Screen Capture
Use region capture for most tutorials. It keeps the reader focused on the relevant interface, produces smaller files, and gives you more room to display annotations at a readable size. Capture enough surrounding UI to establish context, such as a sidebar label or modal title, but avoid including empty space.
Choose full-screen capture when the overall layout matters. This is useful for explaining dashboards, responsive behavior, window management, or a workflow spanning several application areas. You can still blur irrelevant areas or add a subtle highlight to guide attention.
3. Add Numbered Markers Before Other Annotations
Place numbered markers first because they define the instructional sequence. Each marker should point to one action only. If one number refers to several controls, the reader has to interpret the image instead of following it.
Keep the numbering consistent with your written steps. If the article says “Step 3: Open Advanced Options,” marker 3 should sit directly on, or immediately beside, that control. Avoid restarting at 1 in every image unless every image is a separate mini-procedure. For a single process spread across images, continuous numbering is often clearer.
4. Use Arrows, Shapes, Text, and Blur With Restraint
After adding step markers, use supporting annotations only where they add meaning. Arrows can connect a marker to a distant target. Rectangles can frame a group of related controls. Short text labels can explain a state that is not obvious from the interface alone.
Blur is not merely decorative. Use it to redact data that does not belong in documentation. Make sure the blur fully obscures text at the image’s published size. If a value remains readable after compression or zooming, replace it with placeholder data or capture the screen again.
Annotation Rules That Improve Readability
Consistent annotation design makes a documentation library look more professional and helps readers learn what your visual language means. Establish a small style guide for your team.
| Element | Recommended practice | Common problem |
|---|---|---|
| Numbered markers | Use high contrast and a consistent size. | Markers are too small on mobile or overlap controls. |
| Arrows | Use only when the target is not beside the number. | Too many arrows create visual clutter. |
| Text labels | Keep labels short and action-focused. | Repeating entire paragraphs inside the image. |
| Shapes | Outline groups of controls when grouping matters. | Covering labels or making the screen look crowded. |
| Blur | Redact private details before exporting. | Blurring so lightly that information remains identifiable. |
Use a color palette with purpose. For example, one accent color for required actions and another for warnings can work well, but too many colors weaken the hierarchy. In most documentation, a single marker style plus neutral arrows and boxes is sufficient.
Match the Image to the Written Steps
A screenshot should support the text, not duplicate it. Good technical writing explains why a reader is taking an action, while the image shows where to take it. Keep each written step concise and use the corresponding number as a visual anchor.
A practical format looks like this:
- Open the workspace menu. Select the workspace name in the top-left corner (1).
- Go to settings. Choose Workspace Settings from the menu (2).
- Enable the option. Turn on Require approval (3).
- Save your changes. Select Update settings (4).
This approach lets the reader move between copy and image without searching. It also makes localization easier: the screenshot remains a visual reference even if interface labels or explanatory text change across languages.
Export, Name, and Maintain Documentation Screenshots
Technical writers often create dozens of images for a single guide. A predictable naming convention prevents confusion during editing and future updates. Include the product area, task, step range, and version or release identifier when appropriate.
billing-enable-autopay-steps-01-04.png
workspace-invite-member-step-02.png
api-settings-token-redacted.png
PNG is usually the safest format for screenshots containing text, UI edges, and annotations because it preserves sharp detail. JPEG can be smaller, but it may introduce artifacts around small labels. Before publishing, inspect images at the size readers will actually see, including on a narrow browser window or mobile device.
Finally, treat screenshots as documentation assets that need maintenance. Interface changes can make a guide inaccurate even when the written text is still technically correct. When a product navigation or button label changes, update the matching image and confirm that marker numbers still align with the instructions.
Choose a Tool That Keeps the Process Fast
The right screenshot tool should reduce friction between capture, annotation, and delivery. For technical writing, prioritize quick region and full-display capture, visible numbered steps, arrows, shapes, text, blur, easy copying or drag-and-drop, and a simple way to save locally. If your team needs cloud links, confirm that sharing is intentional and that you understand where images are stored.
Writers who prefer a straightforward, privacy-conscious Mac workflow may also consider Snip Halo, which supports local capture history, annotations, numbered markers, and optional sharing through a user-controlled Google Drive account.
Ultimately, the best numbered screenshot maker is the one that helps you document the exact interface state quickly, protect sensitive details, and give readers a confident path from step 1 to completion.
