Content creators often need to explain processes that are easy to perform but difficult to describe. Whether you are publishing a software tutorial, creating onboarding documentation, reviewing a design, reporting a bug, or answering customer questions, a well-marked screenshot can eliminate several paragraphs of written explanation.
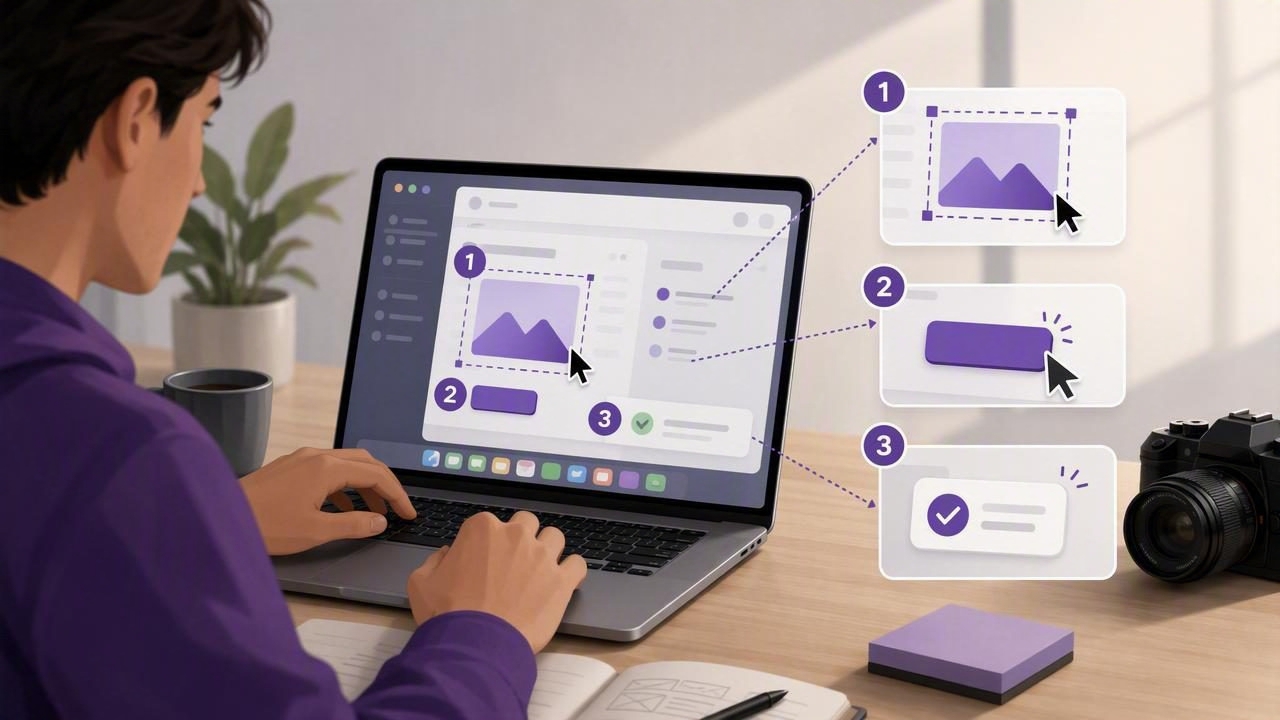
A numbered screenshot maker for content creators turns an ordinary screen capture into a visual sequence. Instead of telling readers to “click the menu in the upper-left corner, select Settings, then choose Notifications,” you can show the exact path with numbered markers, arrows, text labels, shapes, and blur effects.
This approach makes tutorials faster to scan, easier to follow, and more accessible for people who prefer visual instructions. It also helps creators produce consistent assets across blog posts, videos, knowledge bases, client presentations, and social media content.
What Is a Numbered Screenshot Maker?
A numbered screenshot maker is a screenshot and annotation tool that lets you place numbered step markers directly onto a captured image. These markers typically appear as circles, badges, or labels containing numbers such as 1, 2, and 3.
Each number corresponds to a step in accompanying instructions. The screenshot acts as a visual map, while the text explains what the reader should do at each point.
For example, a creator building a tutorial about changing a browser setting could capture the settings screen and add:
- A “1” marker on the profile icon.
- A “2” marker beside the settings menu item.
- A “3” marker around the privacy option.
This simple structure reduces ambiguity. Readers no longer have to guess which icon, menu, or button the writer means—especially when an interface contains similar controls.
Why Numbered Screenshots Work So Well
Numbered annotations are useful because they combine visual direction and sequence. An arrow may point to an important button, but a numbered marker explains the order in which multiple actions should happen.
That distinction matters when you are teaching a process rather than highlighting a single element. A workflow with five steps can become confusing if the reader cannot immediately tell where to start.
Numbered screenshots support clearer communication in several ways:
- They reduce cognitive load. Readers can match each written step to a visible location.
- They make tutorials scannable. Users can understand the process quickly before reading every detail.
- They prevent vague instructions. Terms like “the button on the right” are less useful across different screen sizes or app versions.
- They make documentation more durable. Even if interface wording changes slightly, the visual target remains clear.
- They improve collaboration. Clients, teammates, and developers can discuss visual feedback with less back-and-forth.
Best Uses for a Numbered Screenshot Maker for Content Creators
Step-by-step tutorials
Software tutorials are the most obvious use case. A numbered screenshot can show readers how to configure an app, submit a form, update a profile, create an automation, or navigate a dashboard.
For longer tutorials, use one screenshot for a small group of related actions rather than trying to mark every click in one crowded image. A tutorial is easier to follow when each image covers a logical stage of the process.
Product walkthroughs and onboarding content
New users often need help finding key features. Numbered screenshots can guide them through account setup, workspace creation, team invitations, payment settings, or feature activation. These images work particularly well in help centers, onboarding emails, and in-app guides.
Bug reports
Clear bug reports save developers time. A screenshot with numbered markers can identify the precise UI elements involved in a problem and show the sequence that triggered it.
A useful bug report usually includes:
- The page, app, or screen where the issue occurred.
- Numbered actions taken before the bug appeared.
- A short explanation of expected behavior.
- A short explanation of actual behavior.
- Blurred or removed personal information, account data, and API keys.
Visual feedback for design and content reviews
Creators, marketers, designers, and editors can use numbered markers to organize feedback. Rather than writing “the headline area needs adjustment,” add a marker to the exact headline and include a corresponding note.
This is especially useful for landing-page reviews, video thumbnail feedback, slide decks, email drafts, and social graphics. Numbering keeps comments organized when several stakeholders are reviewing the same visual.
Video scripts and course materials
Even video-first creators benefit from annotated screenshots. Static images can be used in video scripts, downloadable worksheets, course modules, and chapter recaps. They also provide a helpful alternative for users who need to reference instructions without replaying a video.
How to Create an Effective Numbered Screenshot
The best annotated screenshots are intentionally simple. Their goal is not to decorate an image; their goal is to direct attention. Follow this practical workflow.
1. Capture only what the reader needs
Start with a region capture whenever possible. A full-screen capture is useful when context matters, but it can make the actual control look too small. Crop tightly enough that the target is easy to see while retaining enough surrounding interface to orient the reader.
For example, if you are explaining a dropdown menu, capture the relevant panel instead of an entire 4K desktop full of unrelated windows.
2. Plan the sequence before adding labels
Write the steps first, even if they are brief. This helps you decide how many markers are needed and prevents numbering mistakes.
1. Open Account Settings.
2. Select Notifications.
3. Turn on weekly summary emails.
4. Save your changes.
Once the sequence is clear, place markers in the same order. Avoid jumping around the screen from 1 to 2 to 3 if the workflow naturally moves from top to bottom or left to right.
3. Use numbered markers for order, arrows for direction
Markers and arrows have different jobs. A numbered marker identifies a step; an arrow shows where to look or what to interact with. Use both when needed, but do not add arrows merely because they are available.
A helpful rule is:
- Use numbered markers when several actions must occur in sequence.
- Use arrows when a target is small or visually distant from its label.
- Use shapes such as rectangles or circles to group or emphasize an area.
- Use text labels for a short warning, clarification, or keyboard shortcut.
4. Blur sensitive details before sharing
Content creators frequently capture account dashboards, messages, analytics, invoices, customer data, and work-in-progress products. Before exporting a screenshot, check for names, email addresses, passwords, payment information, browser tabs, notification banners, and private messages.
Blur is often better than a solid box because it makes clear that information was intentionally hidden while preserving the overall layout. However, use a strong blur or an opaque shape for highly sensitive information. Do not rely on light blur for passwords, secret keys, or confidential personal data.
5. Keep annotations readable at the final size
A screenshot that looks perfect on a large monitor may become unreadable in a blog column, mobile email, or social post. Before publishing, preview the final image at its intended display size.
Make sure marker numbers have strong contrast, text is large enough to read, and arrows do not overlap important interface controls. If the image feels crowded, split the workflow into two screenshots.
Annotation Practices That Improve Tutorial Quality
| Practice | Why It Helps |
|---|---|
| Use a consistent marker style | Readers quickly recognize what each number means across a guide. |
| Limit each image to key actions | Fewer annotations make the screenshot easier to scan. |
| Match written and visual numbering | Readers can move between text and image without confusion. |
| Use high contrast | Markers remain visible over light and dark interfaces. |
| Remove unrelated windows | A clean capture keeps attention on the instruction. |
| Blur private information | Safer sharing protects both creators and their audiences. |
Choosing the Right Mac Screenshot Tool
When evaluating a screenshot app for content creation, look beyond basic capture. macOS includes useful built-in screenshot shortcuts, but a dedicated tool can speed up the annotation and sharing steps that happen after capture.
Prioritize features that fit your actual workflow:
- Fast region and full-screen capture.
- Numbered step markers that are easy to add and reorder.
- Arrows, shapes, text, and blur tools.
- Simple copy, save, and drag-and-drop options.
- Local capture history for retrieving recent work.
- Privacy controls that avoid unwanted uploads or background recording.
- Optional sharing only when you choose to send an image.
- A pricing model that makes sense for occasional or daily use.
Some creators compare options such as CleanShot X, Shottr, Xnapper, Snagit, Dropshare, and Monosnap. The best choice depends on whether you need advanced recording, cloud workflows, scrolling capture, collaboration features, or simply a focused annotation workflow. If your primary need is clean visual instructions, prioritize speed, legibility, privacy, and low friction over a long feature list.
Build a Repeatable Screenshot Workflow
Consistency is what turns screenshots from occasional visuals into a reliable content asset. Create a small internal style guide for your tutorial images: choose one marker color, one arrow style, one text treatment, and a preferred export size.
You can also create a pre-publishing checklist:
- Is the important UI element visible at a useful size?
- Do the numbered markers match the written steps?
- Are annotations limited to essential information?
- Has sensitive information been blurred or removed?
- Does the image remain readable on mobile?
- Is the file named clearly for future reuse?
For Mac users who want a focused, local-first option for this workflow, Snip Halo combines region or full-display capture with arrows, shapes, text, blur, and numbered steps, while keeping captures local unless you choose to share them.
Make Every Screenshot Do More Work
A numbered screenshot maker helps content creators turn complex instructions into clear visual guidance. It is useful for tutorials, product documentation, bug reports, client feedback, and educational materials because it shows both what to click and when to do it.
The key is restraint: capture the relevant area, number actions in order, use arrows only when necessary, protect sensitive details, and test readability at the final size. When screenshots are designed with purpose, they reduce support questions, improve audience confidence, and make your content easier to understand at a glance.
