A screenshot can do more than show what is on your screen. It can explain a bug, guide someone through a process, or deliver a file to a client. But the right Mac tool depends on what happens after capture. Do you need to edit and clarify the image, or upload it and share a link?
That is the key question behind a Mac screenshot editor vs Dropshare comparison. These tools can overlap, but they are built around different priorities. A screenshot editor puts capture and visual markup at the center. Dropshare is oriented toward sending files and screenshots through configured destinations. Understanding that distinction makes it easier to choose a workflow without paying for capabilities you will not use.
The Core Difference: Editing or Delivery?
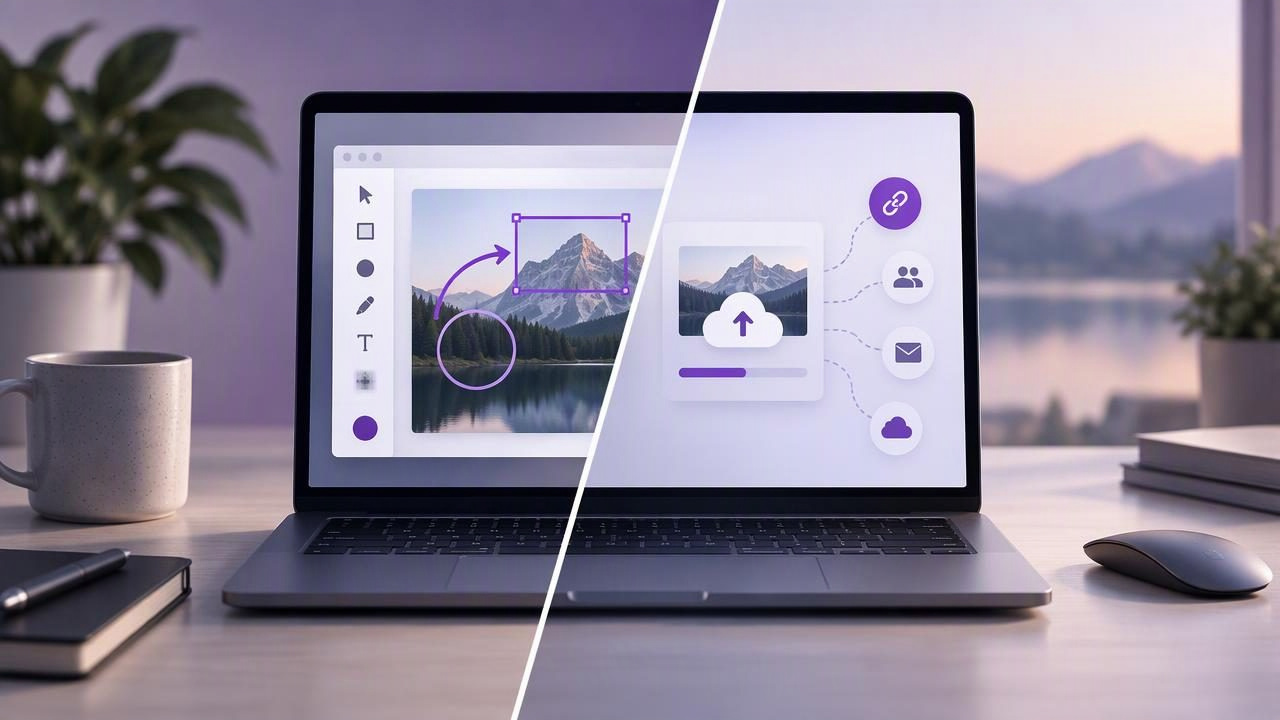
A screenshot editor is designed to help you make an image understandable before you send or save it. Common tools include region and full-screen capture, arrows, shapes, text, blur, and numbered steps. The finished image can then be copied, saved, dragged into another app, or shared using a supported service.
Dropshare is best understood as a sharing-focused utility. Its value is in moving screenshots and other files to a configured destination and making them easier to deliver, often through a link. Depending on the current version and setup, it may also offer capture or image-markup features. The important distinction is the center of gravity: editing-first versus upload-and-share-first.
Features and integrations can change between versions, so check the current product documentation for any specific destination, annotation tool, or capture mode you consider essential. A feature list alone may not show how well an app fits the way you work every day.
How the Workflows Compare
| Workflow need | Screenshot editor approach | Dropshare-oriented approach |
|---|---|---|
| Capture a specific detail | Select a region and prepare it for explanation. | Capture or select a file, then focus on getting it to a destination. |
| Explain what to notice | Add arrows, shapes, text, blur, or numbered steps. | Check whether the current version’s markup tools cover your needs. |
| Send to another person | Copy, save, drag, or use an available sharing option. | Upload to a configured service and share the resulting link. |
| Keep a file local | A local-first workflow can keep captures on the Mac until you choose to share. | Sharing depends on the selected destination and upload action. |
| Share files beyond screenshots | May be possible, but is not the main purpose of every editor. | File delivery is a central use case. |
This comparison is about workflow emphasis, not a claim that one product can never perform the other’s tasks. Before deciding, test the exact steps you repeat: capture, mark up, export, and send.
When a Screenshot Editor Is the Better Fit
Choose an editor-led tool if the image itself needs to carry the explanation. This is especially useful when a recipient should understand the issue without opening a call or reading a long message.
- Bug reports: Circle a broken control, point to an error, and blur names or other sensitive details.
- Tutorials: Use numbered markers to show the order of actions, with concise labels where needed.
- Design feedback: Draw attention to spacing, alignment, or a specific interface element.
- Support replies: Show a customer exactly which menu or setting to open.
- Privacy-conscious capture: Review and obscure visible information before sharing the image.
Region capture is useful when only one window or control matters. Full-screen capture can preserve context, which helps when a problem depends on several open panels or a particular layout. In either case, annotation should improve clarity rather than decorate the image. Use a small number of readable marks, and make sure each arrow points precisely to the intended detail.
When Dropshare May Be the Better Fit
A sharing-first tool may suit you better when the main bottleneck is delivery. For example, you may regularly send screenshots, documents, or other files to clients and teammates, and prefer an upload-and-link routine over attaching each file manually.
That workflow can be convenient for remote collaboration, especially when recipients need access to a file without a large email attachment. It can also be valuable if your team already has a preferred cloud destination and wants a consistent way to publish files there. Confirm that the destination, access controls, and link behavior match your organization’s policies.
Sharing convenience does not replace good annotation. If you often need to explain a visual issue, compare the time it takes to add a clear arrow, label, or blur before upload. If the app’s current editing tools handle that comfortably, you may not need a separate editor. If markup feels limited or awkward, an editor-first app may be a better starting point, with sharing handled afterward.
Privacy and Control: Ask What Happens After Capture
Screenshot privacy is not just about whether an app has a blur tool. Consider where captures are stored, whether uploads happen automatically, which cloud account receives files, and who can open a shared link. A local-first workflow keeps screenshots on your Mac by default and lets you decide when to export or upload. A sharing workflow necessarily involves sending a file to a chosen destination when you use it.
Before adopting any tool, review its current privacy information and settings. Look for answers to practical questions:
- Are screenshots kept locally until you choose to share?
- Does the app upload files automatically, or only after an explicit action?
- Can you choose your own storage destination?
- How are shared links protected, managed, or revoked?
- Can sensitive text be obscured before a file leaves your Mac?
For confidential work, capture only the area you need, inspect the final image at full size, and blur information that should not be disclosed. Remember that an annotation layer is not a substitute for removing sensitive content securely; follow the app’s export behavior and your organization’s data-handling requirements.
Cost and Complexity: Compare the Whole Routine
Price matters, but so does the cost of extra steps. A subscription can make sense when it includes services your team relies on. A one-time license may be appealing if you primarily need a focused Mac utility and do not need a larger sharing platform. Compare the license terms, supported Macs, update policy, and number of devices rather than relying on price alone.
Also count the tools in your workflow. If you capture in one app, annotate in another, and upload through a third, the handoffs can add friction. On the other hand, a dedicated uploader may be worthwhile if it saves time across many kinds of files. The best option is the one that makes your frequent task reliable without adding features you rarely touch.
A Simple Decision Checklist
- Identify your most common outcome. Is it a clearly marked image, or a shareable file link?
- Test your hardest example. Try a multi-step tutorial, a sensitive bug report, or a large client file.
- Measure the handoffs. Note how many actions it takes from capture to a recipient-ready result.
- Check privacy and destination settings. Make sure storage and access match your expectations.
- Compare the full cost. Include licenses, subscriptions, storage, and the value of time saved.
If screenshots are mostly a way to communicate visual meaning, start with an editor. If they are mainly files that need to reach someone quickly, start with a sharing tool. If you need both, look for an app that handles your essential markup and delivery steps, or pair specialized tools deliberately.
Verdict: Pick the Center of Your Workflow
The practical answer to Mac screenshot editor vs Dropshare is not that one category is universally better. A screenshot editor prioritizes capture and annotation, making it a natural fit for bug reports, tutorials, and visual feedback. Dropshare’s sharing-led approach is attractive when uploading and distributing files is the recurring task. For occasional overlap, compare the current feature set and test your real workflow rather than assuming the products are interchangeable.
For a focused, local-first editing workflow, Snip Halo is one Mac option to consider; it supports annotation and optional Google Drive sharing. Choose based on how you want to capture, explain, and deliver your work—not on the number of features in a comparison chart.
