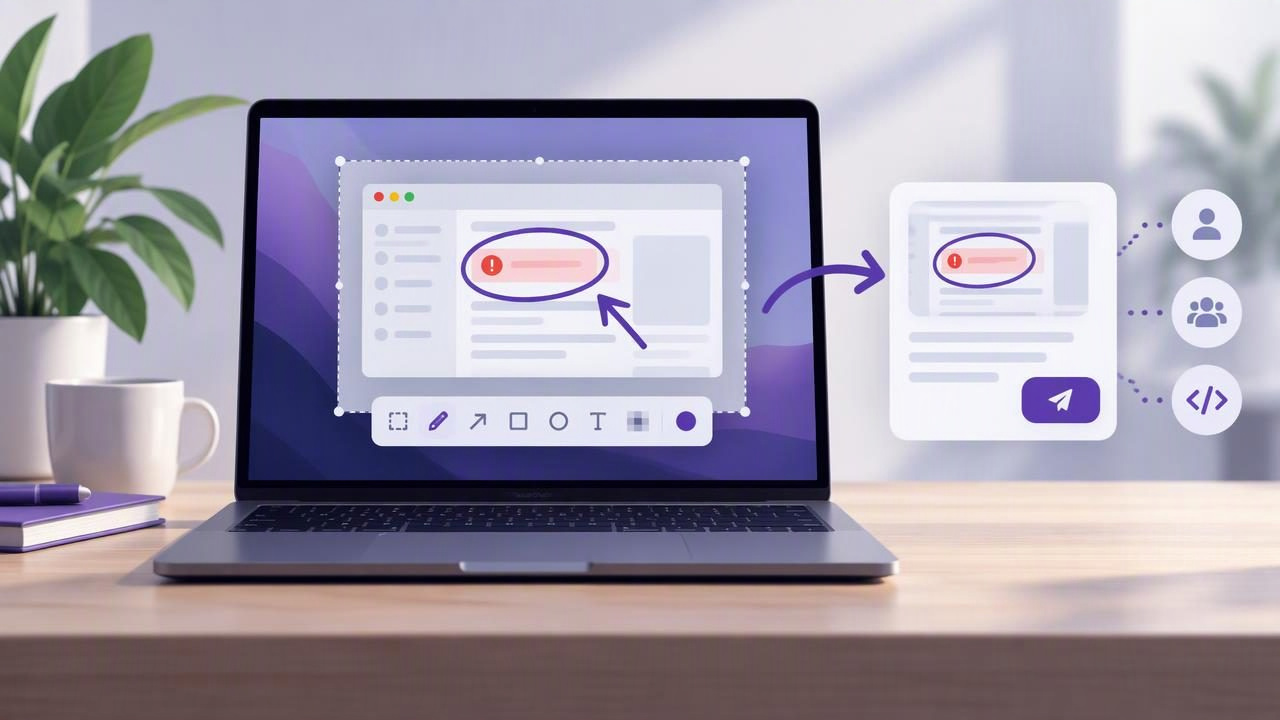
A useful bug report does more than say, “Something is broken.” It shows what happened, where it happened, and what someone should look at next. A Mac screenshot editor for faster bug reporting can make that explanation quicker to create and easier for a developer, support agent, or teammate to understand.
The best workflow is not about covering an image with marks. It is about capturing the right moment, adding just enough context, and sharing the result in a form others can use. This guide walks through that process, from choosing a capture area to protecting sensitive details.
Why screenshots make bug reports easier to act on
Written descriptions are necessary, but they can leave room for interpretation. “The button is too low” does not show which button, how far it is displaced, or what it overlaps. A screenshot gives readers a shared point of reference. A few carefully placed annotations can then direct their attention to the problem.
Visual evidence is especially helpful when reporting interface glitches, layout issues, confusing labels, or a sequence of steps that leads to an unexpected result. It can also reduce follow-up questions: instead of asking someone to recreate your view, you can show the relevant screen and identify the key detail.
A screenshot is not a substitute for useful written context. Pair it with a concise description of what you expected, what actually happened, and how to reproduce the issue. The image should clarify the report, not make readers guess what the marks mean.
A five-step Mac screenshot workflow for bug reports
1. Capture only what the reader needs
Choose the capture type that tells the story with the least visual noise. A region capture works well for a dialog, control, or small layout problem. It keeps attention on the affected area and avoids exposing unrelated windows. Use a full-screen capture when surrounding context matters—for example, when the issue depends on the app window, menu bar, or position of other interface elements.
Before capturing, move the pointer away from important text and close unrelated pop-ups. If the problem appears only after an interaction, capture the screen while the unexpected result is visible. For a transient issue, note what you did immediately beforehand so the image is supported by reproducible steps.
2. Crop with context in mind
A tight crop can make a detail easier to inspect, but cutting too close may hide why it matters. Include enough of the surrounding interface to identify the screen and show the relationship between elements. For example, a clipped heading may be clearer when the full card or panel is visible.
When readers need both overview and detail, consider whether one screenshot can show the complete interface with a marker, or whether two images are clearer. Avoid making a report unnecessarily long, but do not remove context that helps someone reproduce or diagnose the issue.
3. Add clear, restrained annotations
Use an arrow to point to a specific control or change. A rectangle or other shape can outline an area, while a short text label can identify what is wrong. Keep labels concrete: “Error appears after Save” is more useful than “Problem here.” Use readable contrast and avoid placing marks over the very detail you want someone to inspect.
For a multi-step issue, numbered step markers can connect the image to written instructions. If one screenshot contains several numbered callouts, arrange them in the same order as the reproduction steps. Use numbers to show sequence, not as decoration.
Blur is useful for hiding personal information that is not relevant to the report, such as an email address or customer name. Check the finished image carefully: a blur mark should cover the entire sensitive value, and no other visible area should reveal the same information.
4. Add the written details beside the image
Even a well-annotated screenshot needs a short report. A dependable format is:
- Expected: What you thought would happen.
- Actual: What happened instead.
- Steps: The shortest sequence that reproduces the issue.
- Environment: Relevant app version, macOS version, or device details.
Keep each point factual. If you are unsure whether a behavior is a bug, describe the observed result without presenting your interpretation as certainty. The person investigating can then compare the evidence with the intended behavior.
5. Choose a practical way to send it
Copying an annotated image into a ticket, chat, or email is convenient when you are already working in that destination. Saving a file can be better when you need a durable attachment or want to keep a record with project materials. Dragging an image directly into a supported app may also reduce extra steps.
If you share through cloud storage, confirm that the link permissions are appropriate and that the intended recipients can open it. A screenshot that cannot be accessed creates friction rather than speeding up a report.
Match the annotation to the type of bug
Different problems call for different visual cues. Use the smallest set of marks that makes the issue unambiguous:
- Misaligned or overlapping UI: Outline the affected components and use a short label to describe the visible result.
- Wrong control or unclear wording: Point to the exact button or label, then explain the expected action in the report text.
- Issue triggered by a sequence: Add numbered markers that match the written reproduction steps.
- Unexpected error message: Capture the full message and enough surrounding context to show when it appeared.
- Privacy-sensitive screen: Blur unrelated personal details, then inspect the image before sharing.
Keep colors and symbols consistent within a report. If red outlines the defect, avoid using red elsewhere to mean something different. Consistent visual language helps readers scan the screenshot without first learning a new legend.
Choose a screenshot editor that fits your workflow
Mac screenshot apps vary in how much they do beyond capture. Some focus on fast region selection and basic annotation. Others bundle scrolling capture, recording, cloud sharing, or team features. The right choice depends on how often you use those extras and whether they simplify your day-to-day reporting.
When comparing options such as CleanShot X, Shottr, Xnapper, Snagit, Dropshare, or Monosnap, look beyond feature lists. Test the complete task: capture a region, add an arrow and label, blur a detail, and move the result into the place where you report bugs. Pay attention to how many clicks the workflow takes and whether the editing tools feel clear under time pressure.
| What to compare | Why it matters for bug reports |
|---|---|
| Capture options | Region and full-screen capture suit different kinds of evidence. |
| Annotation tools | Arrows, shapes, text, blur, and numbered steps help explain different problems. |
| Sharing and export | Copying, saving, dragging, or link sharing should match your destination. |
| Privacy behavior | Understand whether captures stay local or are uploaded automatically. |
| Pricing model | Compare subscriptions with one-time purchases based on your actual usage. |
Tools differ, and features or pricing can change, so verify current details before choosing. A feature-rich app may be worthwhile if you rely on its recording or collaboration tools. If your main task is to annotate screenshots and send them, a smaller, focused editor may be faster to learn and use.
Keep privacy in the screenshot workflow
Screenshots can contain more than the issue: account details, customer data, open tabs, notifications, or internal project names may be visible at the edges. Capture only what is needed, remove irrelevant information when practical, and blur sensitive details before sending. Treat a screenshot as a file containing real data, not as a harmless picture.
It is also worth understanding where captures go. A local-first workflow keeps images on your Mac unless you choose to share them. That differs from automatic upload or background recording. If a tool offers optional Google Drive sharing, check which account and folder it uses and who can access the resulting link. Sharing should be a deliberate action, not a surprise default.
For teams, agree on a simple rule: include only information needed to diagnose the issue, and use approved destinations for reports. This habit protects people while keeping visual evidence useful.
Common screenshot reporting mistakes to avoid
- Capturing too much: A cluttered desktop distracts from the bug and may reveal unrelated information.
- Using vague labels: “Wrong” does not explain the observed behavior; describe the result briefly.
- Over-annotating: Too many arrows, colors, and text boxes compete for attention.
- Hiding useful context: A close crop can make it impossible to identify the screen or reproduce the issue.
- Forgetting to verify the final image: Check readability, privacy, and whether the annotations point to the intended details.
A quick review before sending can prevent avoidable back-and-forth. Ask whether a teammate who has not seen the problem could identify the affected area and understand the next step from the report.
A quick checklist before you submit
- Does the capture show the issue clearly?
- Is there enough surrounding context to understand it?
- Do arrows, shapes, labels, or numbered steps clarify rather than obscure?
- Have you stated expected behavior, actual behavior, and reproduction steps?
- Have you checked for sensitive details and confirmed the sharing method?
A repeatable capture-and-annotation routine makes bug reports more consistent without turning every report into a documentation project. Start with the evidence, add only the marks needed to guide attention, and pair the image with concise written steps. For Mac users who prefer a focused, local-first workflow with optional sharing, Snip Halo is one example to consider alongside other screenshot editors.
