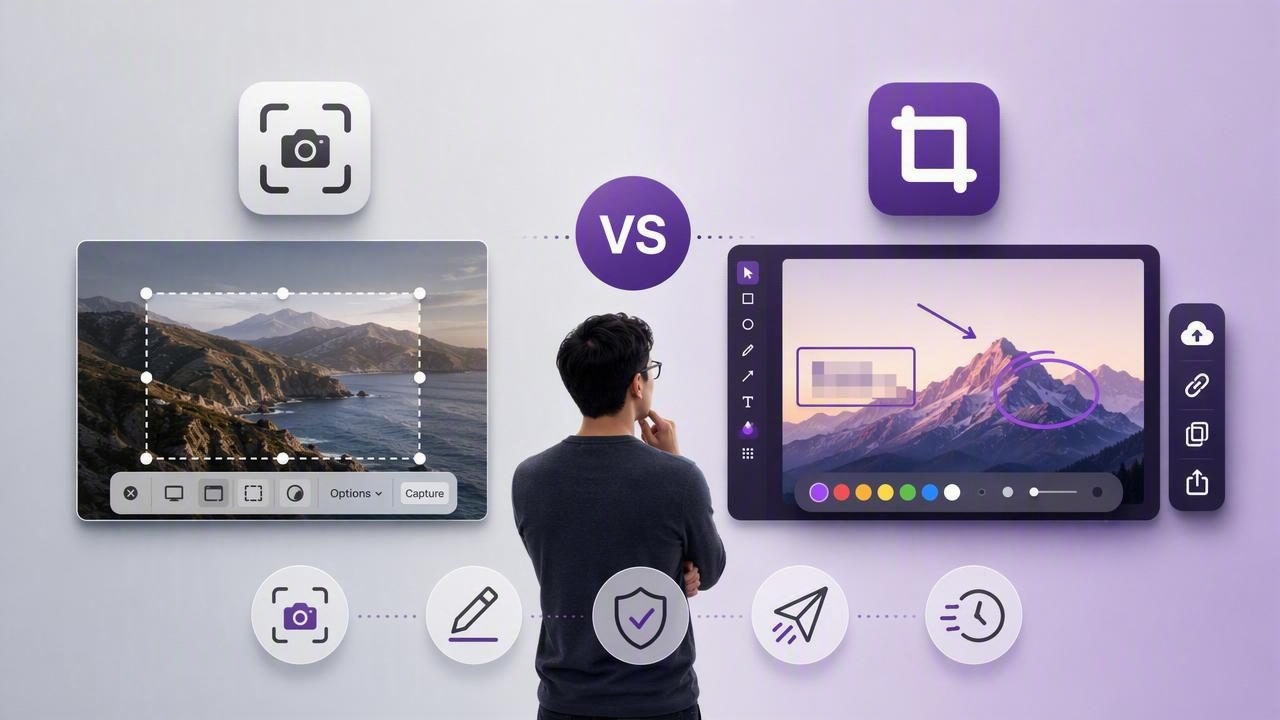
Choosing a Mac screenshot app vs Shottr is less about finding a universal winner and more about matching a tool to the way you communicate. A developer documenting a bug, a support specialist replying to a customer, and a creator making a tutorial may all need screenshots—but they may prioritize speed, markup tools, sharing, privacy, or price differently.
macOS already includes capable screenshot shortcuts, and Shottr has earned attention as a lightweight option for people who want more than the basics. However, a screenshot workflow often becomes more demanding once you need arrows, blur, numbered steps, a reliable capture history, or a simple path to share an annotated image.
This guide explains what to evaluate when comparing Shottr with other native Mac screenshot tools. It also provides a practical framework for deciding which workflow will help you produce clearer visual communication with less friction.
Start With the Screenshot Workflow, Not the Feature List
It is tempting to compare apps by checking whether they include a rectangle tool, text tool, or scrolling capture. Those details matter, but the more important question is: what happens from the moment you see something worth capturing to the moment another person understands it?
A useful Mac screenshot workflow typically has five stages:
- Capture: Select a region, a window, or the full display.
- Review: Confirm that the relevant interface, error, or detail is visible.
- Annotate: Add context with arrows, text, shapes, blur, and numbered steps.
- Export or copy: Put the finished image on the clipboard, save it locally, or drag it into another app.
- Share: Send it through your existing communication channel or create a link when appropriate.
If a tool is excellent at capture but makes annotation awkward, it may not be ideal for product feedback. If it offers elaborate cloud features but your work involves internal interfaces or customer information, privacy controls may be more important than automatic sharing.
What Shottr Is Designed to Do Well
Shottr is a Mac-focused screenshot utility known for being compact and fast. It appeals to users who want to move beyond macOS screenshot shortcuts without adopting a large, enterprise-style capture suite. Its feature set has included practical capture and editing functions such as region screenshots, annotations, scrolling screenshots, OCR-related capabilities, and visual tools intended to speed up everyday capture tasks.
For many users, the attraction is straightforward: capture an area, make a few edits, and get back to work. That makes Shottr particularly relevant for solo professionals, designers, developers, and anyone who takes frequent screenshots but does not necessarily need team administration or built-in project management.
Still, the best choice depends on the exact editing and delivery steps you repeat most often. Before installing any utility, test the actions you perform every day rather than evaluating features you might use once a month.
Mac Screenshot App vs Shottr: Core Comparison Criteria
| Criterion | Why It Matters | What to Test |
|---|---|---|
| Capture speed | Fast capture keeps feedback and documentation moving. | Try region, window, and full-screen capture using keyboard shortcuts. |
| Annotation clarity | Markup should reduce ambiguity, not add visual noise. | Create arrows, labels, blur sensitive details, and add numbered steps. |
| Clipboard workflow | Many screenshots are pasted directly into chat, tickets, or documents. | Capture, annotate, and paste into Slack, email, Notion, or a browser form. |
| Local privacy | Screenshots may contain names, analytics, customer records, or source code. | Check where images are stored and whether uploading is optional. |
| Sharing flexibility | Different teams use different storage and communication tools. | Review local saving, drag-and-drop, copy behavior, and link sharing options. |
| Cost model | Subscription fatigue is real for simple productivity utilities. | Compare free limitations, one-time pricing, upgrades, and recurring plans. |
Capture Modes: Region, Window, and Full Display
The most common screenshot requirement is a region capture. It lets you isolate a modal, an error message, a form field, or a section of a design without exposing unrelated content. A strong region-capture experience should feel precise: you invoke it, drag to select, and immediately move into editing or copying.
Full-screen capture is equally important for visual feedback involving multiple windows, dashboards, or layout problems. For example, a QA tester may need to show an application beside browser developer tools. A product manager might capture an entire desktop to explain how a workflow crosses several apps.
Window capture can be useful when you need clean boundaries around a single application, while scrolling capture may help document a long webpage, landing page, settings list, or chat thread. Not every user needs scrolling screenshots every day, so consider whether it is central to your work before making it a deciding factor.
Why Screenshot Annotation Is Usually the Deciding Factor
A raw screenshot shows what you saw. An annotated screenshot explains what another person should notice. This difference is especially valuable when the recipient was not present when the problem occurred.
Arrows and shapes for visual direction
Arrows are useful for pinpointing a broken button, unexpected alignment, or a value that needs attention. Rectangles and circles help frame an entire area. Look for tools that make these annotations easy to position, resize, and restyle without forcing you into a complicated editor.
Text for context that pixels cannot provide
Use text labels to explain expected behavior, describe a reproduction condition, or add a short instruction. Keep labels brief. Instead of writing a paragraph over an image, add a concise note such as: “Button should remain disabled until all required fields are complete.”
Blur for safe screenshots
Blur is essential when screenshots include email addresses, account numbers, access tokens, customer data, or internal metrics. A good habit is to inspect each capture before sharing it externally. Blur should be deliberate and visible enough that sensitive text cannot be recovered by simply zooming in.
Numbered step markers for tutorials
Numbered markers are ideal for onboarding guides, bug reproduction steps, and process documentation. They turn a busy interface into a sequence that readers can follow. For instance:
- Open the account menu.
- Select billing settings.
- Choose the invoice to download.
- Click the download control.
When the image contains matching numbered markers, the instructions become easier to scan and harder to misunderstand.
Privacy: Local-First Storage vs Automatic Uploads
Privacy is one of the most overlooked parts of a screenshot app comparison. Screenshots can expose far more than intended: browser tabs, notification previews, financial information, support conversations, customer names, and unreleased product features.
A local-first screenshot workflow keeps captures and recent history on the Mac unless you explicitly choose to share them. This approach gives you control over what leaves your device and when. It is especially appropriate for freelancers, agencies, product teams, and regulated businesses that must be cautious with internal material.
Cloud sharing can still be valuable. The key is that it should be understandable and optional. If you need a shareable link, consider whether the app supports a storage provider you already trust, how long files remain available, and whether you can remove shared files later.
Choose automatic sharing only when its convenience outweighs the sensitivity of the content you capture.
Practical Workflows to Test Before You Decide
The fastest way to compare a Mac screenshot app with Shottr is to run realistic mini-tests. Use the same sample screen in every app and time how many actions it takes to finish the job.
- Bug report test: Capture an error dialog, blur a user email, add an arrow to the failing control, and paste the result into an issue tracker.
- Tutorial test: Capture a settings panel, add three numbered steps and a short label, then save it in a project folder.
- Visual feedback test: Capture a design mockup, circle a spacing problem, add text, and drag the file into a team chat.
- Privacy test: Capture a screen with sensitive sample data and confirm that no unexpected upload occurs.
- Repeatability test: Repeat the same process several times and notice whether the interface remains quick and predictable.
These tests reveal the small annoyances that feature lists cannot show. A tool that saves one or two clicks on each capture can make a meaningful difference over hundreds of screenshots.
How Other Screenshot Tools Fit Into the Picture
Shottr is not the only option for Mac users. CleanShot X is often considered by people looking for a broad toolkit and polished capture workflows. Snagit is commonly associated with extensive annotation and documentation features, while Xnapper emphasizes attractive screenshot presentation. Dropshare is more centered on file sharing, and Monosnap has historically combined capture, recording, and sharing features.
These tools serve overlapping but different needs. Large feature sets can be useful for teams that need recording, advanced exports, or managed sharing. On the other hand, a focused native app may be better when your daily work is simply: capture a region, annotate it quickly, and send it through the tools your team already uses.
Do not assume that more features automatically produce a better workflow. For many people, the best screenshot software is the one that stays out of the way while making annotations clear and privacy choices obvious.
Choosing the Right Mac Screenshot App
When deciding between Shottr and another screenshot app, prioritize the requirements that affect every capture:
- Choose a lightweight tool if speed and minimal interface friction are your top priorities.
- Choose strong annotation support if you write tutorials, submit bug reports, or give design feedback.
- Choose local-first handling if screenshots frequently include confidential information.
- Choose flexible export and sharing options if you work across multiple chat, documentation, and storage platforms.
- Choose a one-time purchase when you prefer predictable ownership over another recurring subscription.
For users who want a focused, local-first option with region and full-display capture, annotations, and optional Google Drive sharing, Snip Halo is one example worth evaluating alongside Shottr. The right choice is the app that makes your next screenshot easier to capture, safer to share, and clearer for its recipient.
