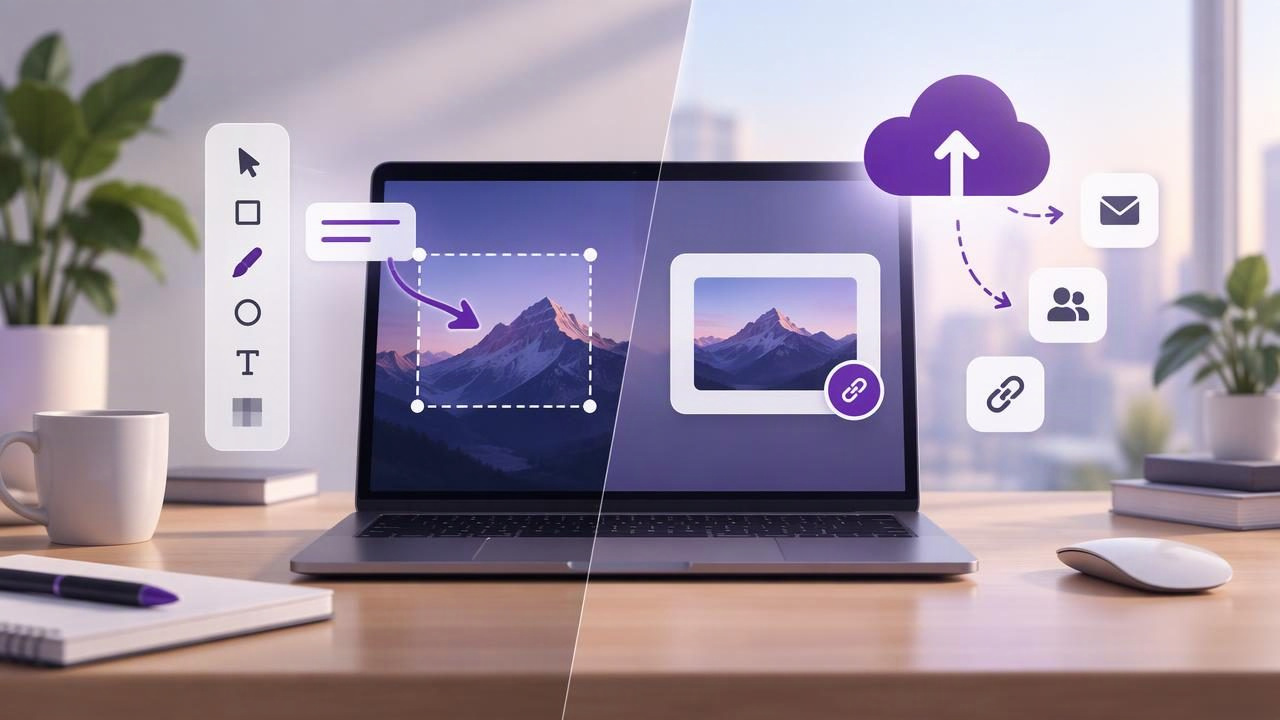
Choosing between a Mac screenshot app and Dropshare comes down to what you need to do after you capture the screen. If your main goal is to upload an image and send someone a link, a sharing-focused tool may suit you. If you need to explain a bug, mark up a design, or prepare instructions before sending anything, an annotation-focused screenshot app may be a better fit.
The difference matters because “taking a screenshot” can describe several jobs: capturing a precise region, obscuring private details, adding arrows or numbered steps, saving a file, or delivering it to a colleague. This guide compares those workflows so you can choose based on the work you actually do, not just a feature list.
What does each kind of tool prioritize?
A Mac screenshot app can cover the capture-to-explanation process. You select a region or full display, add visual context such as text, shapes, arrows, blur, or step markers, and then copy, save, drag, or share the result. The finished image is often the primary deliverable.
Dropshare is generally associated with capturing and sharing files through upload destinations and shareable links. That approach is useful when the goal is to get a screenshot or other file in front of someone quickly. Depending on the version and setup, available capture, editing, destination, and sharing options can differ, so check the current product details before relying on a specific feature.
In short, one workflow emphasizes preparing a clear visual; the other emphasizes delivering a file or link. Those goals overlap, but they are not identical.
Mac screenshot app vs Dropshare: at-a-glance comparison
| Consideration | Annotation-focused Mac screenshot app | Dropshare-style sharing workflow |
|---|---|---|
| Primary job | Capture and explain what is on screen | Upload and distribute screenshots or files |
| Visual markup | Often central: arrows, text, shapes, blur, or steps | Check the current tool and configuration for the editing options you need |
| How recipients get it | Copy, save, drag, or use an optional sharing destination | Commonly through an uploaded file and a shareable link |
| Privacy questions | Where are captures stored, and does anything upload automatically? | Which destination receives the file, and who can access its link? |
| Best fit | Bug reports, tutorials, reviews, and visual feedback | Fast distribution of files to clients or teammates |
This is a workflow comparison, not a claim that every product in either category has identical capabilities. Features, supported destinations, and pricing can change. Evaluate the exact Mac app and plan you intend to use.
When an annotation-first screenshot workflow makes sense
Annotations reduce the amount of explanation a screenshot needs. An arrow can point to a misaligned button; a short label can identify the expected behavior; blur can hide an email address; and numbered markers can turn a sequence of clicks into a compact tutorial.
That preparation is especially useful when the recipient is not sitting beside you. A developer reviewing a bug report needs to know where the problem appears and what happened. A designer receiving feedback needs to distinguish a specific requested change from a general impression. A support customer needs clear steps they can follow without guessing.
Consider a report about a checkout button that becomes unresponsive. A useful capture might show the relevant page, use an arrow to identify the button, and include a concise note such as “Clicking here does not advance to payment.” If the screenshot contains a customer name, blur it before sharing. The point is not to decorate the image; it is to remove ambiguity.
For tutorials, numbered step markers help readers follow an order without scanning a paragraph for each action. Keep each image focused on one task, use consistent marker placement, and make labels short. If a process has many steps, several clear screenshots are usually easier to understand than one crowded image.
When Dropshare may be the better fit
If you routinely send screenshots, large files, or other assets to people outside your organization, a sharing-oriented workflow can save time. Uploading to a chosen destination and sending a link may be more convenient than attaching files to messages or repeatedly navigating folders. It can also be helpful when the recipient needs access to the original file rather than a heavily annotated explanation.
Sharing tools are particularly attractive for teams with an established destination or delivery process. Before choosing one, check whether the destinations you use are supported, how links behave, whether access can be restricted or revoked, and what happens when files are deleted. Also confirm whether the workflow fits your organization’s retention and security rules.
A link is convenient, but it changes the privacy model. The image has left the Mac and is stored somewhere else, even if the destination is an account you control. Think about link visibility, account security, retention, and whether the screenshot includes confidential information. Convenience and control are both important; neither should be assumed.
Privacy: local capture and cloud delivery are different choices
When comparing a Mac screenshot app vs Dropshare, look beyond the word “sharing.” Ask what happens by default. Does the app keep screenshots local until you choose an action, or does it upload automatically? Is there background recording? Which cloud account receives a file? Can you select what gets shared?
A local-first workflow keeps captures and recent history on the Mac by default, with cloud delivery as an intentional action. That can be a good fit for sensitive work or for people who want to review and redact an image before it leaves their device. It does not mean that every later sharing method is private; copying, attaching, or uploading a file still sends it wherever you choose.
With either type of tool, build a quick privacy check into the process: inspect the image, blur personal details, confirm the destination, and review link access before sending. Be especially careful with browser tabs, notifications, account identifiers, and customer data that may appear outside the area you meant to capture.
Compare the whole workflow, not one feature
A capture tool can feel fast until you have to open another app to annotate, find a destination, and create a link. Likewise, an app with extensive markup may add unnecessary steps if all you need is a clean file sent to a client. Test a realistic task from start to finish rather than comparing isolated screenshots on a feature grid.
- Capture: Can you select a precise region as well as a full display? Is the selection process comfortable for repeated use?
- Explain: Can you add the arrows, text, shapes, blur, or numbered markers your work requires?
- Deliver: Can you copy, save, drag, attach, or share the result in the way your recipient expects?
- Control: Are storage defaults, upload behavior, and link permissions clear?
- Pay: Compare the total cost, billing model, and the number of Macs or users included.
Run the test with a real example: report a software bug, review a design, or send a short set of instructions. Note how many steps it takes, where you have to switch apps, and whether the final image makes sense without a long message. A small difference repeated many times can matter more than an impressive feature you rarely use.
How pricing and ownership affect the decision
Pricing is part of the workflow because screenshots are often a daily utility. A subscription may be worthwhile if you rely on hosted sharing, team features, or a broader service. A one-time license can be appealing if you want a focused Mac tool and do not need an ongoing cloud platform. Compare what the price includes rather than treating subscription or lifetime pricing as automatically better.
Check the license terms, supported macOS versions, included devices, and whether any storage or sharing destination has a separate cost. If you use several Macs, verify how activation works. Also consider the cost of the surrounding process: a low-priced app may still require extra services, while a higher-priced plan may replace tools you already pay for.
Which workflow should you choose?
Choose a sharing-first tool if your routine is primarily capture, upload, and send—and if its destinations and access controls match your needs. Choose an annotation-first Mac screenshot app if your routine involves clarifying bugs, preparing visual feedback, or creating step-by-step instructions before delivery. Some people will benefit from both approaches, using local editing for sensitive or explanation-heavy images and a sharing service when fast link delivery is the priority.
There is no universal winner in the Mac screenshot app vs Dropshare comparison. The best fit depends on whether the bottleneck is explaining the image or distributing it. Prioritize the task you repeat most, then confirm privacy defaults, markup options, destination support, and total cost.
For users who want region and full-screen capture, common annotations, local-by-default history, and optional Google Drive sharing, Snip Halo is one example of a focused Mac workflow to evaluate alongside other tools. Whatever you choose, a deliberate capture, clear markup, and intentional sharing decision make screenshots more useful—and safer to send.
