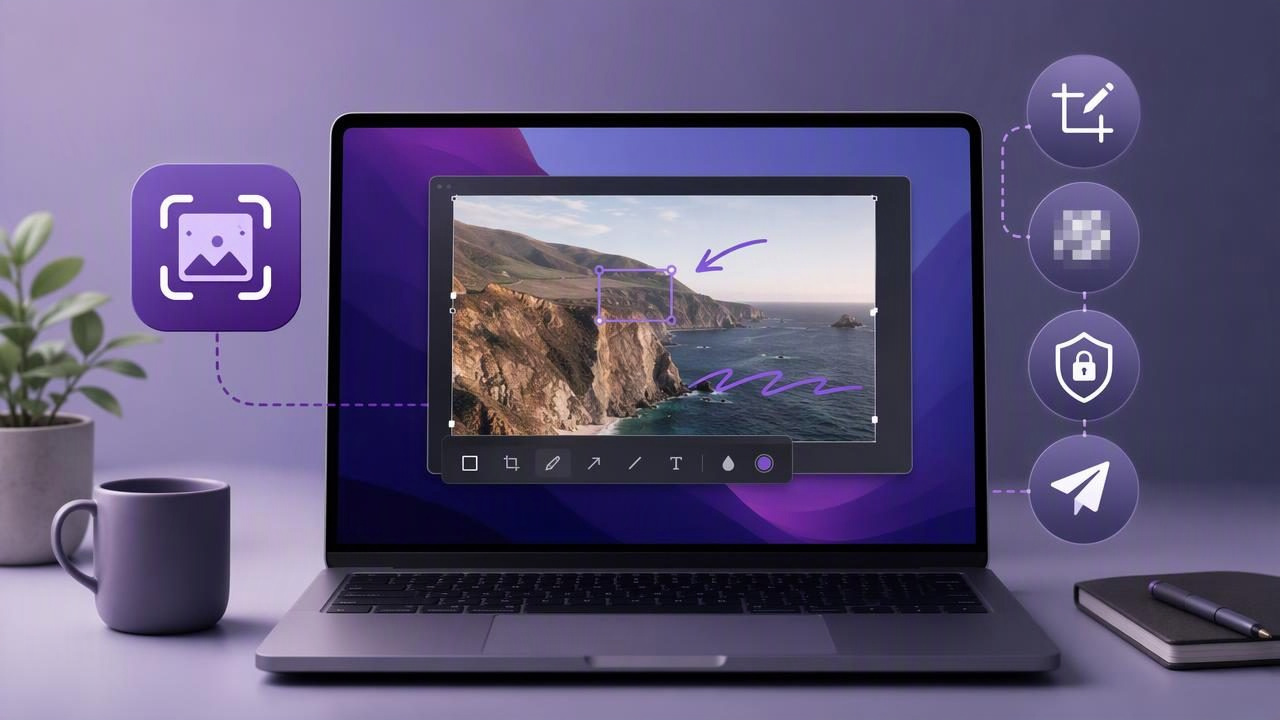
A good screenshot is more than a picture of your screen. It can be a bug report, a client approval request, a quick tutorial, a product note, or the fastest answer to a teammate’s question. For many Mac users, the challenge is not taking the screenshot. macOS already makes that easy. The challenge is turning a raw capture into a clear, useful visual without adding friction, recurring costs, or privacy concerns.
That is why a mac screenshot app for subscription-free screenshot workflows can be a practical choice. The right workflow lets you capture exactly what matters, annotate it immediately, protect sensitive details, and send it where it needs to go. It should also fit how you work: locally when privacy matters, quickly when time is limited, and without requiring a monthly commitment for basic visual communication.
This guide explains what a subscription-free screenshot workflow looks like, which features matter most, and how to choose an app that supports clear, repeatable communication on your Mac.
Why the Default Mac Screenshot Tools Are Not Always Enough
macOS includes dependable screenshot shortcuts. You can capture the full screen with Shift + Command + 3, capture a selected region with Shift + Command + 4, or open the screenshot controls with Shift + Command + 5. For an occasional capture, these built-in options are excellent.
However, work screenshots often need more context. A developer may need to circle an error message. A support specialist may need to blur an email address. A technical writer may need numbered steps that show a sequence. A designer may need to point out several small adjustments in a mockup. Each additional action can mean opening Preview, finding markup tools, saving another file, and repeating the process.
A dedicated Mac screenshot workflow reduces those handoffs. Instead of treating capture and editing as separate jobs, it keeps the useful actions close together:
- Capture a region, window, or full display.
- Annotate before the image leaves your screen.
- Copy, save, drag, or share the finished image.
- Keep recent captures available for reuse when needed.
The result is not simply a faster screenshot. It is a clearer communication process.
What Defines a Subscription-Free Screenshot Workflow?
Subscription-free does not automatically mean feature-light. It means your tool’s pricing model should be understandable and appropriate for the job. Some people prefer a free utility with limited features. Others prefer a one-time purchase for a focused app they use every day. In either case, the workflow should not force you into ongoing fees just to draw an arrow or redact a private detail.
When comparing screenshot tools, look beyond price alone. Consider these five workflow principles.
1. Fast capture should be the starting point
Capture speed matters because screenshots are usually taken in the middle of another task. Region capture is particularly important: it lets you isolate an interface element, error dialog, chart, or setting without exposing unrelated parts of your desktop. Full-screen capture remains valuable when the overall layout or system state provides necessary context.
A flexible tool should make both options easy to access and should not make you crop every image afterward. The fewer corrections needed after capture, the more likely you are to document issues consistently.
2. Annotation should clarify, not decorate
The most valuable screenshot annotations are usually simple. Arrows direct attention. Shapes frame an area. Text explains why something matters. Blur removes information that should not be shared. Numbered markers establish order.
These tools are especially useful when a screenshot is viewed asynchronously. The recipient may not be able to ask a follow-up question right away, so the image needs to answer the obvious questions on its own. A well-marked screenshot reduces ambiguity without requiring a long paragraph beneath it.
3. Local-first handling supports privacy
Screenshots frequently contain more information than intended: customer names, browser tabs, internal dashboards, API keys, calendar events, payment details, or private messages. A local-first screenshot workflow keeps captures on your Mac unless you explicitly choose to share them.
This distinction matters. Automatic uploads can be convenient, but they can also create uncertainty about where images are stored and who can access them. If your work involves confidential client materials, internal software, healthcare data, financial information, or unreleased products, local storage by default is often the safer baseline.
4. Export options should match the destination
A screenshot is only useful when it reaches the right place. Common destinations include email, Slack, project management tools, documentation platforms, issue trackers, and design review threads. A practical workflow lets you copy an image to the clipboard, save it to a chosen folder, or drag it directly into another app.
For remote collaboration, optional cloud sharing may be helpful. The important word is optional. You should be able to choose when an image is uploaded, rather than discovering that every capture is sent to a third-party service automatically.
5. Your screenshot history should be useful but controlled
Recent capture history can save time when you need to retrieve an image you copied a few minutes ago. It is helpful for bug reports, multi-step tutorials, and repeated feedback sessions. Yet history should be handled carefully, especially on a shared computer.
Look for a workflow where recent captures remain accessible locally and can be managed according to your needs. Consider periodically clearing images that contain passwords, customer information, or internal discussions.
Essential Features for Clear Visual Communication
Not every screenshot app needs a huge feature list. In fact, overloaded tools can slow down routine work. The best features are the ones that make screenshots easier to understand in seconds.
| Feature | Best Use | Why It Helps |
|---|---|---|
| Region capture | UI details, error dialogs, settings | Removes distracting desktop content. |
| Full-screen capture | Layouts, system states, presentations | Preserves context when the whole display matters. |
| Arrows and shapes | Feedback and bug reports | Guides the reader to the exact issue. |
| Text labels | Explanations and handoffs | Adds concise context without a separate document. |
| Blur or redaction | Client, account, and personal data | Protects sensitive information before sharing. |
| Numbered steps | Tutorials and reproduction paths | Makes sequence immediately understandable. |
For most professionals, arrows, blur, and numbered steps are more valuable than elaborate effects. Prioritize clarity over visual polish. If someone can understand the point of the screenshot in five seconds, the annotation has done its job.
A Repeatable Screenshot Workflow for Bug Reports
Bug reports are a perfect use case for annotated screenshots because they often fail when key details are missing. A vague message such as “the button is broken” creates extra work for everyone. A screenshot with a visible pointer, a short label, and reproduction context makes the report actionable.
- Recreate the issue. Ensure the screen shows the exact state that caused the problem.
- Capture only the useful area. Use region capture unless the broader layout is relevant.
- Blur sensitive details. Hide names, account IDs, tokens, and unrelated browser content.
- Add an arrow or outline. Point to the unexpected behavior, missing element, or confusing label.
- Add a short note. Use language such as “Expected: menu opens” or “Actual: no response.”
- Attach supporting details. Include browser version, device conditions, steps to reproduce, and severity in the issue tracker.
Use the screenshot to show where the issue appears. Use written text to explain what happened and how to reproduce it. Combining both forms of communication produces stronger reports than either one alone.
How to Create Better Screenshot Tutorials
Screenshot tutorials work best when each image has one purpose. Trying to explain five actions in one crowded capture can overwhelm the reader. Instead, break the process into a small sequence and use numbered markers to reinforce the order.
For example, a tutorial showing someone how to change an account setting might use this format:
- Capture the settings page and mark the navigation item with a 1.
- Capture the next panel and mark the relevant option with a 2.
- Capture the confirmation control and mark it with a 3.
Keep labels short and use a consistent visual style across every image. If arrows are blue in the first screenshot, avoid changing them to red in the next unless color communicates a meaningful difference. Consistency helps readers scan the tutorial quickly.
Good screenshot documentation does not show everything on the screen. It shows the next thing the reader needs to notice.
Comparing Screenshot App Approaches on Mac
There is no single best screenshot app for every Mac user. The right choice depends on whether you prioritize editing depth, sharing, recording, visual presentation, or local privacy.
Tools such as CleanShot X are often considered by users who want a broad collection of capture and recording features. Shottr is known as a lightweight option with useful capture and editing capabilities. Xnapper emphasizes polished screenshot presentation, while Snagit is a more expansive documentation and screen-capture product that can suit teams needing advanced workflows. Dropshare and Monosnap may appeal to users whose primary need is uploading or sharing files and captures.
These tools solve overlapping but different problems. Before choosing one, ask:
- Do I need screen recording, or primarily still screenshots?
- Will I annotate captures every day?
- Do I need cloud links, or do I prefer local files and clipboard sharing?
- Are automatic uploads acceptable for the material I capture?
- Do I want a subscription, a free tool, or a one-time software purchase?
- Will simple arrows, text, blur, and numbered steps cover most of my work?
A focused screenshot tool can be the better choice when your work centers on fast region capture, simple markup, and controlled sharing. A larger suite may be more appropriate when video recording, scrolling capture, asset libraries, or enterprise collaboration are central requirements.
Practical Habits for More Secure Screenshots
Even the best app cannot protect information you intentionally leave visible. Build a quick review step into your workflow before copying, exporting, or uploading any image.
- Check browser tabs, bookmarks, notifications, and menu bar icons.
- Blur names, email addresses, account numbers, and customer records.
- Never rely on a simple crop to hide sensitive content if the original file will be shared.
- Use a separate test account for product demos whenever possible.
- Choose local storage when working with confidential material.
Also remember that blur is most effective when applied before export. Once an unredacted screenshot has been uploaded, pasted into a chat, or attached to a ticket, it may be difficult to fully remove.
Choose a Workflow You Will Actually Use
The best screenshot workflow is not the one with the longest feature list. It is the one that helps you move from “I see the problem” to “someone else understands the problem” with minimal effort. Start with reliable region and full-screen capture. Add straightforward annotation tools. Keep privacy in mind. Then choose a sharing method that fits the sensitivity of the material and the expectations of your team.
If you want a focused, local-first option with a one-time license, Snip Halo is designed around capture, annotation, local history, and optional Google Drive sharing without making automatic uploads part of the default workflow.
Whatever tool you choose, use screenshots deliberately. A clear arrow, a carefully blurred field, and a numbered step can prevent confusion, shorten feedback cycles, and make everyday Mac communication significantly easier.
