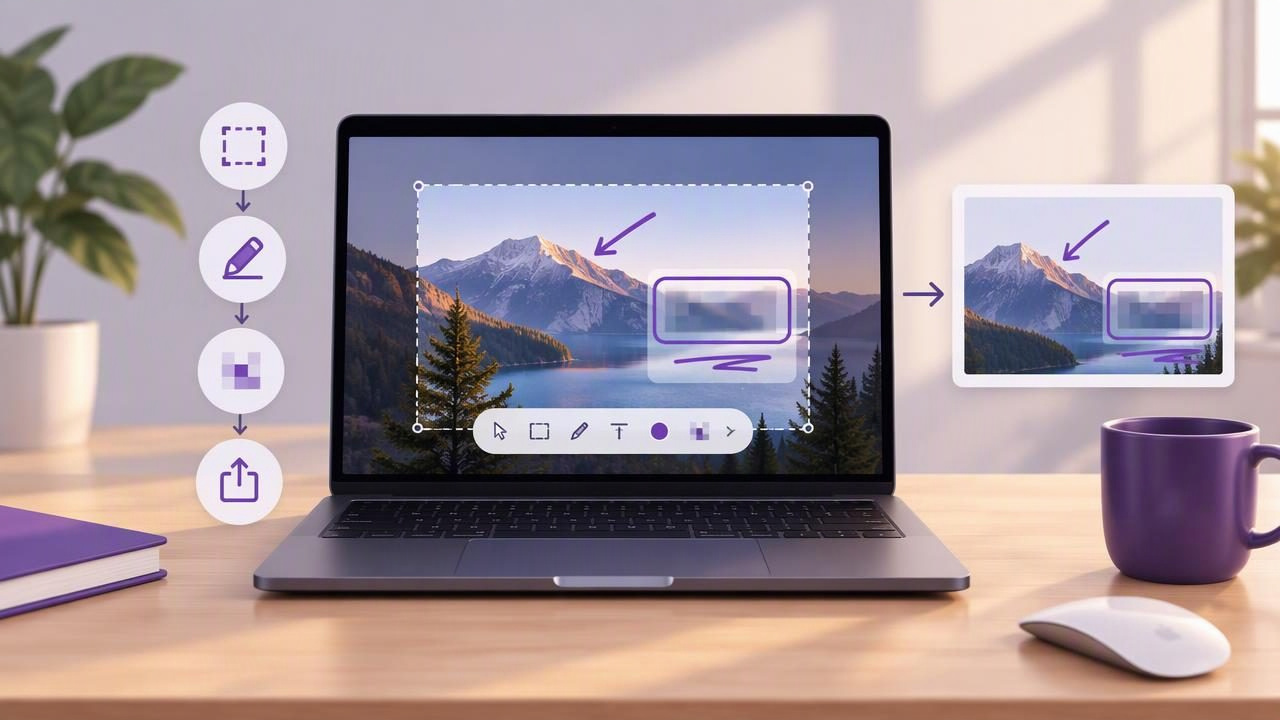
A screenshot can explain a confusing setting, reproduce a bug, or show someone exactly where to click. But a useful image takes more than pressing a capture shortcut. You need to frame the right details, add clear annotations, protect private information, and choose how to share the result.
These local first screenshot app tips for beginners will help you build a practical Mac workflow without sending every capture to an online service. You will learn how to choose a capture area, mark up an image, check it for sensitive details, and save or share it intentionally.
1. Understand what local-first means
A local-first screenshot app keeps captures and working files on your Mac by default. You can edit an image without automatically uploading it to a company’s servers or creating a public link. This approach can be helpful when screenshots include customer information, internal dashboards, unreleased designs, or personal details.
Local-first does not mean every action is automatically private. A file can still be exposed if you send it to the wrong person, save it in a synced folder, or share it through a cloud service. Treat local storage as a useful starting point, then check the destination whenever you export or share.
Before choosing an app, look for clear answers to three questions: where are captures stored, does the app upload them automatically, and what happens when you use a sharing feature? Prefer tools that make these choices understandable rather than hiding them in unclear settings.
2. Choose the capture type that fits the task
The best screenshot is usually the smallest one that still gives the reader enough context. A full-display capture can be useful for showing a complete layout or comparing windows, but it may include unrelated information. A region capture gives you more control over what appears.
- Use a region capture for a single control, error message, dialog, or part of a web page.
- Use a window capture when the entire app window provides useful context without exposing your whole desktop.
- Use a full-screen capture when placement across the display matters, such as demonstrating a menu bar setting or a multi-window arrangement.
On macOS, Shift-Command-4 lets you select an area, while Shift-Command-3 captures the full screen. Holding Control with a supported capture shortcut copies the image to the clipboard instead of saving a file. A dedicated screenshot app can add an editing step immediately after capture, which is useful when you want to annotate before copying or saving.
Before taking the shot, close unrelated windows, move the pointer away from important text, and make sure the relevant content is visible. A few seconds of preparation can save a round of cropping and prevent accidental disclosure.
3. Frame the image for someone who has not seen your screen
When you know an interface well, it is easy to forget that another person may not know where to look. Include enough surrounding context to identify the app, page, or section, but avoid empty space that makes the important detail hard to find.
For a bug report, show the affected control alongside the error or unexpected result. For a tutorial, capture the screen state the reader should see before taking the next action. If a menu or popover matters, capture it open and keep its label visible.
Preview the capture at its intended viewing size. Small text that looks clear on a large Mac display may be difficult to read in a chat window or document. If the detail becomes tiny, take a closer region capture or create a separate image rather than relying on the reader to zoom in.
4. Annotate with restraint
Annotations should guide attention, not compete with the interface. Begin with one mark that makes the purpose obvious. Add more only when each mark explains a separate action or detail.
- Arrows point to a specific control, message, or change.
- Shapes outline an area without covering the content inside it.
- Text adds short context, such as “Select this menu” or “Expected result.”
- Numbered markers show the order of steps in a process.
- Blur obscures information that does not belong in the shared image.
Choose a consistent, high-contrast style and keep labels brief. Avoid placing arrows across text or using several colors without a clear reason. If annotations make the original interface difficult to inspect, undo a few and simplify the image.
5. Use numbered markers for short instructions
Numbered step markers are especially useful when readers need to follow a sequence. Capture a screen that includes the relevant controls, then place markers beside the actions in order. Keep the sequence aligned with the written instructions so readers do not have to guess whether marker three refers to the third sentence or a different action.
For a longer tutorial, do not crowd every action onto one screenshot. Split the process into stages, such as opening a setting, changing its value, and confirming the result. A few clear images are easier to follow than one crowded image with many numbers and labels.
When you use text labels, describe the action rather than repeating what is already visible. “Choose Preferences” may help; a paragraph pasted onto the screenshot usually does not. Put detailed explanations in the accompanying document or message.
6. Blur sensitive details carefully
Before sharing, inspect the image for names, email addresses, account numbers, notifications, browser tabs, private messages, and customer data. Blur or crop details that are not necessary to understand the point. Check the whole capture, including corners and background windows.
After applying blur, zoom in and confirm that the underlying text is no longer readable. A light blur may make information harder to see while still leaving it recognizable. For especially sensitive content, consider covering it with a solid shape or recapturing the screen with the data removed. Do not assume that cropping or hiding an item in an editable project removes it from every exported version; preview the final image before sending.
Also consider whether the screenshot itself is needed. A short description, a redacted example, or a recreated interface with sample data may communicate the issue with less risk.
7. Decide whether to copy, save, or share
Each delivery method suits a different task. Copying to the clipboard is convenient for pasting an image into a support ticket or chat. Saving a file is useful when you need a stable attachment, an archive, or an image for a guide. A sharing link can simplify collaboration, but it introduces a destination and access settings to check.
Use this quick decision guide:
| Need | Practical option | Check before sending |
|---|---|---|
| Quick message | Copy and paste | Confirm the right chat or document is selected |
| Reusable record | Save a named image file | Choose a suitable folder and file name |
| Remote collaboration | Share through an approved service | Review link access and recipients |
If you use cloud storage, sharing should be an intentional step rather than an assumption. For example, an app may let you send a selected capture to your own Google Drive, but you still need to choose the correct account, folder, and permissions. Confirm that recipients can access the file—and that people who should not see it cannot.
8. Keep a simple, searchable screenshot workflow
Good organization prevents repeated captures and makes follow-up easier. Give files descriptive names that identify the topic and, when appropriate, the date or version. “Checkout-error-after-update” is more useful than “Screenshot 17.” Avoid putting confidential information in file names, since names can appear in search results or shared folders.
Keep only captures you have a reason to retain. Recent history can help you return to an image while working, but old screenshots may contain information you no longer need. Review that history periodically and delete unnecessary files according to your work or retention requirements.
If an image will be revised, keep an editable working version when your app supports it. Before delivering the final image, inspect the exported file itself. This helps catch a missing annotation, a misplaced blur, or a crop that differs from the version you reviewed.
9. Match the app to your actual needs
Screenshot tools vary in their emphasis. Some focus on fast capture and annotation; others add cloud sharing, scrolling captures, recording, or team features. Names such as CleanShot X, Shottr, Xnapper, Snagit, Dropshare, and Monosnap may appear in Mac screenshot app comparisons, but a long feature list is not automatically a better fit.
For a beginner, compare the everyday workflow: Can you capture a region quickly? Are arrows, shapes, text, blur, and numbered steps easy to apply? Can you keep work local and choose when to share? Does the pricing suit how often you use the app? A one-time license may appeal if you prefer paying once, while a subscription may make sense if it includes services your team depends on. Verify current features, privacy practices, and pricing directly before deciding.
Try your likely workflow with a harmless sample image. Capture, annotate, blur, save, and reopen it. This practical test reveals more than a feature checklist and helps you spot confusing steps before working with sensitive material.
10. A beginner’s pre-share checklist
- Capture only the area needed to explain the point.
- Keep enough interface context for a new reader.
- Add the minimum arrows, shapes, labels, or numbered steps.
- Inspect the full image for private information.
- Check that blur or covering fully obscures sensitive details.
- Preview the final exported image at a readable size.
- Choose the correct recipient, folder, or sharing permissions.
Following these steps turns a quick screen grab into clear visual feedback while keeping control over what leaves your Mac. The routine does not need to be complicated: capture deliberately, annotate lightly, review carefully, and share only when the destination is right.
If you want a focused native Mac workflow, Snip Halo is one example of an app built around local captures, annotation, and optional sharing. Whatever tool you choose, make privacy and clarity part of the process from the first capture.
