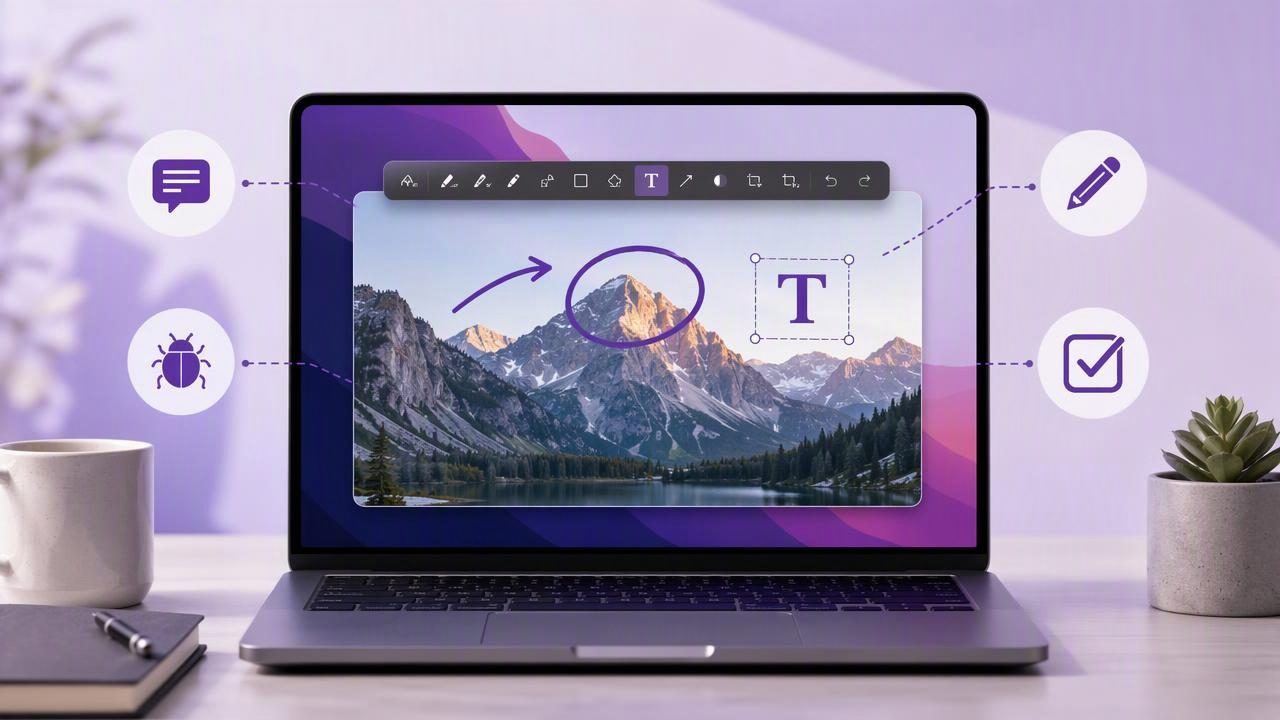
Knowing how to write text on a screenshot is one of the simplest ways to make visual communication more useful. A screenshot shows people what you see, but text explains what matters, what action to take, and why a specific detail deserves attention.
Whether you are preparing a bug report, creating a customer-support reply, documenting a workflow, reviewing a design, or making a tutorial, adding concise text can eliminate rounds of clarification. The goal is not to cover an image with commentary. It is to pair a well-chosen screenshot with just enough annotation to make the message immediately understandable.
This guide explains how to add text to screenshots on a Mac, how to choose the right capture area, and how to create annotations that remain readable when shared in chat, email, project-management tools, or documentation.
Why Add Text to a Screenshot?
Raw screenshots are useful evidence, but they often leave interpretation to the viewer. A teammate may not know which menu item is wrong. A client may not understand whether a section needs approval or revision. A customer may not see the field where they should enter information.
Text annotations solve this problem by providing context directly beside the visual detail. A short label such as “Change this setting to On” can be much more effective than a paragraph that tries to describe the same interface.
- Tutorials: Label buttons, fields, and expected results.
- Bug reports: Identify the error, affected component, and reproduction step.
- Visual feedback: Explain design changes without ambiguous comments.
- Internal documentation: Make procedures easier to scan and follow.
- Customer support: Show users exactly where to click.
Text works especially well when combined with arrows, shapes, blur, and numbered step markers. Each annotation type has a different job: text explains, arrows direct attention, shapes frame important areas, blur protects private information, and numbered markers establish sequence.
How to Write Text on a Screenshot on Mac
There are two common approaches on macOS: use the built-in screenshot and Markup tools for quick edits, or use a dedicated screenshot annotation app when you need a faster repeatable workflow.
Method 1: Use macOS Screenshot and Markup
macOS includes a screenshot toolbar and a basic Markup editor. This option works well for occasional annotations.
- Press Shift-Command-4 to capture a selected region, or press Shift-Command-5 to open the screenshot toolbar.
- Drag to select the part of the screen you want to capture.
- Click the thumbnail preview that appears in the lower-right corner before it disappears.
- In the Markup window, select the Text tool, usually shown as a T icon.
- Click on the screenshot to insert a text box.
- Type your instruction, then adjust its font, size, color, and alignment if needed.
- Drag the text box into a clear area, then click Done to save.
For a simple one-off image, this is enough. However, Markup can feel limiting when you frequently need consistent labels, arrows, blur effects, numbered callouts, and quick copy-and-paste sharing.
Method 2: Capture and Annotate in a Dedicated Screenshot App
A dedicated Mac screenshot app is usually more efficient for recurring documentation or feedback work. Rather than saving a capture, reopening it, and adding text later, you can select a region or full display and annotate immediately.
The typical workflow looks like this:
- Choose region capture for a specific dialog, browser section, or interface element. Choose full-screen capture when overall layout and context are important.
- Capture the screen area.
- Select a text annotation tool and click where the note should appear.
- Set a readable font size and a high-contrast color.
- Add arrows, outlines, or numbered markers to connect the text with the correct UI element.
- Blur personal data, passwords, account numbers, notifications, or customer details.
- Copy the finished screenshot to the clipboard, drag it into an app, save it locally, or share it through your preferred method.
This approach is particularly valuable when your work involves frequent bug reports, onboarding guides, QA notes, product feedback, or asynchronous collaboration.
Choose the Right Screenshot Before Adding Text
Good annotations begin with a focused capture. If the screenshot contains too much unrelated content, even excellent text labels will struggle to guide the viewer.
| Situation | Best Capture Type | Why |
|---|---|---|
| Explain one button or form field | Region capture | Removes distractions and makes text easier to read. |
| Report an error dialog | Region capture with nearby context | Shows the error and the relevant action that caused it. |
| Review a page layout | Full-screen capture | Preserves spacing, hierarchy, and page-level context. |
| Create a multi-step workflow | Several focused region captures | Keeps each instruction simple instead of overcrowding one image. |
| Share a dashboard issue | Region capture plus blur | Highlights the problem while protecting sensitive data. |
A useful rule is to capture the smallest area that still answers the viewer’s likely question: Where is this happening, and what should I do?
Best Practices for Text Screenshot Annotations
Keep Each Label Short
A screenshot is not a word processor. Aim for labels that can be understood at a glance. Instead of writing, “The user should select this dropdown and choose the second available option,” write: “Select Billing”.
If you need more context, place a brief explanation in the message, ticket, or document surrounding the image. The screenshot itself should communicate the essential action.
Use Action-Oriented Language
For instructional screenshots, start labels with a verb. This makes the next step unambiguous.
- Click Save
- Enter your workspace name
- Turn on notifications
- Copy this URL
- Review the highlighted total
For feedback or bug reports, write labels that identify the issue precisely:
- Button overlaps the footer at 125% zoom
- Error appears after submitting an empty form
- Expected: confirmation message
Make Text Readable at Sharing Size
Before sending an annotated screenshot, consider where it will be viewed. A label that looks fine on a large monitor may become unreadable in Slack, email, or a project ticket.
Use a font size that is clearly legible without zooming. Select high-contrast text colors, and add a solid or semi-opaque background when the screenshot is visually busy. Avoid placing text over detailed graphs, photos, patterned backgrounds, or dense interface controls.
Practical test: View the finished image at approximately the size your recipient will see. If you need to squint, enlarge the text or simplify the capture.
Connect Text to the Exact Target
Text floating near an element can still be ambiguous, especially when several controls are close together. Use an arrow or a shape to make the connection explicit. A thin arrow can point from the label to the target, while a rectangle or circle can frame the relevant control.
Do not use too many arrows in one image. If three or more arrows cross each other, divide the content into separate screenshots or use numbered steps instead.
Use Numbered Steps for Processes
When a screenshot contains several actions, numbered step markers are often clearer than long text labels. Put a number beside each target, then provide a concise matching list below the screenshot or in the accompanying message.
1. Open Settings
2. Choose Notifications
3. Enable Daily Summary
4. Click Save
This format works well for onboarding instructions, product walkthroughs, configuration guides, and test plans. It also keeps the image clean because the explanatory text can live outside the screenshot.
For best results, use numbers in a logical reading order: top to bottom, then left to right. Keep each marker near its control but never directly on top of text a user needs to read.
Protect Privacy Before You Share
Writing text on a screenshot should not come at the cost of exposing sensitive information. Screenshots can contain email addresses, phone numbers, customer records, browser tabs, API keys, private chat messages, financial details, or internal project names.
Before exporting or copying an image, scan it carefully. Use a blur or solid cover shape for anything a recipient does not need to see. Cropping is even better when the sensitive information is outside the relevant context.
For teams with privacy requirements, consider a local-first screenshot workflow. Local capture history helps you review, edit, copy, and save images without automatic uploads or background recording. If cloud sharing is needed, it should be a deliberate choice rather than an invisible default.
Common Mistakes When Adding Text to Screenshots
- Writing too much: Replace paragraphs with short labels and supporting arrows.
- Capturing too much screen: Use region capture when full-screen context is unnecessary.
- Using low-contrast colors: White text over a pale interface or red text over an error banner can disappear.
- Covering critical UI: Place labels in empty space and point to controls rather than obscuring them.
- Forgetting the expected outcome: In bug reports, show or state what should have happened.
- Sharing sensitive details: Blur, crop, or redact before sending.
A Simple Workflow for Better Annotated Screenshots
Use this repeatable checklist whenever you need to explain something visually:
- Identify the one message the screenshot must communicate.
- Capture only the screen area needed to support that message.
- Add one short text label with a clear action or observation.
- Use an arrow, outline, or numbered marker to identify the target.
- Blur or crop sensitive information.
- Review readability at normal sharing size.
- Copy, save, or share the annotated image through the appropriate channel.
Once this becomes habitual, creating a useful visual instruction can take less time than writing a detailed explanation from scratch.
Make Every Screenshot Easier to Understand
Learning how to write text on a screenshot is really about improving clarity. Capture the right area, use brief labels, connect each note to a visible target, and protect information that should stay private. The result is a screenshot that helps people act rather than guess.
For Mac users who want region and full-screen capture, text, arrows, shapes, blur, numbered steps, local history, and optional Google Drive sharing in one focused workflow, Snip Halo is one lightweight option to consider.
