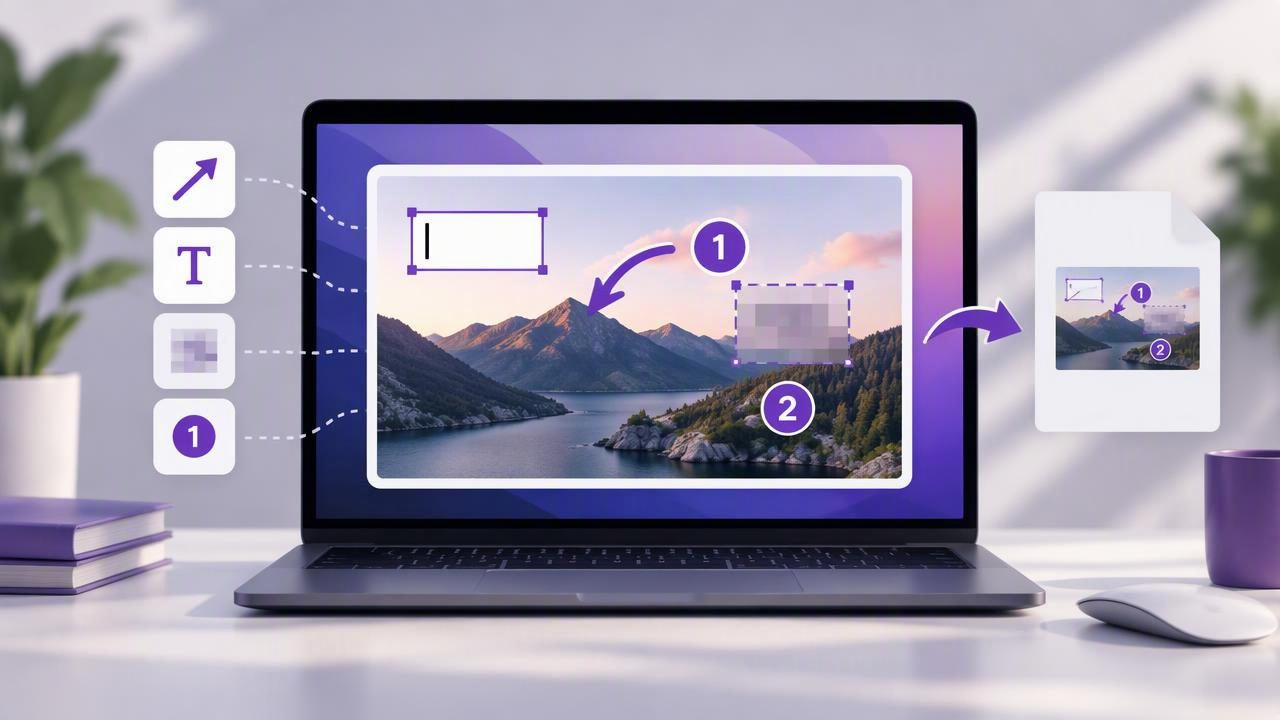
A screenshot can make a bug report, tutorial, or design comment much easier to understand—but only if the annotations are clear and easy to revise. Add an arrow in the wrong place or spot a typo after exporting, and a flattened image may force you to start over. The solution is to keep working in your Mac screenshot app until the markup is final, then export a copy for sharing.
Understanding what “editable” means is important. Many screenshot apps let you move or change annotations while the capture is open in the editor. Once you save or copy the result as a standard PNG or JPEG, those marks are usually merged into the image. This guide explains how to preserve flexibility before export, choose a useful format, and create cleaner annotated screenshots.
What editable screenshot annotations mean
In an annotation editor, the screenshot is the background and each arrow, shape, text label, blur area, or step marker can be treated as a separate object. While those objects remain editable, you can reposition them, adjust their size, change text, or delete them without altering the underlying screenshot.
A regular exported image works differently. PNG and JPEG files generally show the final appearance, not a collection of independently editable objects. The annotations are flattened into the pixels. You can still draw over the image in another editor, but you may not be able to select and adjust the original arrow or text as a separate element.
Some tools save a project or layered document that preserves editability after you close the editor. Others keep the annotation objects editable only during the current session. Check how a specific app handles saved projects, recent captures, and exported files. Do not assume that saving a PNG preserves the editing state.
A reliable workflow before you export
To avoid redoing work, capture and annotate in a deliberate order. You can use this process for a bug report, a how-to guide, or visual feedback on a design:
- Capture the right area. Choose a region capture for a focused detail or a full-screen capture when surrounding context matters. Close unrelated windows and move the pointer if it obscures something important.
- Keep an untouched original when needed. If the image may be useful later, save a clean capture or confirm that the app keeps a local original. This gives you a fresh starting point if the markup becomes crowded.
- Add the most important annotation first. Use an arrow or outline to direct attention to the relevant control, error, or design detail. Avoid marking every visible element.
- Add concise labels or numbered steps. Text should explain what the viewer should notice or do. Numbered markers work well when the order of actions matters.
- Apply blur to sensitive information. Cover private details before sharing, then inspect the result at normal viewing size to make sure the blurred area is sufficiently concealed.
- Review every object in the editor. Select and adjust annotations while they are still available as separate elements. Fix overlaps, spelling, placement, and contrast before exporting.
- Export or copy the finished image. Choose the format and destination for the person who will use it. Keep the editable session or project if you expect another round of changes.
How to make annotations easier to revise
Use one annotation for one purpose
Give each arrow, shape, or text box a clear job. An arrow can point to a button; a box can outline a region; a short label can explain the expected result. Combining several messages in one crowded area makes later edits harder and can confuse the reader. If the screenshot needs a paragraph of explanation, put that context in the bug report or tutorial rather than on the image.
Keep labels short and specific
Write action-focused text such as “Select Export” or “The dialog closes here.” Short labels are easier to fit, move, and scan. Before exporting, check that the text is not clipped and that it remains readable when the image is displayed at a smaller size.
Check order and visual hierarchy
For instructions, numbered markers should follow the actual sequence. Place them close to the relevant controls without covering the controls themselves. Use a consistent size and style so readers recognize that the markers belong together. For visual feedback, reserve the strongest color or largest shape for the primary issue.
Keep the screenshot itself legible
Annotations should guide attention, not hide the evidence. Avoid placing arrows over error messages or shapes across important interface details. If the capture is too wide, take a region capture around the relevant area. If context is necessary, use a full-screen capture and add a small number of focused callouts.
Choose an export format that fits the job
For most bug reports and quick instructions, PNG is a practical choice because it preserves crisp interface text and sharp edges. JPEG can be useful when file size matters, though its compression may soften fine details. A PDF may suit a multi-page document or a workflow that will be printed, depending on the app’s export options.
Remember that an export format and an editable project are not the same thing. A finished PNG is convenient to paste into a ticket or message, but it usually will not preserve selectable annotations. If you anticipate changes, keep the capture open until review is complete, save a separate editable project if the app supports it, or retain an unmarked original and recreate the markup as needed.
A simple file-naming pattern can also help: use a descriptive name such as checkout-error-annotated.png for the shareable image and distinguish it from an original capture or project file. Avoid overwriting the clean version if you may need to make a different set of notes later.
Editable annotations for common Mac workflows
| Use case | Helpful annotations | What to review before export |
|---|---|---|
| Bug report | Arrow, outline, short text label | Is the error visible, and can someone identify where it occurred? |
| Step-by-step tutorial | Numbered markers and concise labels | Do the numbers match the action order? |
| Design feedback | Shapes, arrows, brief comments | Does each note refer to one specific element? |
| Sharing a sensitive screen | Blur over private details | Is all identifying information concealed? |
These workflows benefit from editability in different ways. A developer may ask for a callout to point to a neighboring control. A tutorial writer may need to reorder steps after testing the instructions. A designer may want to soften or remove a comment before sending feedback. In each case, revising annotations before export is faster than rebuilding a flattened image.
What to look for in a Mac screenshot app
When comparing screenshot tools, look beyond the capture button. Check whether the app offers region and full-screen capture, and whether its editor supports the annotations you actually use: arrows, shapes, text, blur, or numbered steps. Then find out how the editor treats objects, what happens when you copy or export, and whether you can return to a recent capture.
Apps such as CleanShot X, Shottr, Xnapper, Snagit, Dropshare, and Monosnap have different feature sets and workflows. A comparison should focus on your needs rather than assuming every tool handles editing, storage, sharing, or pricing the same way. If editable projects matter, verify that capability in the app’s current documentation or trial rather than treating a standard image export as a source file.
Also consider where captures go. A local-first workflow can be useful when screenshots contain customer details, internal software, or other sensitive material. Look for clear controls over saving and sharing, and check whether uploads happen only when you choose them. Optional cloud sharing is different from automatic background uploading.
A final pre-export checklist
- Is the capture framed around the information the viewer needs?
- Can every arrow, shape, label, and marker be read at normal size?
- Are annotations still editable in the current session or saved project?
- Have you checked spelling, step order, overlaps, and blur coverage?
- Are you exporting a shareable copy while keeping an original if needed?
- Does the chosen destination match the privacy expectations for the image?
The key habit is simple: finish reviewing annotations before exporting a flattened image. Capture only the context you need, keep markup focused, and save an editable project or clean original when future revisions are likely. For Mac users who want native capture and annotation with local-by-default history and optional Google Drive sharing, Snip Halo is one option to consider.
