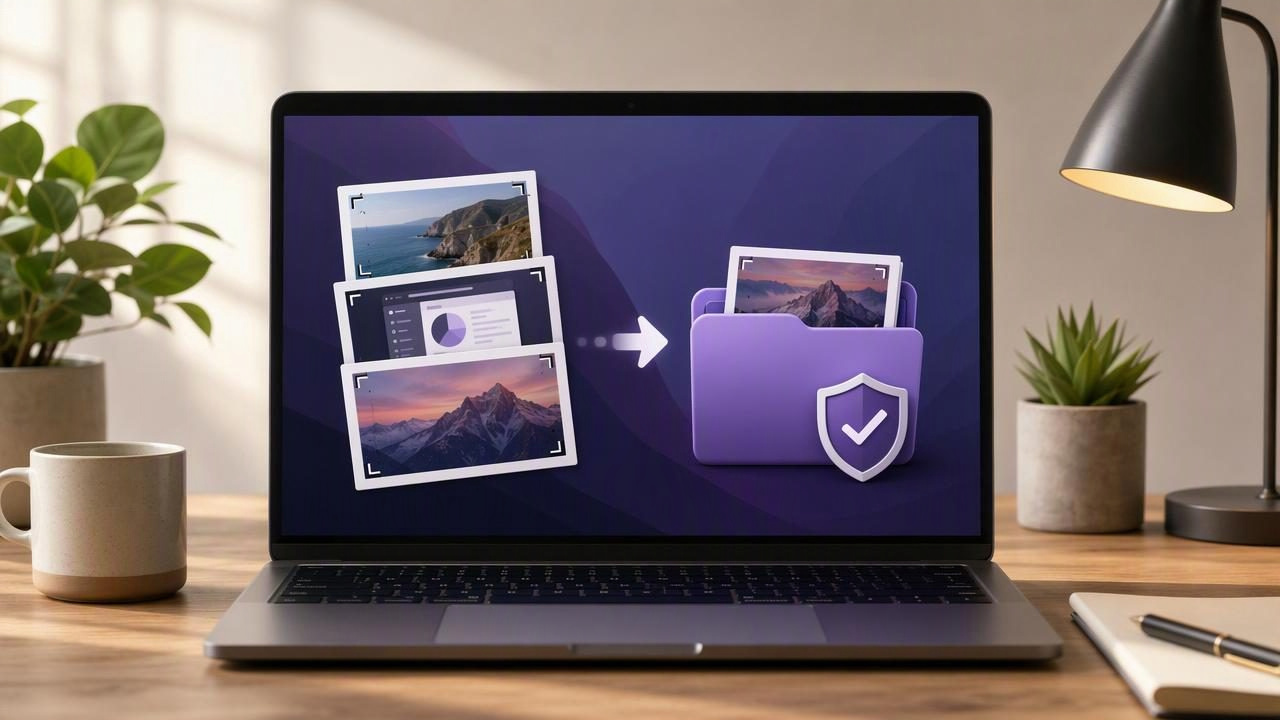
Screenshots are often more sensitive than they appear. A single capture may include client names, browser tabs, internal dashboards, login details, product roadmaps, billing information, or private conversations. That is why many Mac users want to know how to keep recent screenshots locally instead of sending every capture to a cloud service automatically.
Keeping screenshots on your Mac gives you more control over privacy, retention, organization, and sharing. It also makes everyday work faster: you can capture a bug, annotate a design, copy it into a message, and move on without wondering whether the image was uploaded somewhere in the background.
This guide explains how local screenshot storage works on macOS, how to choose a private screenshot workflow, how to manage recent captures, and when optional sharing makes sense.
What Does It Mean to Keep Screenshots Locally?
Local screenshot storage means the image file, its preview, and any recent-capture history remain on your Mac unless you deliberately choose to export or share them. The screenshot may be saved in a folder such as Desktop, Documents, Downloads, or a dedicated project folder. It may also remain temporarily available in an app's local history for quick reuse.
This differs from a cloud-first workflow, where captures are automatically uploaded to a third-party server and converted into shareable links. Automatic uploads can be convenient for teams, but they are not always appropriate for confidential work or personal use.
A local-first approach usually gives you these benefits:
- More privacy: Captures stay under your control until you share them.
- Better compliance awareness: You can avoid accidentally uploading customer, employee, or internal business information.
- Offline access: Your screenshot workflow still works without an internet connection.
- Fewer accidental links: There is no public or semi-public URL created by default.
- Flexible organization: You decide where files go and how long they remain available.
Understand the Default macOS Screenshot Behavior
macOS includes built-in screenshot controls. Press Shift-Command-3 to capture the full screen, Shift-Command-4 to capture a selected region, or Shift-Command-5 to open the Screenshot toolbar. By default, screenshots are commonly saved to the Desktop, although this can be changed.
To choose a local destination, open the Screenshot toolbar with Shift-Command-5, select Options, and look under Save to. You can select a standard folder or choose Other Location to create a dedicated screenshot directory.
For example, a clean folder structure might look like this:
Documents/
  Screenshots/
    Bug Reports/
    Client Feedback/
    Product Tutorials/
    Temporary Captures/
This simple setup keeps screenshots out of your general desktop clutter while preserving a local copy. It is especially useful if you take screenshots every day for documentation, QA testing, support, design review, or tutorials.
Choose Whether to Save Files or Copy to Clipboard
Not every screenshot needs to become a permanent file. For quick replies in Slack, email, a document, or a support ticket, copying directly to the clipboard can be the cleanest option. Hold Control while using a macOS screenshot shortcut to copy the image rather than saving it as a file.
For instance:
Control-Shift-Command-3copies a full-screen capture.Control-Shift-Command-4copies a selected-area capture.
This approach reduces file clutter, but it has one limitation: clipboard-only images are easy to lose if you copy something else. If you need a reliable record of recent captures, use a screenshot tool or workflow that maintains a local recent history.
A useful rule is to save screenshots when they are part of a project, report, tutorial, or decision trail. Use the clipboard for disposable visual messages.
Use a Local Screenshot History for Recent Captures
Recent screenshot history is valuable because people rarely capture the perfect image on the first attempt. You may need to compare two versions, reuse an image in a ticket, retrieve a capture after closing a preview, or send the same annotated screenshot to multiple people.
When evaluating a screenshot app, check what “history” means. Some tools keep thumbnails and image files locally on your Mac. Others sync captures to their own service by default, while some offer a mix of local storage and cloud sharing. The most privacy-conscious option is one where local history is the default and sharing is an intentional action.
Look for settings that answer these questions:
- Where are original screenshots stored?
- Are recent captures saved locally, in the cloud, or both?
- How long does the app keep screenshot history?
- Can you clear individual captures or all history?
- Does the app upload images automatically?
- Can you choose a specific local folder for exports?
If an app does not make these answers clear, review its preferences, privacy documentation, and sharing settings before using it for sensitive material.
Create a Practical Local Screenshot Workflow
The best workflow is not necessarily the one with the most features. It is the one that helps you capture, explain, store, and share information with minimal friction. A local workflow can be both simple and reliable.
1. Capture only the relevant area
Use region capture whenever possible. It produces smaller, clearer images and reduces the chance of including unrelated tabs, notifications, names, or desktop items. Full-screen capture is useful for broad context, but region capture is often better for bug reports and visual feedback.
2. Annotate before exporting
Add arrows, boxes, text, blur, and numbered steps while the screenshot is still fresh. Annotations turn a raw image into an explanation. For example, a bug report can use a red arrow to identify the broken button, a blur effect to hide customer data, and numbered markers to show the exact sequence that caused the problem.
3. Keep the source image in local history
Even after copying an annotated image into a ticket, keep it in your local recent-capture history for a reasonable period. This helps when someone asks for a higher-resolution version, a correction, or a follow-up image.
4. Export only when a file is needed
Save finalized screenshots to the appropriate project folder. Use descriptive file names such as checkout-error-step-3.png or dashboard-filter-feedback.png instead of generic timestamp-only names.
Organize Local Screenshots Without Creating Clutter
A local-first workflow does not mean saving every screenshot forever. The goal is controlled retention. Create a lightweight system that separates temporary captures from images that support active work.
| Screenshot Type | Suggested Local Location | Retention Approach |
|---|---|---|
| Quick chat reply | Clipboard or Temporary Captures | Delete within days |
| Bug report evidence | Bug Reports folder | Keep until issue is resolved |
| Client feedback | Client or project folder | Keep through approval period |
| Tutorial screenshots | Documentation folder | Keep while content is current |
| Personal sensitive capture | Encrypted local folder | Delete as soon as no longer needed |
Consider adding a monthly cleanup reminder. Review your temporary screenshot folder, remove duplicates, and delete images containing information you no longer need. This protects privacy and keeps Finder searches useful.
Protect Sensitive Information Before Sharing
Keeping screenshots locally is only one part of a privacy-conscious process. Before you send any image externally, inspect it carefully. Screenshots can reveal more than the main subject of the image.
Before exporting or sharing, check for:
- Email addresses, phone numbers, and physical addresses
- Passwords, API keys, tokens, or account identifiers
- Customer records and financial information
- Private browser tabs, bookmarks, and notifications
- Internal URLs, staging environments, and confidential project names
- Metadata or file names that reveal unnecessary context
Use blur for information that should not be visible. When blur is not available, crop the image more tightly or cover the information with a solid shape. Remember that annotation should happen before sharing; deleting an uploaded image later does not undo an accidental disclosure.
Privacy tip: Treat every screenshot as a document. If you would not attach the full image to a public email, do not upload it automatically to an external service.
When Optional Cloud Sharing Is Useful
Local storage and cloud sharing do not have to be opposites. The strongest workflow often keeps screenshots local by default and uses cloud sharing only when it solves a real collaboration problem.
For example, you might keep all captures and annotated drafts on your Mac, then upload one approved image to a shared Drive folder for a remote client. This gives collaborators access without turning every casual screenshot into an online asset.
Optional sharing is particularly useful when you need to:
- Send a large image without attaching it to an email
- Provide a link for a client or teammate
- Store approved documentation in a shared workspace
- Coordinate feedback across a distributed team
Before sharing, confirm who can access the destination folder and whether the link has the correct permissions. A link that works is not automatically a link that is private.
Compare Screenshot Apps by Storage Defaults
When comparing Mac screenshot tools, users often focus on annotation features, scrolling capture, visual polish, or price. Those are useful factors, but storage defaults deserve equal attention. A tool with arrows and text is not necessarily a good fit if it automatically sends every capture to the cloud.
Use this checklist when comparing screenshot apps:
- Does it support region capture and full-screen capture?
- Can you add arrows, shapes, text, blur, and numbered steps?
- Does recent screenshot history remain local by default?
- Can you copy, drag, or save captures without creating a share link?
- Is cloud sharing optional rather than automatic?
- Can you delete local history and choose export locations?
- Does the pricing model match how often you expect to use it?
For people who want an annotation-focused Mac workflow with local capture history and deliberate sharing, tools such as Snip Halo are designed around that local-first preference.
Make Local Screenshot Storage a Habit
Learning how to keep recent screenshots locally is ultimately about setting a default you can trust. Capture locally, annotate clearly, save meaningful files in organized folders, and share only the images that truly need to leave your Mac.
That workflow supports faster bug reports, cleaner tutorials, safer visual feedback, and less digital clutter. More importantly, it lets you decide where your screenshots go instead of letting an automatic upload setting decide for you.
