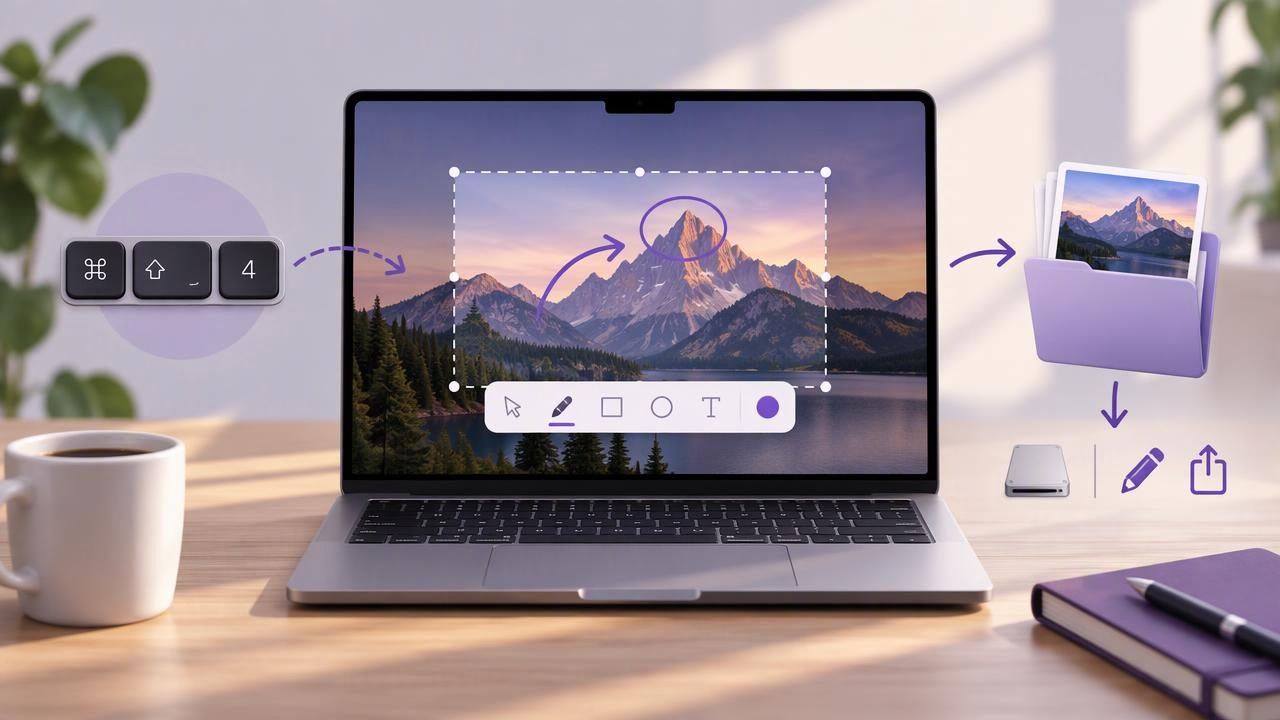
A screenshot can contain more than the detail you meant to show. A browser tab may reveal a customer name, a desktop notification may expose a private message, or an uncropped image may include unrelated work. Choosing a Mac screenshot app is therefore about more than capture speed. It is also about knowing where images go, when they are shared, and what happens to them after capture.
To get local screenshot control with a Mac screenshot app, look for a workflow that keeps captures on your Mac by default, gives you clear control over saving and sharing, and lets you check an image before sending it. This guide explains how to assess those choices and build a practical routine for bug reports, tutorials, and everyday visual feedback.
What “local screenshot control” means
Local control is the ability to capture and work with an image without automatically uploading it to a third-party service. It does not mean that every screenshot must remain on your Mac forever. It means you decide whether to copy, save, drag, or share the image—and where it goes.
That distinction matters because screenshot tools handle files differently. Some focus on editing and saving locally; others connect capture to cloud links, team workspaces, or recording features. Those capabilities can be useful, but they should fit your workflow rather than happen unexpectedly. Before installing an app, check its privacy information and how it handles captures, history, and optional integrations.
Start with a capture-to-destination plan
Before choosing settings, decide what you normally do with a screenshot. A quick message to a coworker may need an image on the clipboard. A support ticket may need a saved file. A tutorial may need several labeled images. Knowing the destination helps you avoid leaving copies in places you did not intend.
- Choose the capture scope. Use region capture when only one control, error, or section matters. Choose full-screen capture when the surrounding context is necessary to understand the issue.
- Review the image. Check the edges, open menus, browser tabs, notifications, and any account or personal details.
- Annotate only what helps. Add an arrow, shape, text label, blur, or numbered step marker to guide the viewer.
- Select a destination. Copy it into a message, save it to a known folder, drag it into a document, or deliberately share it through a service you choose.
- Clear unnecessary copies. If you saved an image temporarily, remove it when it is no longer needed, following your organization’s retention rules.
This sequence makes the screenshot a deliberate artifact, not an automatic upload. It is also easy to repeat across bug reports, feedback requests, and internal documentation.
Choose an app with transparent defaults
Look beyond the number of editing tools. A privacy-conscious Mac screenshot workflow depends on predictable defaults and clear choices. Review how the app treats new captures, recent history, temporary files, and integrations. If an app offers cloud sharing, confirm whether sharing is optional and whether you can use local capture and editing without creating a cloud link.
- Local by default: Captures and recent history should stay on the Mac unless you take an action to move or share them.
- Clear destinations: It should be easy to understand whether a command copies, saves, drags, or uploads an image.
- Visible sharing controls: A cloud link should be created intentionally, not as an unexplained consequence of capture.
- Useful editing: The app should support the annotations you actually need without forcing an unnecessarily complex workflow.
- Understandable pricing: Compare ongoing subscription costs with a one-time license, while checking what each option includes.
Also consider macOS permissions. Screen capture and accessibility permissions may be needed for particular features. Grant only the permissions required for the workflow you want, and revisit them in System Settings if your needs change.
Annotate for clarity without exposing more
Good screenshot annotation reduces explanation. An arrow can point to a button; a rectangle can frame a layout issue; a short text label can identify the expected result. Numbered step markers work well when a single image needs to show a sequence, such as where to open a menu and which option to select.
Keep annotations consistent. Use a small number of colors, make labels readable at the image’s final size, and avoid covering the interface element the viewer needs to inspect. For a bug report, capture the state that demonstrates the problem, then add a concise label such as “Expected: menu stays open.” That provides useful context without turning the screenshot into a long explanation.
Blur deserves extra care. Use it to obscure information that does not need to be visible, such as an email address or account identifier. After applying blur, inspect the result at full size. Confirm the sensitive text is not still readable around the edges or elsewhere in the image. When the information is especially sensitive, the safer choice may be to recapture a cleaner screen rather than rely on an edit.
Keep optional cloud sharing intentional
Local-first does not have to mean “never share.” Teams often need images in tickets, shared documents, or review threads. The important difference is control: a person should be able to decide when a screenshot leaves the Mac and which service receives it.
If you use a Google Drive integration, check that it connects to your own account and that you understand the resulting file location and access settings. A link may be restricted or broadly accessible depending on the sharing configuration. Verify permissions before distributing it. For sensitive work, follow company policy and use approved storage rather than a personal account.
Clipboard workflows also deserve a quick check. Copying an image is convenient, but the destination app may sync content or retain message history. Treat the receiving service as part of the privacy decision, not just the screenshot app.
Compare Mac screenshot apps by workflow
There is no single best screenshot app for every Mac user. Compare tools by the job you need done, their current feature set, and their data handling—not just by a list of features. App capabilities and plans can change, so verify details on each vendor’s current product and privacy pages.
| Workflow priority | What to evaluate | Useful question |
|---|---|---|
| Fast local annotation | Region capture, arrows, shapes, text, blur, and numbered markers | Can I finish a clear image without creating an account or upload? |
| Cloud collaboration | Link creation, storage location, access controls, and team features | Can I choose when to share and review who can open the link? |
| Advanced capture or recording | Scrolling capture, video, automation, and broader editing tools | Will I use the added capabilities often enough to justify the complexity or cost? |
| Predictable spending | Subscription, free tier, or one-time license terms | What is included, and are updates or extra services priced separately? |
CleanShot X, Shottr, Xnapper, Snagit, Dropshare, and Monosnap represent different approaches to screenshot capture, editing, sharing, and documentation. When comparing them, avoid assuming that a familiar feature name means the same workflow or privacy model. Try a representative task in each app: capture a region, blur a detail, save locally, and test sharing only if you need it.
For a simple visual feedback workflow, a focused editor may be easier to operate than a tool built around extensive capture, recording, or sharing options. Conversely, teams that regularly create polished guides or hosted links may value those broader capabilities. The right choice is the one that fits your routine without making storage and sharing harder to understand.
Run a short privacy and usability test
A brief test reveals more than a feature checklist. Use a harmless sample screen and complete the same task you expect to do at work. Note where the image appears after capture, whether the app creates a file automatically, and what happens when you close the editor. Then test each action separately: copy, save, drag, and optional sharing.
- Can you tell which image is the original and which is edited?
- Do you know where saved captures and recent history are stored?
- Can you remove an image or clear history when appropriate?
- Does a share action show the destination and access choices?
- Can you complete the task with only the permissions you are comfortable granting?
For a work team, add a simple rule: use region capture where possible, review before sending, and do not place confidential images in unapproved cloud storage. A small shared convention can prevent confusion even when people use different screenshot apps.
Common habits that weaken control
Several small habits can undermine an otherwise careful workflow. Capturing the whole display when a small region is enough includes unnecessary information. Sending an image before checking notifications can expose details unrelated to the task. Creating a public link for convenience can make a private support example accessible too widely.
Another mistake is choosing an app solely because it has the most features. Extra functionality is valuable only when it serves a real need. If your regular task is to capture a region, add an arrow, blur a label, and paste the result into a report, prioritize those steps and examine the app’s defaults. Reassess the choice if your work later requires recording, team libraries, or elaborate documentation.
Make control part of the screenshot routine
Local screenshot control comes from a combination of suitable software and deliberate habits. Capture only the context you need, inspect every image, annotate with purpose, and choose a destination consciously. Check an app’s storage and sharing behavior before relying on it, and revisit that decision if its features or your team’s requirements change.
A focused tool can make this routine straightforward without requiring a large collaboration platform. For example, Snip Halo is a native Mac app that keeps captures local by default and offers optional Google Drive sharing; it is one option to assess against your own privacy, annotation, and pricing needs.
