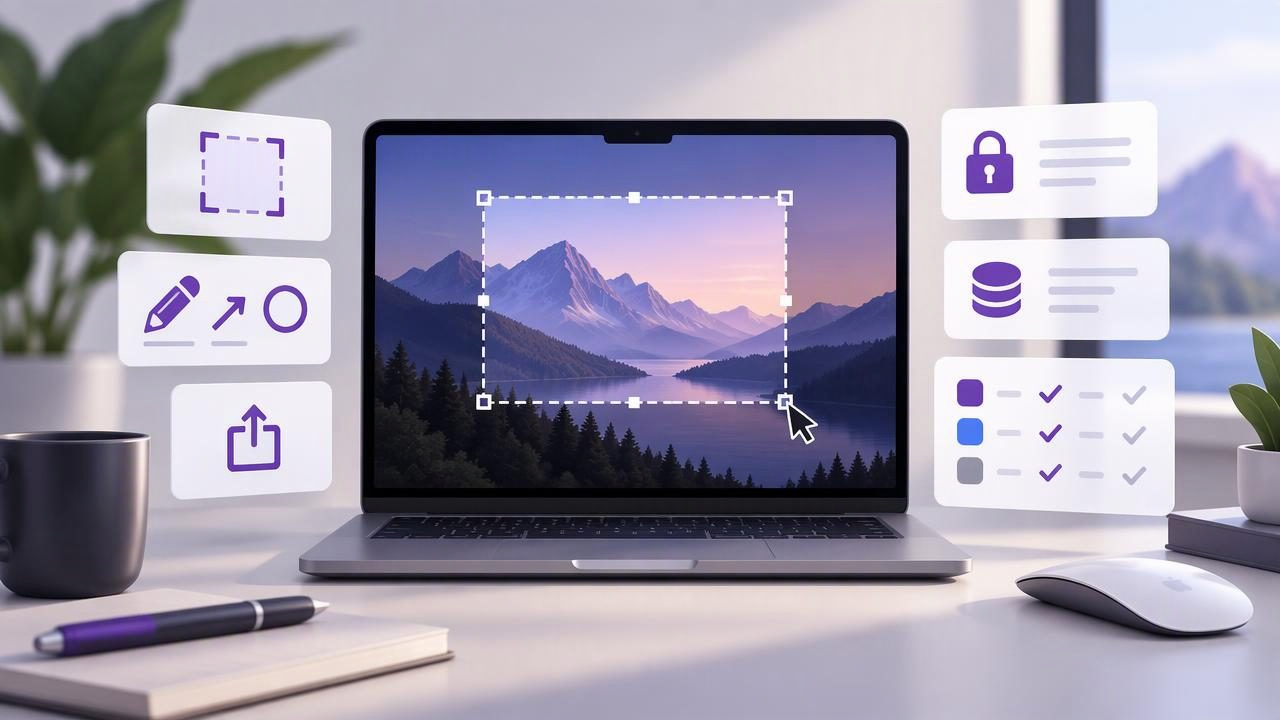
When you compare screenshot apps for Mac, a useful first question is not which tool has the longest feature list. It is whether the app fits the way you capture, explain, and share information. For many people, that starts with region capture: selecting just the relevant part of the screen instead of sending a full desktop image.
Developers may need to show a bug without exposing unrelated windows. Designers might mark up a specific interface detail, while support teams use screenshots to explain a fix. The right app can make these tasks quick and clear. The wrong one can add extra steps, recurring costs, or sharing behaviors you do not want.
This guide compares common Mac screenshot workflows and tools, including CleanShot X, Shottr, Xnapper, Snagit, Dropshare, and Monosnap. It focuses on region capture, annotation, sharing, privacy, and pricing—not on declaring a single winner for every Mac user.
Start with the screenshot workflow you need
Before comparing apps, list the actions you perform after taking a screenshot. A practical workflow might be: select an area, add an arrow, blur private information, then copy the image into a bug report. Another might involve adding numbered steps to a tutorial and saving the finished image for later.
Look for a tool that supports the whole sequence without making simple tasks feel complicated. If you capture only occasionally, a built-in macOS shortcut may be enough. If you annotate images throughout the day, editing controls and quick export matter more. Teams that distribute images to clients may prioritize links and cloud destinations.
- Capture: Can you select a region, window, or full display easily?
- Annotation: Are arrows, shapes, text, blur, and numbered markers available?
- Output: Can you copy, save, drag, or share the result where you need it?
- Privacy: Is it clear where captures and recent history are stored?
- Cost: Does the payment model make sense for how often you use the app?
What makes a good region capture app for Mac?
Region capture is valuable because it lets you frame the point before you annotate it. A well-designed selection tool should make the capture boundary easy to adjust and should help you include enough context for someone else to understand the image. Capturing too tightly can hide the source of a problem; capturing too broadly can reveal unnecessary information.
After selection, editing should be straightforward. Arrows can direct attention, shapes can outline an area, and text can label an interface element. Blur is useful for hiding account details or personal information, but it should be applied carefully: review the final image at full size and check that sensitive text is not still readable around the blurred area.
Numbered step markers are especially useful for instructions. They let you show a sequence without adding a long explanation to every image. For bug reports, a clear screenshot might combine a cropped error message, one arrow pointing to the control that triggered it, and a short note about what happened.
Consider what happens when the image is ready, too. Copying is convenient for chat and issue trackers; saving is better for documentation; dragging can speed up work in apps that accept image files. If sharing creates a hosted link, find out whether uploads are automatic, optional, or tied to a service account.
Mac screenshot apps compared by workflow
The table below gives a high-level way to think about several popular options. Products change over time, and features can depend on the app version or plan, so check each vendor’s current documentation before choosing.
| App | Workflow emphasis | What to investigate |
|---|---|---|
| CleanShot X | Capture and screen productivity | Whether its broader capture and sharing features justify the price and complexity for your use |
| Shottr | Lightweight screenshot utility | Whether its annotation tools and capture options match your everyday tasks |
| Xnapper | Polished screenshots for presentation | How its styling and output tools fit alongside basic region annotation |
| Snagit | Screenshot and visual documentation | Whether its editing depth and broader recording workflow suit your needs |
| Dropshare | Sharing and delivery | Which destinations, hosting choices, and link controls are available |
| Monosnap | Capture with sharing-oriented options | How its capture, annotation, and cloud workflow align with your privacy preferences |
CleanShot X: a broader capture toolkit
CleanShot X is often considered by Mac users who want more than a basic screenshot command. Its appeal is the range of capture and productivity features available in one product. That breadth can be useful if you regularly switch between different kinds of screen work.
For a region-capture-focused workflow, compare the tools you will actually use with the extra options you may not need. Check how annotation, saving, and sharing work in your preferred setup, and compare the current price structure with your budget. A full-featured app can be a good fit when those additional capabilities save time, but feature count alone does not guarantee a simpler workflow.
Shottr and Xnapper: focused alternatives to evaluate
Shottr is commonly explored by people looking for a compact screenshot utility, while Xnapper is often considered when the finished screenshot needs a polished presentation. These different emphases matter. A tool optimized for attractive output may suit social posts or product examples; a fast capture-and-markup tool may be better for internal bug reports.
Test each app with the same task: capture a small region, add an arrow and text, obscure a private detail, then copy or save the image. This reveals how many interactions the workflow takes and whether the result is easy to read. Also check whether the controls feel comfortable at the display sizes you use.
Snagit, Dropshare, and Monosnap: documentation and sharing
Snagit is worth considering when screenshot work is part of a larger documentation process and you need substantial editing capabilities. Before committing, decide whether that depth is helpful for your typical capture or whether it adds steps to quick visual feedback.
Dropshare puts particular emphasis on delivering and sharing files, so it may appeal to users who frequently send screenshots to other people. Review the destinations and link behavior available to you. Monosnap is another option to investigate when capture and sharing features are both important. For any sharing-oriented app, understand where images go, how links are controlled, and whether you can keep work local when you prefer.
Compare privacy and pricing—not just annotations
Screenshot content can include names, messages, customer records, or internal product details. A privacy-minded comparison should answer simple questions: Are captures stored locally by default? Does the app upload images automatically? Is there background recording? Can you choose whether to use cloud sharing?
Do not assume every app handles images the same way. Read its privacy information and inspect its settings, especially if screenshots may contain confidential material. If you need a shareable link, an optional upload to an account you control may suit your process. If you do not need a link, local saving or copying may be preferable.
Next, compare the cost model. Some tools may involve a subscription, while others may offer a purchase or different plan options. Consider the cost over the period you expect to use the app, as well as whether the license covers one Mac or more. A one-time payment can be attractive if you want predictable costs, but it is still important to confirm which updates and features are included.
Run a practical test before choosing
Rather than relying only on feature pages, test each candidate using a real task. For example, prepare a concise bug report:
- Capture the window or region that shows the issue, including enough surrounding context.
- Add one arrow or shape to identify the problem and a brief text label if needed.
- Blur any private information and inspect the result closely.
- Copy the image into your issue tracker, then save a version if your team needs a record.
Notice how long the process takes, whether the controls are easy to find, and whether the final image remains legible after pasting. Repeat the test with a tutorial task that needs numbered steps. The best screenshot app for your Mac is often the one that makes your common jobs feel consistent—not necessarily the one with the most advanced tools.
Choose the app that fits your real use
For occasional captures, macOS’s built-in screenshot options may be enough. For frequent annotation, look for quick region selection, clear arrows and shapes, readable text, useful blur, and reliable copy or save actions. If you create tutorials, numbered markers and repeatable output may matter more. If you share with clients, inspect hosting and link controls. If privacy is central, confirm the local-storage and upload behavior directly.
There is no universal winner among CleanShot X, Shottr, Xnapper, Snagit, Dropshare, and Monosnap. Each may suit a different balance of editing, presentation, sharing, and simplicity. Compare them using your own workflow and current product details. For a straightforward local-first option with region and full-display capture, annotation, and optional Google Drive sharing, Snip Halo is one more app to include in that hands-on evaluation.
