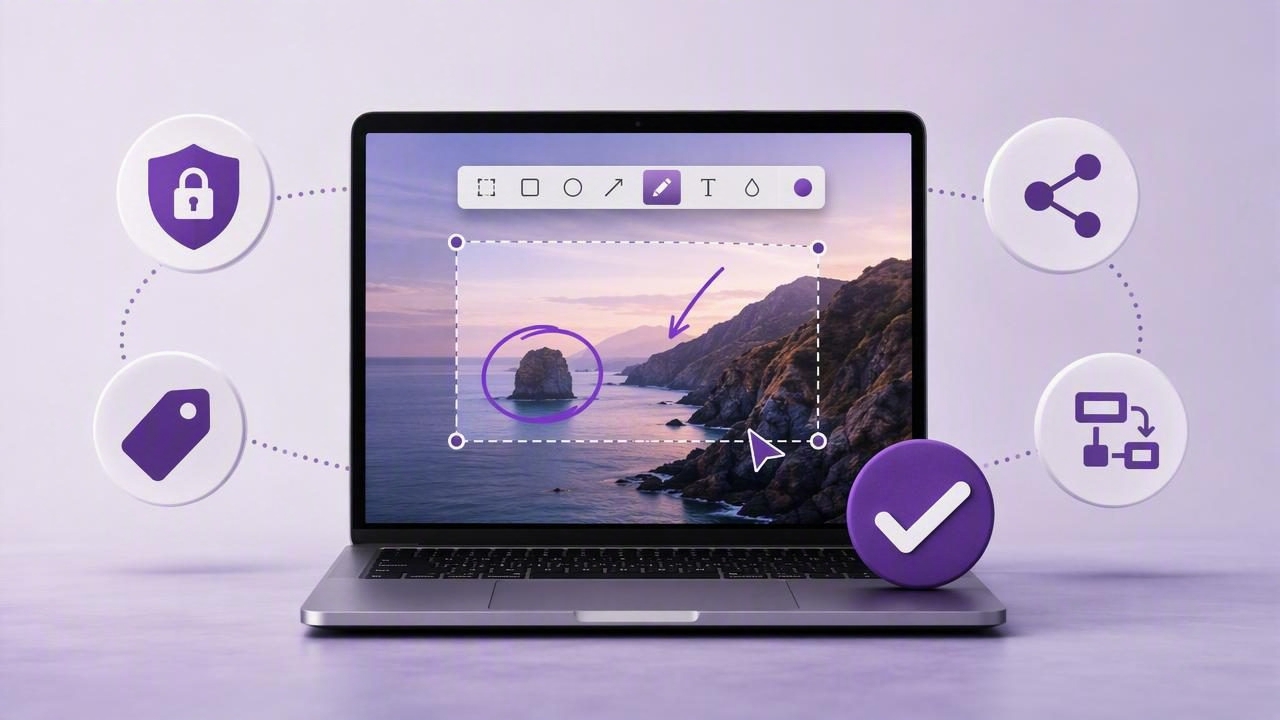
A screenshot is often the fastest way to explain a problem, teach a process, review a design, or document an important detail. But the built-in macOS screenshot tools can become limiting when you need to add arrows, blur sensitive data, label steps, or send polished visual feedback without extra editing.
That is why many people search for a one time purchase screenshot app. Instead of paying an ongoing subscription for a basic visual communication tool, you can choose software that supports your workflow with a single upfront payment. The challenge is finding an app that offers the right mix of capture options, annotation tools, local privacy, and sharing flexibility.
This guide explains what to look for, which features matter most, and how to compare Mac screenshot apps without getting distracted by features you may never use.
Why Choose a One Time Purchase Screenshot App?
Subscription software can make sense for large creative suites, team collaboration platforms, and services with major cloud infrastructure. Screenshot software is different. Many people want a focused utility that captures their screen, lets them mark it up, and gets out of the way.
A one-time license can be especially appealing for freelancers, developers, support specialists, educators, designers, and anyone building documentation. You know the cost in advance, avoid recurring billing, and can keep using the version you purchased.
However, price should not be the only decision factor. A low-cost app is not useful if it adds too many steps to a workflow. The best choice is one that reduces friction from capture to communication.
Start With Your Screenshot Workflow
Before comparing apps, identify what happens immediately before and after you take a screenshot. Your ideal tool depends less on an enormous feature list and more on the actions you repeat every day.
Common Mac screenshot workflows
- Bug reporting: Capture an error state, blur customer data, point to the issue, and paste the image into a ticket.
- Product feedback: Mark a design with arrows, shapes, and text comments for a developer or designer.
- Tutorials: Create numbered steps that show users exactly where to click.
- Client communication: Capture a webpage or mockup, add concise feedback, and share the finished image.
- Internal documentation: Build consistent, readable screenshots for knowledge bases and standard operating procedures.
- Quick personal reference: Save receipts, settings, confirmation pages, or temporary information locally.
If your process is simply “capture, annotate, paste,” prioritize speed and clipboard behavior. If you send images outside your organization, consider secure sharing options. If screenshots include private information, local storage and manual sharing controls should be high on your list.
Essential Features to Compare
When evaluating a one time purchase screenshot app, look beyond whether it can take a screenshot. Every Mac can do that. The value is in how well the app handles the moments after capture.
1. Region and full-screen capture
Most workflows require both region capture and full-display capture. Region capture is ideal when you only need a dialog box, a browser section, or a specific interface element. Full-screen capture is better for layout reviews, system settings, dashboards, and bug reports where context matters.
Look for a capture experience that is easy to trigger with keyboard shortcuts and makes the selection area clear. A good region tool helps you avoid cropping later, which saves time and reduces the chance of exposing irrelevant information.
2. Fast screenshot annotation
Annotation is the core reason to use a dedicated screenshot app. The most practical tools are not necessarily the most decorative. They make it easy to add the visual cues people understand immediately:
- Arrows for pointing to a specific control or problem area
- Rectangles, circles, and lines for outlining elements
- Text labels for instructions and feedback
- Blur or pixelation for concealing private information
- Highlighting for drawing attention without obscuring content
- Numbered step markers for sequential instructions
The best annotation interface keeps these tools accessible without covering the image. You should be able to make a simple correction in seconds rather than opening a separate image editor.
3. Numbered steps for tutorials
Numbered markers are especially valuable for support documentation and onboarding guides. A red arrow can show where to click, but a sequence of numbered circles answers a more important question: what should the reader do first, second, and third?
For example, a clear account setup image might include:
- A “1” beside the profile menu.
- A “2” next to Settings.
- A “3” pointing to the security option.
- A short text note explaining the final action.
This approach reduces lengthy written instructions and makes screenshots more accessible to readers who scan before they read.
4. Clipboard, drag-and-drop, and saving
A polished capture is only useful if you can get it where it needs to go. Consider where you commonly send screenshots: Slack, email, Notion, Linear, GitHub, a browser form, Messages, or a document editor.
Strong workflow options include copying directly to the clipboard, dragging the final image into another app, saving to a chosen folder, and exporting in a standard image format. Clipboard support is particularly important for fast feedback because it eliminates the need to manage temporary files.
5. Local-first privacy
Screenshots can contain more sensitive information than people realize: names, email addresses, support tickets, invoices, API keys, browser tabs, internal roadmaps, and customer records. Before using any capture tool, understand what happens to images by default.
A local-first screenshot workflow keeps captures and history on your Mac unless you explicitly choose to share them. This gives you more control over what leaves your device and when. It also suits regulated industries, client work, and teams with strict security expectations.
Privacy checklist: Choose an app that makes upload behavior clear, lets you control saved history, and does not rely on automatic cloud uploads for basic use.
6. Optional sharing instead of forced cloud storage
Cloud sharing can be convenient, but it should be a choice. Some users need a link for a client or remote teammate; others only need to paste an image into a private work system. The most flexible setup supports optional sharing while preserving a local default.
If you use a cloud provider, confirm whose account is being used, where the file is stored, how long it remains available, and whether you can revoke access. A sharing feature should complement your workflow rather than silently redefine it.
How Popular Screenshot Tools Differ
Mac users have several well-known options, including CleanShot X, Shottr, Xnapper, Snagit, Dropshare, and Monosnap. These tools can overlap, but they are designed around different priorities. Some focus on capture polish, some lean heavily into cloud sharing, and others bundle recording, scrolling capture, or broader productivity features.
| Tool category | Often best for | Questions to ask |
|---|---|---|
| Focused annotation app | Fast bug reports, tutorials, and visual feedback | Are arrows, blur, text, and numbered steps quick to use? |
| Feature-rich capture suite | People who need recording, scrolling, and many capture modes | Will you use the advanced features enough to justify the complexity? |
| Cloud-sharing utility | Teams that frequently distribute image links | Where are files uploaded, and can sharing remain optional? |
| Documentation platform | Long-form training and cross-platform documentation | Do you need a broader platform or simply a better screenshot workflow? |
For example, CleanShot X is frequently considered by users who want a broad range of Mac capture features. Shottr is often discussed as a lightweight utility, while Xnapper emphasizes polished screenshot presentation. Snagit is a more expansive documentation-oriented option, and Dropshare and Monosnap are commonly associated with sharing workflows. None is universally “best”; the right choice depends on whether you value simplicity, advanced capture modes, cloud distribution, or deeper documentation features.
A Practical Evaluation Process
Rather than choosing based on a feature comparison page alone, test each candidate using a real task. Recreate a screenshot you would normally send at work or use in a tutorial.
- Capture a specific region of a webpage or app.
- Add an arrow, a text label, and a blur effect.
- Create two or three numbered instructions.
- Copy the result into your preferred destination.
- Save a local copy and check how easy it is to find later.
- Review the app’s sharing and privacy settings before enabling any upload.
Pay attention to small moments of friction. Did the app remember your preferred tool? Were the annotations readable? Could you complete the task without opening another editor? Did it create unwanted files or links? These details determine whether an app becomes part of your daily workflow.
What to Avoid When Comparing Screenshot Apps
- Buying based on feature count: More tools can mean more interface clutter.
- Ignoring default upload behavior: Convenience should not come at the cost of accidental sharing.
- Overlooking macOS compatibility: Verify that the app supports your installed macOS version.
- Forgetting export habits: Make sure the app works with the apps and formats you already use.
- Choosing only by price: A one-time fee is valuable, but speed, clarity, and privacy are more important long-term.
Choose the Tool That Makes Communication Clearer
The right one time purchase screenshot app should make visual communication feel nearly effortless. It should help you capture the relevant area, add meaningful annotations, conceal sensitive details, and move the finished image into the next step of your work.
For many Mac users, the ideal balance is a focused app with region and full-screen capture, arrows, shapes, text, blur, numbered steps, local history, and optional sharing rather than mandatory cloud storage. If that is the workflow you want, Snip Halo is one option built around those practical, local-first fundamentals.
