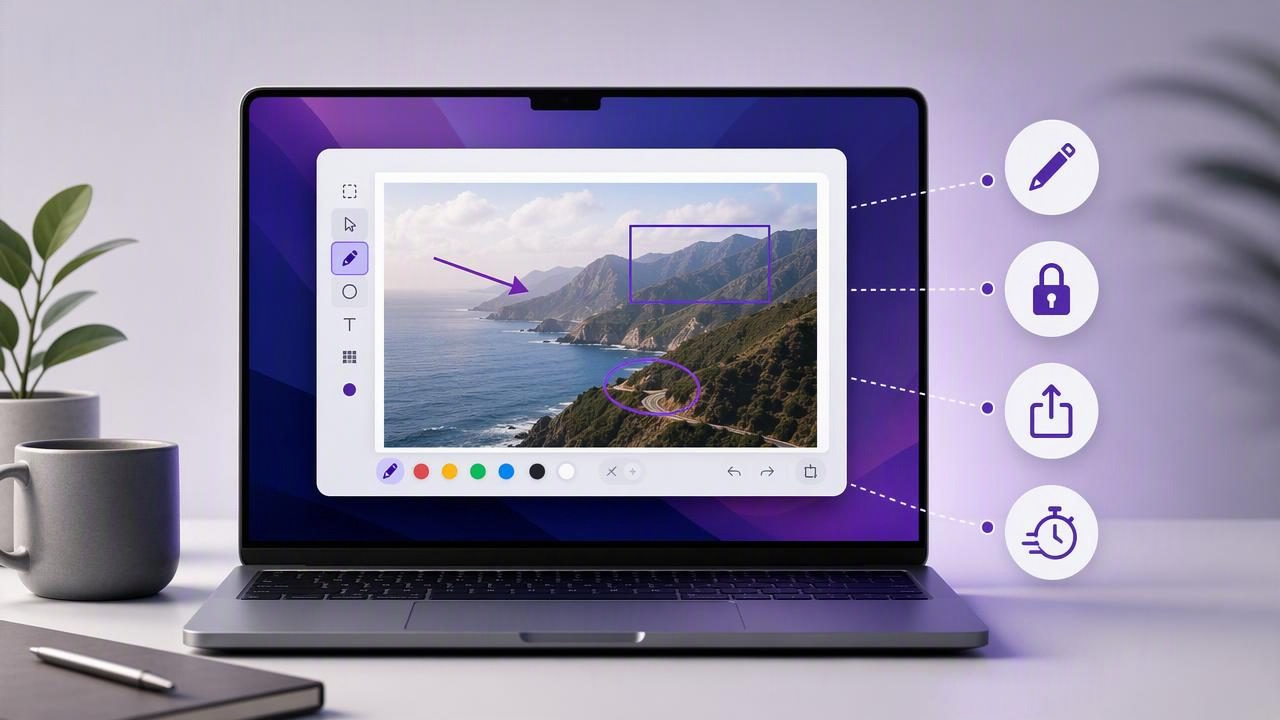
A screenshot is often the fastest way to explain a problem, answer a question, document a process, or give visual feedback. But the built-in macOS screenshot tools are only the first step. Once you need to add an arrow, blur private information, highlight a button, or create a numbered tutorial, choosing the right mac screenshot editor for mac users can make a meaningful difference to your daily workflow.
The best choice is not necessarily the app with the longest feature list. It is the one that helps you capture, annotate, export, and share images with the fewest interruptions. This guide explains the features that matter, the trade-offs between popular screenshot app categories, and how to match a Mac screenshot editor to the work you actually do.
Start With Your Screenshot Workflow
Before comparing apps, identify what happens before and after you press the screenshot shortcut. A designer giving feedback has different needs from a support specialist creating bug reports. A technical writer may need consistent numbered steps, while a privacy-conscious team may care most about keeping captures on-device.
Ask these practical questions:
- Do you mostly capture a selected region, a specific window, or your full display?
- Do you need annotations immediately after capture, or only occasionally?
- Which markup tools do you use most: arrows, text, shapes, blur, highlights, or step markers?
- Do screenshots contain customer data, credentials, internal dashboards, or confidential documents?
- Do you paste images into Slack, email, issue trackers, documentation tools, or design software?
- Would you rather save files locally, upload them to a cloud service, or choose per screenshot?
- Do you prefer a subscription, a free utility, or one-time Mac software?
These answers prevent a common mistake: selecting a powerful suite that introduces more panels, settings, and upload prompts than your work requires. A focused screenshot editor can be more effective than an all-purpose screen utility when speed and clarity are the priority.
Essential Features in a Mac Screenshot Editor
Fast region and full-screen capture
Every reliable editor should make region capture effortless. You should be able to select the exact portion of a screen that matters without repeatedly cropping a large full-screen image afterward. Precise region capture is useful for UI feedback, error messages, product documentation, and client comments because it removes distracting context before editing begins.
Full-screen capture remains valuable for reporting layout issues, saving an entire dashboard view, or showing how multiple windows relate to each other. Look for an app that supports both capture modes through memorable shortcuts and predictable behavior.
Annotation tools that are easy to read
Annotation is the main reason many people move beyond the default macOS screenshot experience. At a minimum, a practical editor should offer:
- Arrows to direct attention to a control, message, or visual issue.
- Shapes such as rectangles, circles, and lines to frame relevant areas.
- Text labels for brief instructions, comments, or explanations.
- Blur or pixelation to hide sensitive details before sharing.
- Numbered step markers for tutorials, checklists, and reproducible bug reports.
The quality of these tools matters as much as their presence. An arrow should remain visible on light and dark backgrounds. Text should be readable at normal viewing size. Blur should be strong enough that account names, customer records, tokens, and personal details cannot be recovered by simply zooming in.
Editing before export
A smooth workflow keeps you in one place: capture the image, annotate it, then copy, save, drag, or share it. If an app forces you to open screenshots in Preview or a separate image editor for every small markup task, those extra steps add up quickly.
Pay attention to the post-capture screen. Does it display the image in an editor right away? Can you undo an annotation? Can you reposition an arrow without starting over? Can you copy the finished image directly to your clipboard? These small details determine whether a tool feels fast after hundreds of uses.
Privacy: Local Storage or Automatic Uploads?
Screenshots routinely contain information that should not leave your computer by default. Examples include internal analytics, draft product plans, payment details, client conversations, unpublished content, and browser tabs with private information. For that reason, understand exactly where an app keeps captures and when it uploads them.
Some screenshot tools are built around hosted links. This can be convenient for quick sharing, but it may not fit every organization or personal workflow. Other tools emphasize local storage, meaning screenshots and recent history remain on your Mac unless you deliberately export or share them.
A local-first approach is especially useful when you need to:
- Review screenshots before anyone else can access them.
- Work with sensitive support tickets or internal systems.
- Avoid managing another hosted media library.
- Keep control over filenames, folders, and retention policies.
- Share through your own approved service only when necessary.
If cloud sharing is important, look for a tool that makes it optional. Connecting your own Google Drive, for example, can offer a familiar destination without requiring every screenshot to pass through a vendor-controlled hosting platform. The key is choice: local by default, cloud when you explicitly need it.
Match Annotation Features to Common Jobs
| Use case | Most useful screenshot features | Why they matter |
|---|---|---|
| Bug reports | Region capture, arrows, blur, numbered steps | Shows where an issue occurs while protecting account or customer data. |
| Technical tutorials | Text, step markers, consistent shapes, copy/export | Turns a complex process into a clear sequence readers can follow. |
| Client feedback | Arrows, circles, text labels, quick sharing | Makes requested changes specific and reduces back-and-forth. |
| Internal collaboration | Clipboard copy, drag-and-drop, local history | Lets teams place annotated images quickly into the tools they already use. |
| Security reviews | Strong blur, local storage, controlled export | Helps prevent accidental exposure of confidential visual information. |
Compare Screenshot App Categories, Not Just Brand Names
Mac users often compare tools such as CleanShot X, Shottr, Xnapper, Snagit, Dropshare, and Monosnap. These are useful comparisons, but feature checklists alone can be misleading. It is more helpful to recognize the categories these apps represent.
- Feature-rich capture suites: Often include scrolling capture, recording, OCR, cloud hosting, and advanced organization. They may be ideal for people who need many media tools in one application.
- Lightweight screenshot utilities: Usually prioritize rapid capture and simple editing. They suit users who want minimal overhead and a compact interface.
- Presentation-focused screenshot tools: May add backgrounds, shadows, device-style framing, or polished visual effects. These appeal to marketers, creators, and social media teams.
- Upload and sharing tools: Focus on sending files to servers, storage providers, or shareable links. They can be useful for remote teams with established sharing systems.
- Focused annotation editors: Center on clean region capture, practical markup, privacy controls, and quick local export.
For example, a person recording training videos may benefit from a broader capture suite. A writer documenting a software workflow may care far more about crisp numbered markers and fast clipboard copying. There is no universal winner; there is only a better match for your routine.
Test the Workflow in Five Minutes
When evaluating a mac screenshot editor for Mac users, do not spend all your time reading marketing pages. Run the same short test in each app. This reveals whether the interface supports your habits.
- Capture a small region containing text, an icon, and a private detail.
- Add one arrow, one shape, one text label, and one numbered marker.
- Blur the private detail and zoom in to check that it is genuinely obscured.
- Undo an annotation, move another annotation, and verify that editing feels natural.
- Copy the final image into a message, then save it to a local folder.
- If you use cloud sharing, test one intentional upload and inspect where the file lands.
Notice friction. Did you have to create an account? Did the app add a watermark, open an unnecessary browser page, or default to publishing a link? Did the image look clear after pasting it into your preferred communication tool? The answers are more valuable than an impressive but unused feature list.
Consider Pricing and Long-Term Ownership
Pricing affects the total value of a screenshot tool, particularly when it becomes part of a daily professional workflow. Subscription software can make sense when you receive ongoing hosted services, collaboration features, or a broad set of regularly updated tools. However, a straightforward screenshot editor does not always need an ongoing monthly cost.
One-time purchase software can be appealing if you mainly want durable capture and annotation capabilities on your own Mac. Before buying, confirm how many devices the license covers, whether major updates are included, and whether optional online services create separate costs. A low purchase price is helpful, but clarity about ownership and storage is even more important.
A Simple Decision Checklist
Choose a screenshot editor that checks the boxes you will use every week:
- Fast shortcuts for region and full-screen capture.
- Readable arrows, shapes, text, blur, and numbered steps.
- Immediate editing without opening another app.
- Easy clipboard copy, file saving, and drag-and-drop.
- Local capture history and no unwanted automatic uploads.
- Optional sharing that works with your preferred storage provider.
- A price and licensing model that fits your budget.
The right tool should make visual communication feel almost invisible: capture the evidence, clarify the point, protect sensitive details, and send the result. If your priority is a focused local-first workflow with practical annotations and optional Google Drive sharing, Snip Halo is one example worth considering alongside the broader screenshot suites.
