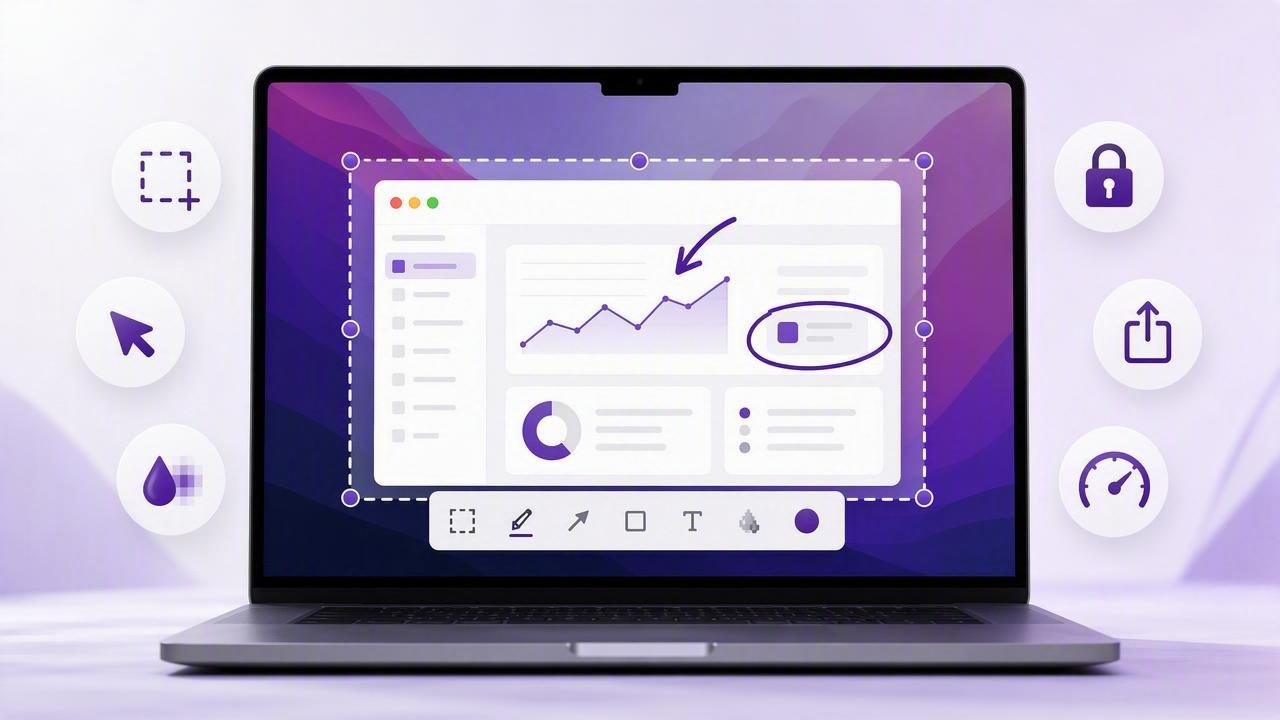
A screenshot can be far more useful than a static image. When you add an arrow to a misplaced button, blur private customer data, or place numbered steps over a process, a simple capture becomes clear visual communication. That is why finding the right Mac screenshot app with annotations matters for developers, support teams, designers, educators, and anyone who regularly explains what is happening on screen.
macOS includes capable built-in screenshot tools, but they are primarily designed to capture an image or record a screen. For workflows that require fast markup, repeatable bug reports, tutorial-ready visuals, and deliberate sharing controls, a dedicated app can remove several manual steps.
This guide explains the features that matter most, how to compare screenshot tools fairly, and how to build a practical annotation workflow without adding unnecessary complexity.
Why annotations make screenshots more effective
A raw screenshot often makes the viewer hunt for the important detail. They may not know which control failed, which text should be changed, or what action they should take next. Annotations reduce that uncertainty.
Think of annotation as visual editing for intent. Instead of writing, “Look near the top-right corner and select the third icon,” you can circle the icon and add a short label. The recipient understands the point in seconds.
- Bug reports: Identify the exact broken state, error message, or layout issue.
- Product feedback: Show designers and developers which interface element needs attention.
- Tutorials: Use numbered step markers to turn a complex task into an easy sequence.
- Customer support: Show a customer where to click without asking them to interpret technical instructions.
- Documentation: Make knowledge-base images faster to scan and easier to maintain.
The best annotation tools do not merely offer more drawing options. They make the common actions—capture, highlight, hide sensitive details, export, and share—feel immediate.
Start with the right capture modes
Before evaluating arrows, text styles, or export destinations, confirm that an app captures the parts of the screen you actually need. Most people rely on two foundational modes: region capture and full-screen capture.
Region capture for focused communication
Region capture lets you select a specific portion of a display. It is ideal when you want to isolate a dialog box, a browser component, a design mockup, or an error message. A tightly cropped image gives readers less irrelevant information to process and can also avoid exposing unrelated data.
Look for a selection experience that is responsive and precise. Useful details include pixel dimensions, adjustable selection handles, keyboard shortcuts, and the ability to capture a scrolling area when your workflow calls for it.
Full-screen capture for context
Full-screen capture is useful when the arrangement of windows matters, when reporting display issues, or when documenting a multi-panel application. On multi-monitor setups, check whether the tool can capture a chosen display rather than forcing you to capture every screen at once.
A practical screenshot workflow usually uses both modes: full-screen capture for context and region capture for the detail that needs annotation.
The essential annotation tools to look for
Every screenshot app has a different feature list, but a strong tool should cover the essentials cleanly. More tools are not automatically better; the goal is to have the right tools available without turning a simple capture into a design project.
| Tool | Best use | What to evaluate |
|---|---|---|
| Arrows | Direct attention to a control or visual defect | Arrowhead styles, line thickness, color, and easy repositioning |
| Shapes | Circle, box, or frame an important area | Fill, border, opacity, and clean resizing |
| Text | Add explanations, labels, or short instructions | Readable fonts, sizing, background options, and editing |
| Blur or pixelation | Protect names, addresses, API keys, and private messages | Reliable coverage and a method that cannot accidentally reveal data |
| Numbered steps | Show a sequence of actions in tutorials | Automatic numbering, consistent styling, and quick ordering |
Arrows and shapes should be quick to add and easy to align. They are often the fastest way to explain a single issue. Text works best for short guidance; if your screenshot needs several dense paragraphs, consider putting the explanation in accompanying documentation instead.
Blur deserves special attention. A screenshot can accidentally contain email addresses, customer records, account balances, calendar details, tokens, or internal URLs. Choose a tool that makes privacy editing obvious and dependable before you copy or share the image.
For instructional content, numbered step markers are particularly valuable. Numbers create an unambiguous order: click this first, enter this next, then confirm here. They reduce the need for long captions and keep a series of screenshots consistent.
Build a faster screenshot annotation workflow
The value of a screenshot tool is often measured in seconds saved per capture. A workflow that takes only a few extra seconds will be used consistently; one that requires multiple apps, file searches, and manual uploads will be avoided when work gets busy.
- Trigger a capture with a keyboard shortcut. Use a shortcut you can remember without interrupting your task.
- Select the smallest useful area. Keep the screenshot focused, unless context is necessary.
- Add one primary visual cue. Start with an arrow, shape, or step marker rather than marking every element.
- Redact sensitive information. Blur or cover private content before the image leaves your device.
- Choose the right destination. Copy to the clipboard for chat, save a file for documentation, or share a link when collaboration requires it.
For example, a developer reporting a checkout error might capture the browser region, blur the test customer email, draw a red rectangle around the failed field, and add an arrow pointing to the console message. That image gives a teammate both the user-facing symptom and the relevant context.
Privacy and sharing: choose controls, not assumptions
Screenshot software can handle sensitive visual information, so its sharing model matters as much as its markup tools. Some services automatically upload captures to a cloud account or encourage link sharing as the default. That can be convenient, but it may conflict with internal security policies or personal preferences.
A local-first approach keeps captures and recent history on your Mac unless you deliberately save, copy, drag, or share them. This is especially useful for screenshots involving client work, internal dashboards, financial details, or unreleased products.
If you need remote collaboration, optional sharing is often the best balance. Check which provider is used, whether you control the destination account, how links are configured, and whether the app gives you a clear choice before upload. For teams already using Google Drive, sharing through their own Drive can fit existing access controls and folder structures.
A good screenshot workflow should make privacy the default and sharing an intentional decision.
How popular Mac screenshot tools compare
The best choice depends on your workflow, budget, and comfort with cloud services. Comparing categories is more useful than assuming a single tool is right for everyone.
- CleanShot X: Often considered by power users who want a broad capture toolkit, recording features, and polished presentation options. It may be more than necessary for people focused on straightforward static annotations.
- Shottr: Known for lightweight screenshot utilities and useful capture features. Evaluate its current capabilities and licensing if you need a particular markup or sharing workflow.
- Xnapper: A popular option for polished, presentation-style screenshots, especially when attractive backgrounds and window framing matter.
- Snagit: A mature cross-platform tool with extensive capture, annotation, and documentation capabilities. Its wider feature set can suit training teams, though it may be excessive for simple Mac-only captures.
- Dropshare and Monosnap: Often relevant when upload destinations and file sharing are central to the workflow. Review their storage and link-sharing behavior carefully if local control is a priority.
When comparing a CleanShot X alternative or any other screenshot app, avoid choosing based on the longest feature list. Instead, test the actions you perform most: capture a region, add an arrow and blur, copy it into Slack or email, and locate a recent image later. The tool that handles those steps with the least friction is usually the better fit.
Questions to ask before you buy
- Can I capture a region and a selected display quickly?
- Are arrows, shapes, text, blur, and numbered steps easy to use?
- Can I copy, save, drag, and share captures without extra steps?
- Do captures remain local unless I explicitly upload them?
- Does the licensing model suit me: subscription, free tier, or one-time Mac software purchase?
- Will the app work on my version of macOS and across the number of Macs I use?
One-time licensing can be attractive for users who want a focused utility without adding another recurring charge. However, the right value depends on whether the app provides the core workflow you need and receives appropriate compatibility support.
Make every screenshot easier to understand
The best Mac screenshot app with annotations is not necessarily the one with the most effects. It is the one that helps you capture the right area, communicate the key point clearly, protect sensitive information, and send the result where it needs to go.
For a focused macOS 14-and-later option built around local captures, straightforward markup, and optional sharing through your own Google Drive, Snip Halo is worth considering alongside the tools above.
