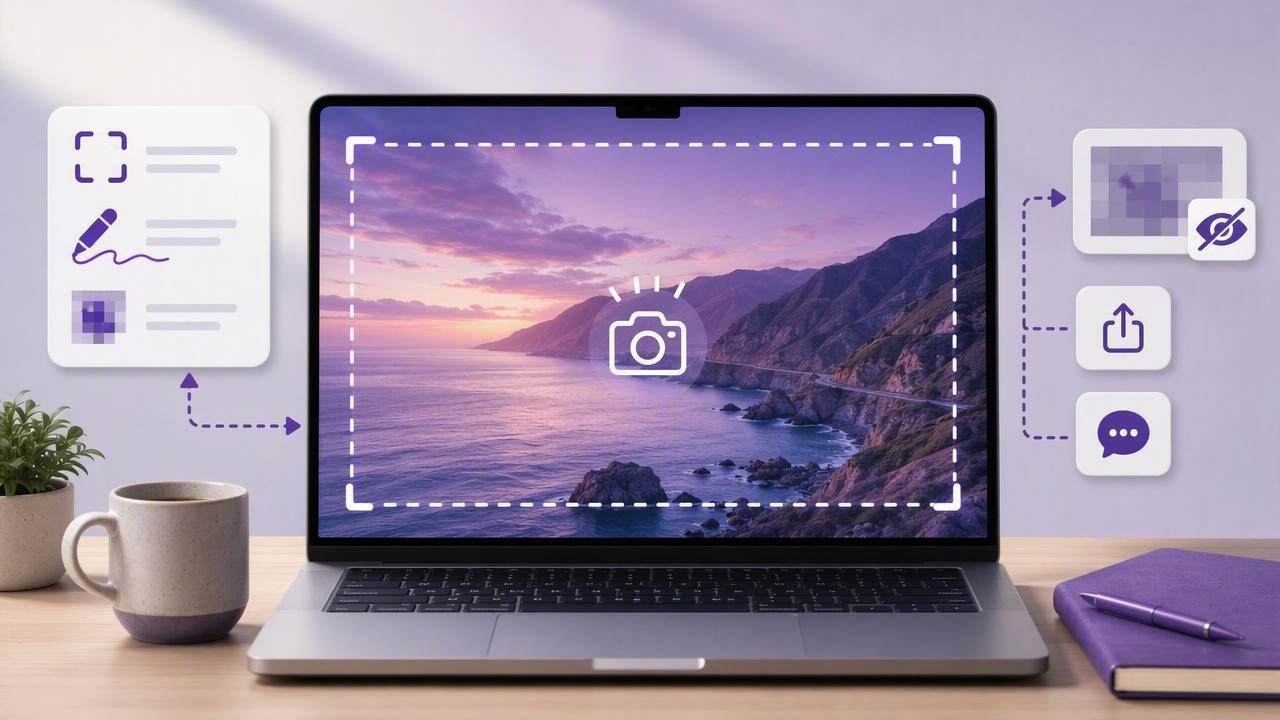
Knowing how to capture the full display on a Mac is useful far beyond saving a quick image. Full-screen screenshots help document bugs, create tutorials, share visual feedback, preserve receipts, explain workflows, and communicate with coworkers without writing lengthy instructions.
macOS includes capable built-in screenshot tools, but the best workflow depends on what happens after the capture. Do you need to crop sensitive information? Add arrows and numbered steps? Save files locally? Share a screenshot with a client or teammate? This guide explains the practical ways to capture an entire Mac display, where screenshots are stored, and how to turn a basic capture into a clear, useful visual document.
What Does “Capture the Full Display” Mean?
A full-display screenshot captures everything visible on one monitor at a specific moment: the desktop, open windows, menu bar, Dock if visible, notifications, and any other on-screen content. It differs from a region capture, which captures only a selected area, and a window capture, which captures one app window.
Full-display capture is especially helpful when context matters. For example, a developer reporting a layout issue may need to show the browser, screen resolution, menu bar, and surrounding interface. A support agent may need the whole application state rather than a cropped error message.
How to Capture the Full Display With Mac Keyboard Shortcuts
The fastest native method is a keyboard shortcut. macOS saves the resulting screenshot as an image file by default, usually on the desktop unless you have changed the destination.
Capture Every Visible Screen on One Display
Press:
Shift + Command + 3This immediately captures the full display. If your Mac has multiple monitors, macOS captures each display as a separate screenshot file. This is a useful default when you need a faithful record of everything currently visible.
After taking the screenshot, a small thumbnail usually appears in the lower-right corner of the screen. Click it before it disappears to open the built-in markup view, where you can crop the image, draw, add text, and make a few basic edits.
Capture the Full Display and Copy It to the Clipboard
If you do not want to create a file first, add the Control key:
Control + Shift + Command + 3This copies the entire display screenshot to your clipboard. You can then paste it into Mail, Messages, Slack, a document, an issue tracker, or an image editor using Command + V.
Clipboard capture is efficient for quick conversations, but it is less suitable when you need an organized archive. Because the screenshot is not automatically saved as a file, it can be lost when you copy something else unless you paste it somewhere immediately.
Use the Screenshot Toolbar for More Control
For a visual interface with capture options, press:
Shift + Command + 5This opens the macOS Screenshot toolbar near the bottom of the screen. It includes buttons for capturing the entire screen, a selected window, or a selected portion. It can also record the entire screen or a selected region.
To capture the full display from the toolbar:
- Press
Shift + Command + 5. - Select the Capture Entire Screen icon.
- If you use multiple displays, click the display you want to capture.
- Select Capture.
Choose Options before capturing to set a timer, show or hide the floating thumbnail, include the mouse pointer, or choose a save location. A timer is useful when you need to open a menu, reveal a tooltip, or arrange an application state before the screenshot is taken.
Where Full-Screen Screenshots Are Saved on Mac
By default, macOS saves screenshots to the desktop. The file name generally includes the date and time, which makes it easier to identify a recent capture but can create desktop clutter over time.
To change the location:
- Open the Screenshot toolbar with
Shift + Command + 5. - Click Options.
- Under Save to, choose Desktop, Documents, Clipboard, Mail, Messages, Preview, or Another Location.
For a cleaner workflow, create a dedicated Screenshots folder in Documents or a project folder. Teams that create frequent product feedback or bug reports can also use a consistent naming system, such as project-feature-date.png, to make files easier to find later.
When a Full Display Screenshot Is the Right Choice
Capturing the whole display is not always the best option. A region capture is often clearer when the relevant detail is small. Still, full-display screenshots are valuable in several common situations:
- Bug reports: Show the full application context, browser tabs, display layout, or visible system information.
- Remote support: Help another person understand what is open, where they are stuck, and what they should click next.
- Tutorials: Establish context before using smaller, zoomed-in screenshots for individual steps.
- Design review: Show how a page, prototype, or application fits within a complete screen layout.
- Record keeping: Preserve dashboards, order confirmations, meeting screens, or configuration states.
A good rule is simple: capture the full display when surrounding context answers likely questions. Use a selected region when the extra screen space would distract from the important detail.
Annotate Full-Display Screenshots for Clearer Communication
A raw screenshot often leaves the recipient guessing. They may not know where to look, which control is wrong, or what action they should take. Screenshot annotation turns an image into a direct visual explanation.
For example, instead of writing, “The issue is near the third item in the left navigation,” add an arrow pointing to the item. Rather than describing a three-step setup process in a paragraph, use numbered step markers directly on the screenshot.
Useful Annotation Types
| Annotation | Best Use | Example |
|---|---|---|
| Arrows | Direct attention to a specific control | Point to the button that fails to respond |
| Shapes | Highlight a section or group of controls | Draw a rectangle around an incorrect layout |
| Text labels | Provide concise context | Add “Expected result” beside a panel |
| Blur | Protect sensitive information | Hide email addresses, account numbers, or customer data |
| Numbered markers | Explain a sequence of actions | Mark the first, second, and third click in a workflow |
Keep annotations purposeful. One or two arrows and a brief label are often more effective than covering the image with colorful boxes. Use a consistent color for issues, actions, or approvals if you regularly share screenshots with the same team.
Protect Privacy Before You Share a Screenshot
A full display capture can reveal more than intended. Browser tabs may expose client names, notifications can show private messages, and open applications may contain passwords, personal information, internal URLs, or financial data. Before sharing, inspect the image at full size.
Use this quick privacy checklist:
- Blur or crop names, email addresses, phone numbers, and account details.
- Check browser tabs, bookmarks, Dock icons, and notifications.
- Remove API keys, session tokens, passwords, and private links.
- Hide customer records, health data, payment information, and confidential documents.
- Confirm that the chosen sharing destination matches your organization’s policy.
For sensitive work, local-first screenshot handling is important. Look for tools that keep captures and recent history on your Mac by default, rather than automatically uploading images to a third-party service. If cloud sharing is necessary, it should be an intentional action with a destination you control.
Built-In Mac Tools vs. Screenshot Apps
The built-in macOS tools are excellent for occasional captures. They are fast, free, and integrated into the operating system. However, people who routinely produce documentation, visual feedback, or detailed bug reports often need a smoother annotation and sharing workflow.
| Need | Built-In macOS Tools | Dedicated Screenshot App |
|---|---|---|
| Full-display capture | Yes | Yes |
| Basic markup | Yes | Usually more flexible |
| Numbered step markers | Limited | Often included |
| Fast repeatable annotations | Manual | Typically optimized for it |
| Capture history | File-based | Often includes recent local history |
| Sharing controls | Depends on the app used afterward | May offer direct but optional sharing |
When comparing tools such as CleanShot X, Shottr, Xnapper, Snagit, Dropshare, or Monosnap, focus less on feature count and more on your actual workflow. Consider capture speed, annotation quality, image history, local storage behavior, cloud dependencies, export formats, and whether the pricing model matches how long you expect to use the software.
A Repeatable Full-Display Screenshot Workflow
The best screenshot process is consistent enough that you can use it without thinking. Here is a practical workflow for a bug report or visual feedback request:
- Arrange the screen so the issue and relevant context are visible.
- Hide unrelated windows and pause notifications if possible.
- Capture the full display with
Shift + Command + 3or the Screenshot toolbar. - Review the image for private details before sending it.
- Add an arrow, shape, or short label to identify the key issue.
- Use numbered markers if the recipient needs to follow steps in order.
- Save the final image with a descriptive name or paste it into the relevant conversation.
Tip: A screenshot should reduce back-and-forth. If someone could still ask “Where exactly?” or “What should I do next?”, add one more annotation.
Make Full-Display Capture Easier on Mac
Capturing the full display is simple; creating screenshots that are useful, secure, and easy to act on takes a little more intention. Start with the native Mac shortcuts, use the Screenshot toolbar when you need options, and annotate only the details that improve clarity.
If full-screen capture is part of your regular documentation or support workflow, a focused Mac app such as Snip Halo can streamline local capture, arrows, shapes, text, blur, and numbered steps while keeping sharing optional.
