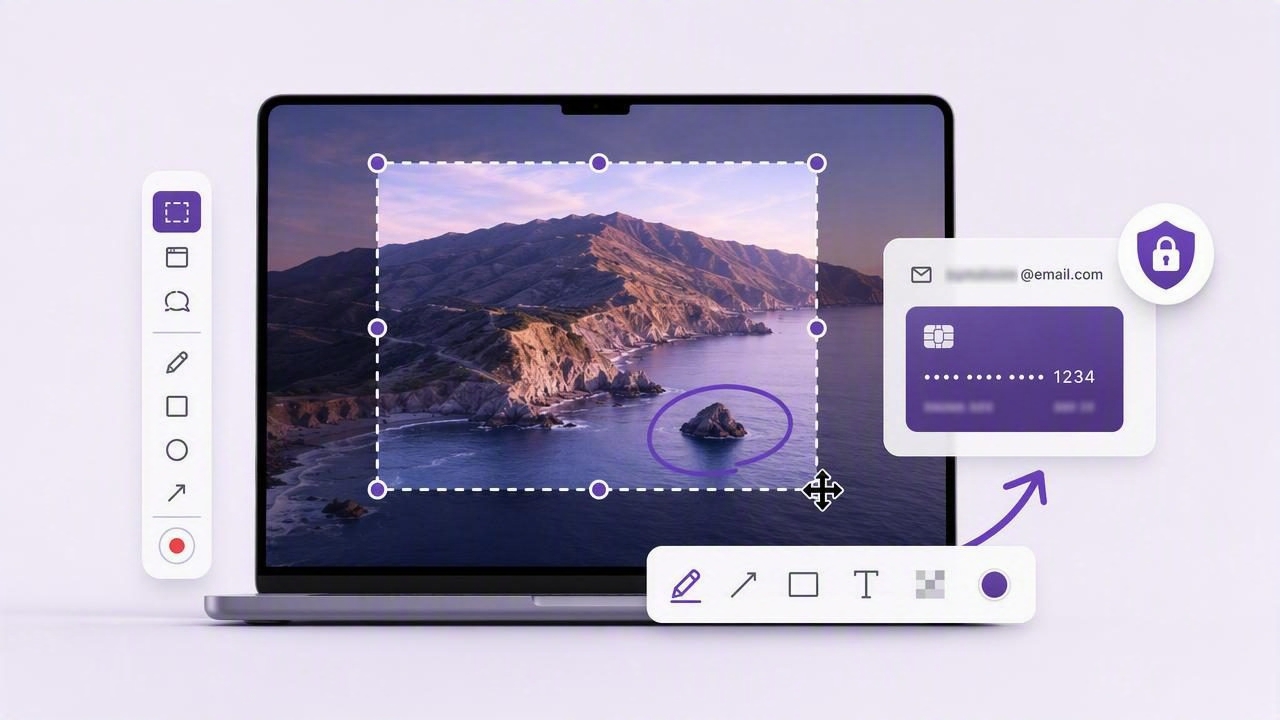
Knowing how to capture a region of the screen with mac screenshot app tools is one of the fastest ways to communicate visually. A focused screenshot can explain a bug, clarify a design change, document a workflow, or give a teammate precise feedback without forcing them to search through an entire desktop image.
While full-screen captures are useful for showing context, they often include too much: extra windows, browser tabs, desktop files, notifications, or sensitive information. Region capture solves that problem by letting you select only the area that matters. With the right workflow, you can capture, annotate, copy, and send a polished screenshot in seconds.
This guide explains how region screenshots work on macOS, when to use them, how to make them more useful with annotations, and what to look for in a dedicated Mac screenshot app.
What Is a Region Screenshot?
A region screenshot is an image of a selected rectangular area of your display. Instead of capturing everything visible on one or multiple monitors, you drag over a specific part of the screen: a button, error message, chart, form field, product image, or section of a website.
Region capture is especially helpful because it reduces visual noise. The recipient immediately sees the relevant information, which makes screenshots easier to understand and faster to act on.
Common uses for region capture
- Bug reports: Show the exact error, broken layout, or unexpected behavior.
- Tutorials: Capture each important screen element without including distractions.
- Visual feedback: Point to a spacing issue, typo, color choice, or missing asset.
- Customer support: Document a setting, account page, or confirmation screen.
- Product documentation: Create focused visuals for help articles and internal guides.
- Privacy-conscious sharing: Exclude unrelated messages, files, and personal data from the start.
How to Capture a Selected Area With Built-In macOS Tools
macOS includes a region screenshot shortcut that works without installing anything. Press Shift + Command + 4. Your pointer changes into a crosshair, allowing you to click and drag over the area you want to capture.
- Press Shift + Command + 4.
- Click and drag to select a region of the screen.
- Release the mouse or trackpad to take the screenshot.
- Look for the thumbnail preview in the lower-right corner of the screen.
- Click the preview if you want to crop, mark up, or save the image immediately.
By default, macOS usually saves screenshots to your desktop, although screenshot settings can be changed through the Screenshot toolbar. Press Shift + Command + 5 to open that toolbar, choose a save destination, enable a timer, or show the floating thumbnail preview.
Useful region capture modifiers
Several keys make the selection process more precise:
- Hold Space while dragging to move the selected region without changing its size.
- Hold Shift to adjust one edge of the selection more predictably.
- Hold Option to resize the selection outward from its center.
- Press Escape to cancel the capture.
To copy a selected screenshot directly to the clipboard instead of saving a file, add the Control key: Control + Shift + Command + 4. You can then paste it into Slack, Messages, email, a document, or many project-management tools.
Why Region Screenshots Are Better Than Full-Screen Captures for Most Tasks
A full-screen capture is sometimes necessary when the overall desktop arrangement, multiple windows, or system-wide context matters. However, a smaller selection is usually more effective for day-to-day communication.
| Capture type | Best for | Main drawback |
|---|---|---|
| Region capture | Specific UI issues, instructions, feedback, error messages | May omit useful context if cropped too tightly |
| Window capture | Showing a complete app window or dialog | Includes all visible content in that window |
| Full-screen capture | Multi-window setups, desktop layouts, broad context | Can expose private information and overwhelm viewers |
The key is to include enough context for the screenshot to make sense, but not so much that the recipient has to guess where to look. For example, when reporting a broken checkout button, capture the button, its label, and a small amount of surrounding page content. Do not capture unrelated browser tabs, private chat notifications, or an entire second monitor.
Improve Region Screenshots With Annotation
A clean crop is only the first step. Annotation turns a screenshot from a static image into a clear instruction. If someone needs to identify a tiny icon or follow a multi-step process, visual markup can eliminate ambiguity.
Use arrows to direct attention
Arrows are ideal when one detail matters most. Point an arrow at the exact button, field, menu item, or visual defect you want a viewer to notice. Keep arrows short when possible, and avoid crossing several unrelated interface elements.
For feedback, an arrow plus a brief note is often more actionable than a paragraph. For instance: “Increase the padding here by 8px” is clearer when the arrow points directly to the spacing issue.
Use shapes for grouping and emphasis
Rectangles, circles, and highlights help frame an area rather than a single point. They work well for showing a group of controls, an entire card component, or a section that should be reviewed.
- Use a rectangle to outline a panel or form section.
- Use a circle to highlight a small icon or toggle.
- Use a translucent highlight when the underlying content must remain visible.
- Use consistent colors across a set of screenshots for easier scanning.
Add text only when the image cannot speak for itself
Text annotations are useful for requirements, corrections, and explanations. Keep them concise. A screenshot overloaded with labels, arrows, and shapes becomes difficult to read, so use text to add information that cannot be inferred visually.
Good screenshot annotation answers three questions quickly: What should I look at? What is wrong or important? What should happen next?
Use numbered step markers for workflows
Numbered markers are especially valuable for onboarding guides, support instructions, and product tutorials. They establish a sequence without requiring a separate screenshot for every tiny action.
For example, a screenshot of an account settings page could use:
- A marker on the profile menu.
- A marker on the security tab.
- A marker on the password update control.
Pair the marked image with a short written list, and readers can complete the task quickly without switching back and forth between long paragraphs and multiple images.
Blur Sensitive Details Before Sharing
Region capture reduces accidental exposure, but it does not guarantee privacy. The selected area may still contain names, email addresses, account IDs, customer records, API keys, financial information, or confidential project details.
Before sending a screenshot outside your organization, review it carefully. Blur or redact sensitive data rather than merely covering it with a translucent shape. A proper blur tool is useful for hiding details while preserving the screenshot’s layout and context.
Pay particular attention to these areas:
- Email addresses and phone numbers
- Customer names and support tickets
- Passwords, recovery codes, and API tokens
- Billing details and invoice numbers
- Private browser tabs and bookmarks
- Internal URLs, staging environments, and unpublished features
A local-first screenshot workflow can also be important for teams handling sensitive material. Consider whether a tool automatically uploads images, stores capture history in the cloud, or requires an account before using basic features. For many people, screenshots should remain on the Mac unless they deliberately choose to share them.
Build a Faster Screenshot Workflow
The best screenshot workflow minimizes friction between seeing a problem and communicating it clearly. A practical sequence looks like this:
- Capture: Select only the relevant region.
- Review: Check that the screenshot includes enough context.
- Annotate: Add an arrow, shape, text note, blur, or numbered step as needed.
- Copy or save: Copy to the clipboard for immediate pasting, or save a file for documentation.
- Share intentionally: Send through the tool your team already uses, or upload only when necessary.
For recurring work, consistency matters. Use the same arrow colors, text style, and annotation conventions across bug reports or tutorials. A designer, developer, or support teammate should be able to understand your screenshots at a glance.
What to Look for in a Mac Screenshot App
Built-in shortcuts are excellent for occasional captures, but dedicated screenshot apps can be more efficient if you regularly create tutorials, report bugs, or provide visual feedback. The right tool depends on how much editing and sharing you need after capture.
When comparing options, look for these capabilities:
- Fast region capture and full-display capture
- Arrows, shapes, text, blur, and numbered steps
- Easy clipboard copying and drag-and-drop output
- A local capture history that is easy to review
- Clear controls over cloud uploads and sharing links
- Simple file naming and save-location options
- A pricing model that fits your needs, including one-time software where available
Some people prefer feature-heavy tools with scrolling capture, recording, and extensive cloud workflows. Others want a lightweight app focused on still screenshots and quick annotation. Neither approach is universally better; choose the one that supports your actual work without adding unnecessary steps.
Capture Less, Explain More
A great screenshot is not necessarily a large screenshot. It is a purposeful image that shows the right area, protects private information, and makes the next action obvious. Start with a focused region, add only the annotations that improve clarity, and share it through a workflow you control.
If you want a focused option for this style of work, Snip Halo is a native Mac app designed for region captures, local history, and quick annotations such as arrows, text, blur, shapes, and numbered steps.
