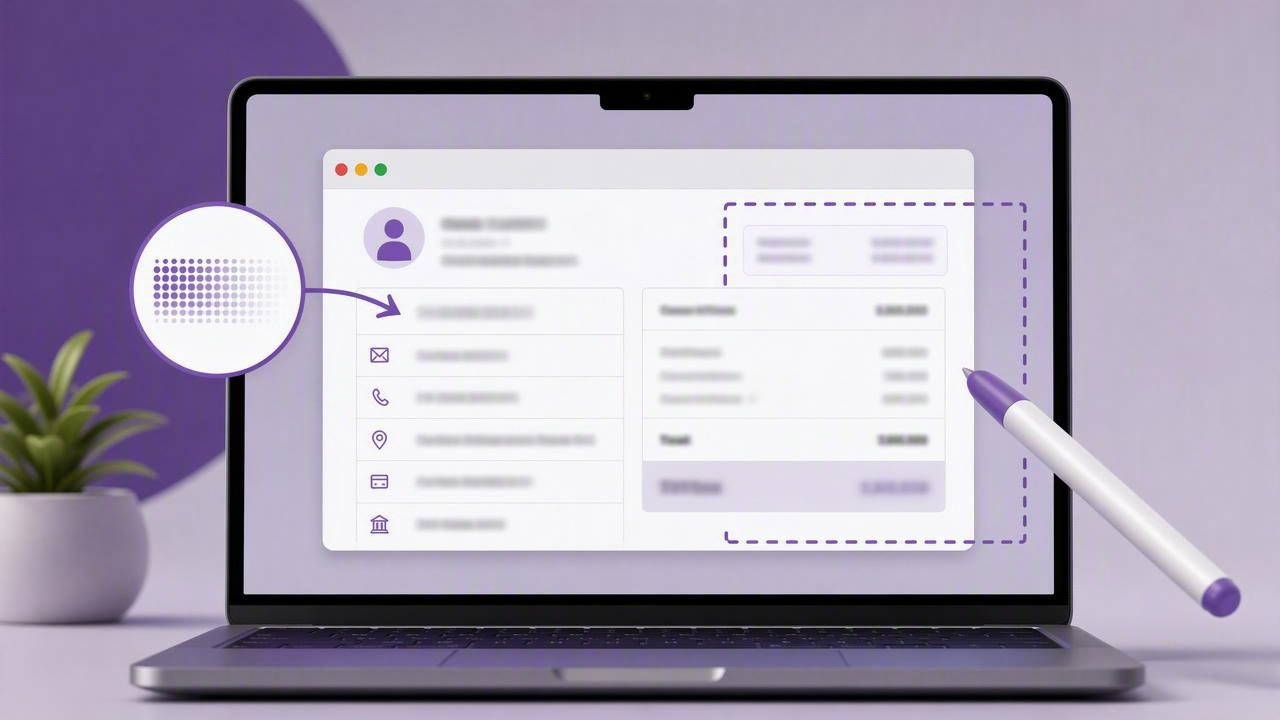
Screenshots make it easy to explain a bug, document a process, share visual feedback, or create a tutorial. They can also expose more information than intended. Email addresses, customer names, passwords, account balances, API keys, browser tabs, internal URLs, and private messages can all appear in a single capture.
Learning how to blur sensitive information before sharing a screenshot is an important privacy habit for anyone who works on a Mac. Whether you are sending a bug report to a developer, preparing a support ticket, publishing documentation, or posting in a team chat, a quick review and a proper blur can prevent accidental disclosure.
This guide explains what to hide, how to apply blur effectively, common mistakes to avoid, and how to build a safer screenshot workflow on macOS.
Why Blurring Sensitive Information Matters
A screenshot is often treated as a casual image, but it can contain data that would never be shared intentionally in plain text. Once an image is uploaded to a chat platform, ticketing system, public forum, or cloud drive, you may no longer control who can access or download it.
Blurring private details helps protect several categories of information:
- Personal data: names, phone numbers, addresses, profile photos, email addresses, and payment details.
- Account credentials: passwords, recovery codes, access tokens, API keys, SSH keys, and session identifiers.
- Business information: customer records, internal project names, unreleased features, pricing, revenue figures, and private dashboards.
- Security details: IP addresses, server names, admin URLs, database IDs, and infrastructure settings.
- Contextual information: browser tabs, desktop notifications, calendar events, messages, and filenames that reveal more than the main screenshot does.
Even a small exposed detail can be enough for someone to identify a customer, access a system, or infer confidential project information. A careful annotation step is usually faster than dealing with a privacy incident later.
What Information Should You Blur Before Sharing?
Before you annotate or send a capture, scan the entire image rather than focusing only on the app window. Sensitive information can appear around the edges, in the macOS menu bar, in a browser tab, or in a notification banner.
Details to check in every screenshot
- Login emails, usernames, account IDs, and profile images
- Passwords, one-time codes, security questions, and recovery phrases
- Credit card numbers, invoices, order records, and billing addresses
- Customer names, support conversations, and CRM records
- API tokens, webhook URLs, authentication headers, and secrets in code
- Private Slack, Messages, or email notifications
- Browser tabs that expose unrelated projects or websites
- Local folders, document titles, and file paths
- Maps, location data, and meeting details
A useful rule is simple: if the information would be inappropriate in a public post, blur it before sending the screenshot anywhere outside the people authorized to see it.
How to Blur Sensitive Information: A Practical Workflow
The safest approach is to minimize what you capture first, then blur anything that remains. This creates cleaner screenshots and reduces the chance that a private element is overlooked.
- Capture only the needed area. Use a region capture instead of a full-screen capture whenever possible. If you only need to show an error message, capture the error and the relevant controls—not your entire desktop.
- Review the image before sharing. Look at all four edges, the menu bar, sidebar, browser tabs, notification area, and background windows.
- Identify every sensitive element. Make a short mental list before applying any annotations. For example: customer email, invoice total, API token, and an unrelated browser tab.
- Apply a strong blur or opaque cover. Use a blur effect large enough that the original characters cannot be recognized. For highly confidential text, an opaque filled rectangle is often safer than a light blur.
- Add useful markup after redacting. Arrows, shapes, text labels, and numbered steps can clarify the intended point without revealing more data.
- Inspect the final exported image. Zoom in before copying, saving, or uploading. Confirm that no readable fragments remain around the blurred area.
This workflow is especially useful for bug reports. A screenshot can show the exact error, affected interface element, and expected behavior while keeping user data and internal systems private.
Blur vs. Redaction: Know the Difference
People often use the words blur and redaction interchangeably, but they serve slightly different purposes. Understanding the difference helps you choose the right method.
| Method | Best For | Key Consideration |
|---|---|---|
| Blur | Emails, names, profile images, and noncritical contextual details | Use enough intensity and coverage to prevent text from being inferred. |
| Opaque shape | Passwords, tokens, financial data, confidential records, and legal information | Usually the safer choice for highly sensitive text because it fully covers the content. |
| Crop | Unneeded sidebars, browser tabs, desktop clutter, and background windows | Best option when the private content is outside the essential subject. |
For example, blurring a customer avatar may be appropriate in a training image. A visible API token should generally be covered with a solid shape or excluded from the screenshot entirely. Do not rely on a weak blur for secrets that could lead to account access or financial harm.
How to Make Blurred Screenshots Still Easy to Understand
Privacy protection should not make a screenshot confusing. The goal is to remove private details while preserving enough context for the viewer to understand what happened and what they should do next.
Use screenshot annotations deliberately:
- Arrows direct attention to the exact button, error, field, or menu item.
- Shapes can outline a relevant section without showing private values inside it.
- Text labels explain redacted content, such as “Customer email” or “Private account number.”
- Numbered step markers turn one screenshot into a clear mini-tutorial.
- Crop boundaries remove distracting or confidential context before any annotation is needed.
For a support ticket, you might blur the customer’s email address, add a rectangle around the failed form field, and place a numbered marker beside the action that triggers the error. The recipient sees exactly what matters without receiving information they do not need.
Common Screenshot Privacy Mistakes
Many screenshot leaks happen because the image was captured quickly and shared immediately. Avoid these common mistakes when preparing visual feedback or documentation.
1. Blurring only the obvious field
You may blur a password field but miss an account email in the top navigation or a notification in the corner. Always inspect the full frame, not just the main app content.
2. Using blur that is too light
A slight blur can leave letter shapes, word lengths, or numbers visible. Increase the blur strength and extend it slightly beyond the text boundaries. If the information is highly sensitive, use a solid cover instead.
3. Capturing the whole display by default
Full-screen capture is useful when desktop context matters, but it can reveal open applications, files, personal tabs, and notifications. A region capture is usually the more private default.
4. Sharing the original instead of the edited version
After annotating an image, make sure you copy, drag, save, or upload the final marked-up version. Check the attachment preview before pressing send.
5. Forgetting that screenshots may be forwarded
Even if you share an image in a private conversation, it can be exported, forwarded, or retained in a company system. Treat every screenshot as if it could eventually be seen by a wider audience.
Local-First Screenshot Workflows Improve Privacy
Where a screenshot goes after capture matters as much as what it contains. Some tools automatically upload captures or depend heavily on cloud sharing. That can be convenient, but it may not suit screenshots involving client data, internal work, or security information.
A local-first workflow keeps captures and recent screenshot history on your Mac unless you deliberately choose to share them. This gives you time to review, blur, annotate, and decide where the final image should go. If cloud sharing is needed, use it intentionally and verify that the destination, permissions, and audience are appropriate.
For teams handling sensitive material, a practical policy is to capture locally, redact locally, review the final image, and only then upload it to an approved location. This reduces accidental exposure from automatic links or background uploads.
A Quick Pre-Share Checklist
Use this checklist before sending any annotated screenshot:
- Did I capture only the area needed to communicate the issue?
- Are names, emails, account IDs, and messages hidden?
- Are passwords, tokens, keys, billing details, and private URLs fully covered?
- Did I inspect browser tabs, notifications, the menu bar, and background windows?
- Is the blur strong enough, or should I use an opaque shape instead?
- Do arrows, labels, and numbered steps make the screenshot understandable?
- Am I sending the edited image rather than the original capture?
- Is the sharing destination appropriate for this information?
Make Privacy Part of Every Screenshot
Knowing how to blur sensitive information is not just a design skill; it is a reliable communication and security practice. Start with a focused region capture, remove unnecessary context, use strong blur or solid redaction for private details, and add annotations that make the remaining information easy to act on.
For Mac users who want a focused local-first workflow, tools such as Snip Halo combine region or full-display capture with blur, arrows, shapes, text, and numbered markers before you choose whether to copy, save, drag, or share the finished image.
With a consistent review habit, your screenshots can stay clear, useful, and safe to share.
