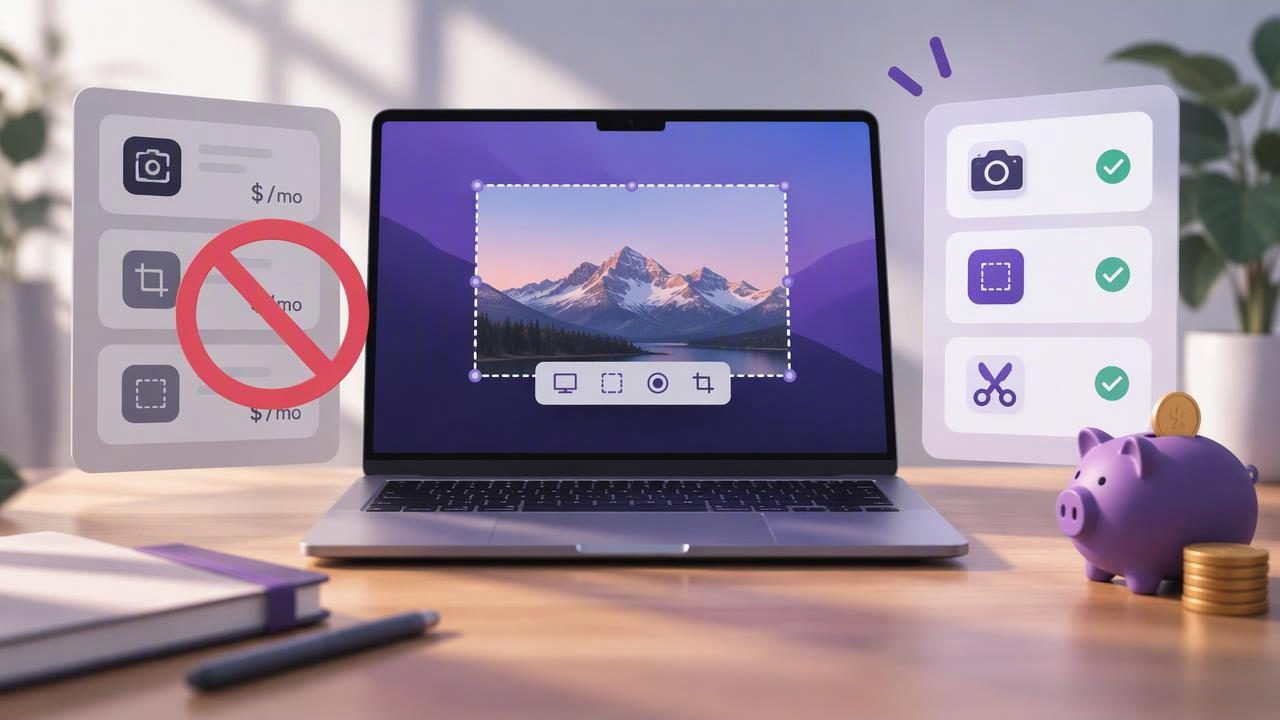
A screenshot tool may seem like a small software purchase, but a monthly plan can add up when you only need to capture, mark up, and share images occasionally. If your goal is to avoid monthly screenshot subscriptions, start by matching the payment model to your actual workflow—not by assuming the most feature-rich app is automatically the best value.
Mac users have several options, from built-in screenshot controls to specialist editors and cloud-sharing tools. The right choice depends on how often you capture, which annotations you need, and whether you want files to stay on your Mac. This guide explains how to compare those options, uncover recurring costs, and choose a workflow that remains useful without paying for features you rarely touch.
Start with the screenshot tasks you actually do
Before comparing plans, list the steps you repeat. A developer reporting a visual bug may capture a region, add an arrow, blur an email address, and attach the image to a ticket. A writer creating a tutorial may need numbered markers, explanatory text, and several clean exports. Someone who captures a screen once in a while may only need a fast way to select an area and copy it.
Write down your common tasks for a typical week. Separate must-have features from conveniences that would be nice but are not essential. Common needs include:
- Region capture and full-screen capture.
- Arrows, shapes, text, blur, or numbered step markers.
- Copying to the clipboard, saving a file, or dragging an image into another app.
- Sharing links, team workflows, or access from other devices.
- Keeping recent screenshots available for reuse.
This small audit prevents a familiar trap: paying every month for a broad toolkit when your daily requirement is simply a reliable screenshot editor.
Compare the real cost, not just the advertised price
A subscription is not automatically poor value. It can make sense when it includes services you use continuously, such as team administration, hosted image delivery, or ongoing collaboration. But a recurring fee deserves comparison with a one-time purchase and with the cost of combining free tools.
For a simple estimate, multiply the monthly price by the number of months you expect to use the app. Then add any required cloud storage or upgrade costs. Compare that total with an upfront license, while remembering that a one-time purchase may not include future major versions or cloud services. Check each product’s current terms before deciding.
| Option | How it is commonly paid for | Best fit | What to check |
|---|---|---|---|
| Built-in macOS screenshots | Included with macOS | Basic captures and occasional use | Whether you need richer editing or history |
| One-time screenshot app | Upfront license | Repeat capture and annotation without a hosted workflow | Supported macOS versions, device limits, and upgrade policy |
| Subscription app | Recurring monthly or annual plan | Features or services you actively rely on | Renewal terms, cancellation, storage, and plan limits |
| Cloud-sharing service | Free tier, subscription, or usage-based plan | Frequent link sharing or collaboration | Upload behavior, retention, access controls, and extra fees |
The cheapest option on paper may not be the cheapest in practice if it forces extra steps every day. Include time and friction in your comparison, but do not assign value to features you will not use.
Use the built-in Mac workflow as your baseline
macOS includes screenshot controls for capturing a selected portion, a window, or the full display. Keyboard shortcuts can make basic captures quick, and the resulting image can be opened in Preview for common edits. This is a sensible baseline for occasional screenshots, simple cropping, or a quick markup.
Try that workflow on a real task before purchasing anything. Capture a sample bug, add the markup you need, save it where you expect, and share it with a colleague. Note any repeated gaps. Perhaps you need numbered steps, a quicker blur tool, more visible annotations, or a recent-capture history. A paid app should solve specific problems in this list—not merely offer a longer feature checklist.
Decide whether you need editing, hosting, or both
Screenshot software often combines two different jobs: making an image clear and delivering it to someone else. Annotation means adding information such as arrows, shapes, text, blur, and step markers. Hosting means uploading an image and creating a link that another person can open.
If you mostly paste screenshots into email, chat, documentation, or an issue tracker, local editing and clipboard support may be enough. If you regularly distribute links to clients or large teams, a hosted service can save time. In that case, treat the hosting component as a separate purchase decision: ask whether its storage, privacy controls, and collaboration features justify an ongoing charge.
A local-first workflow can help keep costs and data handling simple. Captures and recent history stay on your Mac by default, rather than being sent to a provider automatically. You can still choose a sharing service when you need one. Before relying on any app, confirm where captures are stored, whether uploads are automatic, and how sharing is triggered.
Evaluate alternatives by workflow, not by feature count
Names such as CleanShot X, Shottr, Xnapper, Snagit, Dropshare, and Monosnap may appear while researching Mac screenshot tools. They are not identical products: some emphasize capture and annotation, while others may appeal more for presentation, recording, hosting, or collaboration. Features, prices, and licensing terms can change, so use current product pages rather than old comparison charts.
Make a shortlist of two or three candidates and run the same test in each. Capture a small interface detail, obscure private information, label the important control, and move the result into your usual destination. Then check whether the application meets your must-haves and whether its payment structure suits how often you will use it.
- CleanShot X alternative: Decide whether you need its particular capture, editing, or sharing workflow, or whether a smaller annotation-focused tool covers your routine.
- Shottr or Xnapper comparison: Test the features that matter to your screenshots, such as quick capture, visual polish, and export steps.
- Snagit comparison: Consider whether broader documentation or capture needs justify a more extensive toolset for your work.
- Dropshare or Monosnap comparison: Look closely at hosted sharing, account requirements, upload defaults, and ongoing service costs.
These are prompts for evaluation, not claims that one app is universally better. The best tool is the one that handles your real tasks with acceptable cost, privacy, and effort.
Read the payment and upgrade terms carefully
Pricing pages can use words such as license, plan, lifetime, or upgrade in different ways. Before checkout, find the answers to a few practical questions:
- Is payment one-time, monthly, or annual, and does a trial convert to a paid plan?
- How many Macs are covered, and can you transfer a license to a replacement computer?
- Does the purchase include updates, and are major future releases covered?
- Are cloud sharing, storage, or team features billed separately?
- Can you cancel online, and what happens to hosted files after cancellation?
Keep a note of renewal dates for any service you test. If you only need a subscription feature for a short project, set a reminder before the next billing date and export anything you need to retain. That simple habit can prevent paying for a tool after the job is finished.
Build a low-cost screenshot workflow
A practical workflow does not need to be complicated. Capture the smallest useful region, remove or blur sensitive details, add one clear visual cue per point, and save or paste the result in the format your recipient expects. For a tutorial, use numbered markers in reading order and pair each image with concise instructions. For a bug report, include the relevant screen state and a short note about what should happen.
Standardize where you save files and how you name them. If you need a shareable link, upload deliberately to a service you trust rather than assuming every screenshot should be hosted. Review images before sending them: browser tabs, account names, notifications, and customer information can appear outside the area you intended to document.
Reassess your tool after a few weeks. If the free workflow is slow or lacks an essential annotation, a one-time Mac app may be a better fit. If your team depends on hosted links and collaboration every day, a subscription may earn its cost. The goal is not to avoid every recurring payment; it is to avoid paying repeatedly for a workflow you do not use.
Choose the payment model that matches your habits
To avoid monthly screenshot subscriptions, first identify your repeat tasks, use macOS tools as a baseline, and separate annotation from online sharing. Compare total cost and licensing terms, test shortlisted apps with the same real example, and subscribe only when a continuing service delivers continuing value.
For users who want local capture and annotation with optional sharing rather than automatic uploads, a focused one-time app can be one option to evaluate. Snip Halo is one such Mac screenshot app; compare its current license and features with your own checklist before choosing.
