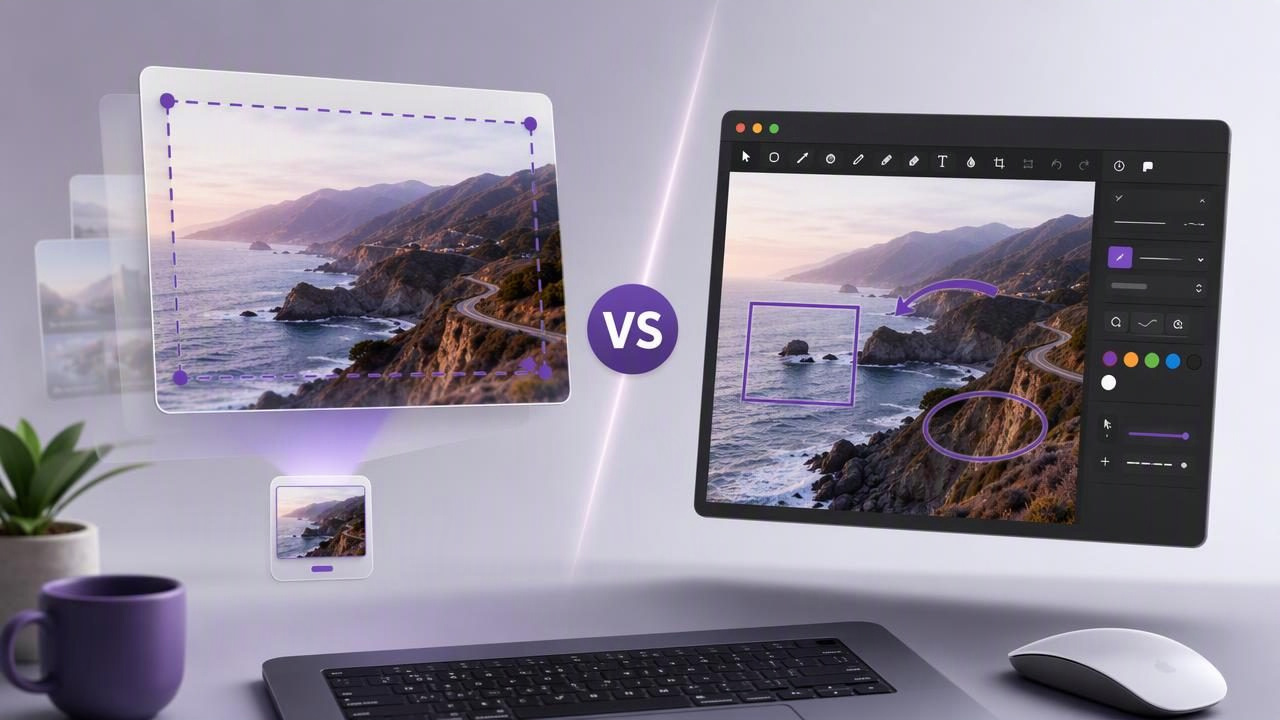
Choosing between a floating screenshot preview vs Monosnap is less about finding one universally “best” tool and more about understanding what happens immediately after you capture an image. Do you need to make a quick crop and paste it into a chat? Do you need arrows, blur, numbered steps, and a shareable link? Or do you simply want screenshots to remain private and local on your Mac?
macOS includes a built-in screenshot experience with a convenient floating thumbnail preview. Monosnap, meanwhile, is a dedicated capture and annotation tool designed for users who need more control over editing, exporting, and sharing. Each approach can be useful, but they support very different workflows.
This guide explains how the floating preview works, where Monosnap can add value, and how to decide which setup makes sense for bug reports, tutorials, client feedback, and everyday visual communication.
What Is the macOS Floating Screenshot Preview?
When you take a screenshot on a modern Mac using Shift-Command-3 for the full screen or Shift-Command-4 for a selected region, macOS can show a small thumbnail in the lower-right corner of the display. This is the floating screenshot preview.
The preview stays visible briefly. Clicking it opens Apple’s built-in markup interface, where you can crop the image, draw freehand, add shapes, insert text, add signatures, and apply a few basic edits. If you do nothing, the preview disappears and the screenshot is saved according to your Mac’s screenshot settings.
For quick, occasional captures, this workflow is efficient because it requires no additional app. It is already part of macOS, works with standard keyboard shortcuts, and is especially convenient when you only need to grab an image and paste or save it.
What the floating preview does well
- Instant access: There is no separate interface to launch before taking a screenshot.
- Simple markup: Basic text, shapes, drawing, and cropping are available within seconds.
- Minimal setup: It works out of the box for most Mac users.
- Fast one-off captures: It is useful when you need a quick visual reference rather than a polished deliverable.
- Native behavior: Screenshots follow familiar macOS conventions and shortcut keys.
However, the built-in preview is deliberately lightweight. It is not meant to be a full screenshot management, detailed annotation, or multi-destination sharing system.
Where the Floating Preview Can Slow Down a Workflow
The main limitation of the macOS floating preview is that it is temporary. The thumbnail appears, waits for a click, and disappears after a short delay. For people who capture screenshots frequently, that can create small but repeated interruptions.
For example, imagine documenting a five-step support issue. You may need to capture a window, wait for the thumbnail, click it, mark the important area, save it, return to the app, and repeat. If you are preparing a technical tutorial or product feedback report, those small transitions add up.
The native markup tool also may not provide the exact annotation controls some teams need. A clean arrow, a consistent set of numbered markers, a deliberate blur effect, and reusable visual styling can make screenshots easier to scan. When visual instructions are part of your work rather than an occasional task, consistency matters.
There is also a privacy consideration. The floating preview itself is local, which is excellent for sensitive images, but sharing requires a separate step. You may need to locate the saved file, attach it to an email, upload it to a drive, or drag it into a project tool.
How Monosnap Changes the Screenshot Process
Monosnap is a dedicated screenshot application that expands on the basic capture-and-markup model. Instead of treating each screenshot as a standalone file that briefly appears in a preview, it provides a more structured environment for capturing, editing, saving, and, depending on configuration, uploading images.
This can be useful for people who repeatedly create visual assets for work. Developers can mark bugs. Support teams can show customers where to click. Designers can add feedback directly onto a layout. Marketers and writers can prepare tutorial images without opening a separate image editor.
A dedicated app typically emphasizes more deliberate annotation and sharing options than the macOS floating preview. But that added capability also means more settings, more decisions about storage and destinations, and potentially more interface than a casual user needs.
Common reasons users choose a dedicated app
- They want more annotation tools than basic markup provides.
- They create frequent bug reports, how-to guides, or visual feedback.
- They need to standardize exported file formats, filenames, or destinations.
- They prefer a persistent screenshot workspace over a disappearing thumbnail.
- They need optional upload and link-sharing features for remote collaboration.
Before enabling any cloud destination, review the service’s current storage, retention, account, and sharing settings. A screenshot can contain customer data, internal URLs, source code, account balances, or personal information. Convenient sharing should always be matched with intentional privacy choices.
Floating Screenshot Preview vs Monosnap: Feature Comparison
| Workflow need | macOS floating preview | Monosnap-style dedicated workflow |
|---|---|---|
| Quick full-screen or region capture | Excellent for immediate, occasional use | Excellent, often with additional capture controls |
| Basic crop and markup | Available in the native editor | Typically more editing flexibility |
| Consistent arrows, shapes, and labels | Suitable for simple tasks | Better suited to repeatable documentation |
| Numbered step markers | May require manual placement and formatting | Often easier in purpose-built annotation tools |
| Blur sensitive details | Limited compared with dedicated editors | Usually a more practical fit for frequent redaction |
| File organization and history | Uses your selected screenshot save location | May provide app-based management or destinations |
| Cloud sharing | Requires a separate sharing step | Can offer integrated upload options |
| Lowest complexity | Best choice | Requires learning and configuration |
Which Option Is Better for Bug Reports?
A strong bug report should help another person understand the problem without reproducing every click themselves. The screenshot should show the relevant screen, the unexpected behavior, and any sensitive details that must be hidden.
For a single, simple report, the floating screenshot preview is often enough. Capture the affected area, add a box or arrow, and attach the result to your issue tracker. The key is to keep the image focused: include the error message and the nearby control, but avoid clutter from unrelated apps or browser tabs.
For recurring QA work, a dedicated annotation workflow becomes more valuable. Use numbered markers to establish sequence, arrows to direct attention, and blur to conceal personal data. Pair the image with concise reproduction steps:
1. Open Account Settings.
2. Select Billing.
3. Click Update Payment Method.
4. Notice the Save button remains disabled.
When the screenshot and written steps use the same numbering, reviewers can identify the issue faster. That reduces back-and-forth and makes the report more useful for engineering, support, and product teams.
Which Option Is Better for Tutorials and Client Feedback?
Tutorials benefit from visual consistency. A reader should immediately recognize what is clickable, what is informational, and what should be ignored. If each image uses different arrows, colors, text styles, or crops, the guide feels harder to follow.
The macOS floating preview is a sensible choice for a short internal note or a one-image answer. It is also useful when speed matters more than presentation. But for a multi-image onboarding guide, a help-center article, or client feedback on a design, an annotation tool with controlled shapes, text, blur, and step markers can save time over the course of a project.
Good screenshot annotation does not decorate an image; it removes uncertainty from the next action.
For client feedback, mark only the decisions that need attention. A giant cluster of arrows can feel overwhelming or adversarial. Instead, use one numbered note per decision, blur confidential names or values, and include a short supporting comment in the message or project ticket.
Privacy: Local Screenshots vs Automatic Uploads
Privacy is a major part of screenshot workflow design. Screenshots are often more sensitive than they look. A small capture may reveal an email address, a customer account, an API token, a calendar event, a browser tab, or an internal dashboard.
Local-first workflows give you more control because images remain on your Mac until you explicitly decide to export or share them. This is ideal for internal documents, security-related reports, financial information, healthcare-related screens, and any workflow with strict data-handling expectations.
Cloud sharing is still useful when collaboration requires it, but it should be intentional. Before sending a link, check whether it is public or restricted, who can access it, and whether the destination fits your organization’s policies. Blur or crop before upload, not afterward.
A Practical Decision Framework
Use the native floating screenshot preview if most of the following are true:
- You take screenshots occasionally.
- You mainly need quick captures, crops, and simple markup.
- You prefer no extra software or setup.
- You do not need repeatable visual styles or integrated sharing.
Consider a dedicated tool such as Monosnap if these needs are more common:
- You create screenshots daily for work.
- You need polished arrows, shapes, blur, labels, or step-by-step annotations.
- You regularly prepare bug reports, tutorials, or design feedback.
- You want more control over saving, exports, and optional sharing destinations.
If your priority is a focused local workflow with region and full-screen capture, clear annotations, local history, and optional sharing through your own Google Drive, a tool such as Snip Halo can be worth considering as a simpler alternative to a larger screenshot platform.
Final Takeaway
The floating screenshot preview is one of macOS’s best small conveniences. It is fast, built in, and ideal for uncomplicated captures. Monosnap and similar apps become more compelling when screenshots are part of a repeatable professional process rather than a once-in-a-while task.
Ultimately, choose the workflow that lets you capture the right area, explain the important detail, protect sensitive information, and deliver the image where it needs to go with the fewest unnecessary steps. The best screenshot tool is not the one with the longest feature list; it is the one that makes visual communication clearer and safer for your actual work.
