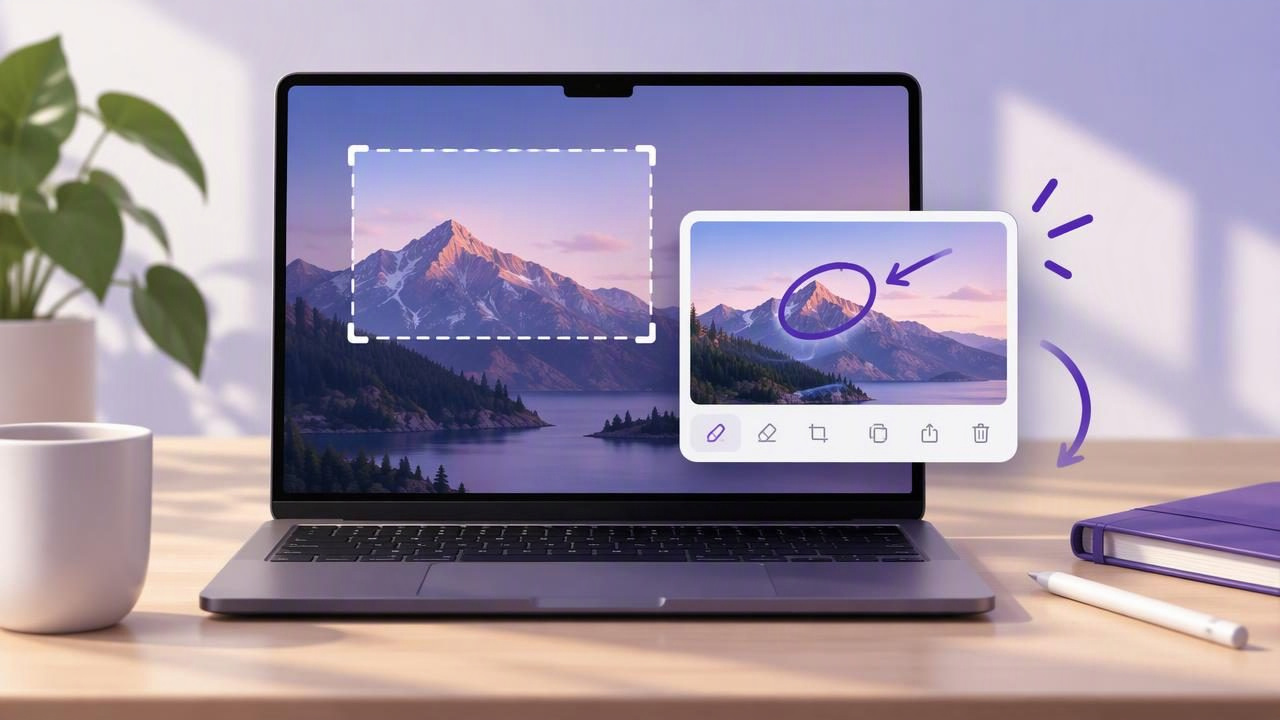
When you take a screenshot on a Mac, a small thumbnail may appear near the bottom-right corner of your screen. This floating screenshot preview is more than a notification: it gives you a quick way to review, mark up, copy, or move your capture before you continue working. Knowing how to use it can make everyday screenshots clearer and cut down on extra steps.
This beginner-friendly guide explains what the preview does, how to control it, and how to build a simple workflow for bug reports, tutorials, and visual feedback. The instructions focus on built-in macOS features, with a few tips for when a dedicated screenshot app may be useful.
What is the floating screenshot preview on Mac?
After you capture a screen or selected area using a macOS screenshot shortcut, the system can show a temporary thumbnail. Click the thumbnail to open the screenshot in Markup, where you can add basic annotations before saving. If you do nothing, the preview disappears after a short time and the screenshot is saved to the selected location, usually the desktop by default.
You can also drag the thumbnail into a compatible app or document. That makes it handy when you want to place an image in an email, a note, or a design file without first locating it in Finder. The preview is temporary, though, so treat it as a quick handoff rather than a permanent workspace.
One useful distinction: the thumbnail is not the same as a screenshot window that stays open indefinitely. It appears briefly after capture. Click it for editing, drag it to another destination, or let it disappear and find the saved file afterward.
Start with the right capture shortcut
Choosing the right capture type helps you avoid unnecessary cropping and makes annotations easier to understand. On most current Macs, these shortcuts are the quickest starting point:
- Shift-Command-3: capture the full display.
- Shift-Command-4: select a region by dragging a crosshair.
- Shift-Command-4, then Space: capture a particular window.
- Shift-Command-5: open the screenshot and screen-recording controls.
Use a region capture when only one dialog, chart, or interface detail matters. Choose a full-screen capture when the surrounding context is important, such as showing which app is open or how a problem appears across a workflow. A window capture can give you a tidy image when the issue is contained in one app.
The Shift-Command-5 controls are especially helpful for beginners because they show capture choices and options in one place. Depending on your macOS version and settings, you can choose a save location and control whether the floating thumbnail appears.
Set up the preview to suit your workflow
If the thumbnail does not appear, open the screenshot controls with Shift-Command-5, select Options, and check the floating-thumbnail setting. Menu wording can vary slightly between macOS versions. The same menu lets you adjust where screenshots are saved, which helps keep your desktop from becoming a pile of unnamed images.
Leave the preview enabled if you regularly inspect or annotate captures right away. Turn it off if the thumbnail interrupts a fast, repetitive capture routine or covers something you need to click. You can change the setting again whenever your needs change; it is not a permanent choice.
Before an important capture, check the destination folder and make sure there is enough room to frame the subject. A predictable save location is useful if you miss the thumbnail or need to find the original image later.
Floating screenshot preview tips for beginners
1. Review the image before sending it
Click the thumbnail and take a moment to check whether the relevant content is readable. Look for clipped text, an obscuring notification, or a cursor covering a small control. Retaking a screenshot is often faster than explaining an unclear one later.
2. Crop with a purpose
For a region capture, include enough surrounding interface to orient the viewer, but remove unrelated windows and empty space. A close crop can make a button easier to see; a wider crop can show which page or panel contains it. Aim for context without clutter.
3. Use arrows to direct attention
An arrow is effective when the viewer needs to find one specific control or problem area. Keep it short and point its head precisely. Several crossing arrows can make an image harder to read, so use a shape or a numbered marker when the screenshot contains more than one area of interest.
4. Keep shapes and text brief
A rectangle or oval can highlight an area without covering it. If you add text, use a short label such as “Select this menu” rather than a paragraph. Detailed explanations belong in the message or bug report that accompanies the image.
5. Blur sensitive details
Before sharing a screenshot, look for names, email addresses, account numbers, private messages, or customer information. Use a blur or another opaque covering method when available, and inspect the result at normal size. If the built-in Markup controls do not provide the kind of redaction you need, use a suitable editor or retake the image with sensitive content out of view.
6. Number multi-step instructions
For a short tutorial, number the actions in the order they should happen. Place each marker close to the relevant control and keep the sequence consistent. If the instructions require many markers, split the process across several images instead of squeezing everything into one.
7. Drag the preview when you only need to place it
If your destination app is ready, drag the thumbnail directly into a document or message when supported. This can be quicker than opening Markup and exporting a separate copy. Check the receiving app after the drop to confirm the image landed where you intended.
8. Copy or save deliberately
Use the preview’s available controls to copy or continue working with the image when that option is offered. If you need a file for later, make sure the screenshot is saved to a known location. Copying to the clipboard is convenient, but it is easy to replace clipboard contents accidentally.
Make screenshots clearer for common tasks
For bug reports: capture the smallest area that demonstrates the issue while retaining enough context to identify the page or app. Add one clear arrow or outline, and describe the expected result, actual result, and steps to reproduce in the report itself. Avoid relying on annotations to explain everything.
For tutorials: keep each screenshot focused on one action or decision. Number markers can establish sequence, while a short caption explains what happens next. Use similar crops and annotation styles across the set so readers can follow the guide without relearning its visual language.
For design feedback: distinguish observations from suggestions. For example, highlight the element that seems misaligned and add a concise note about the intended spacing. A screenshot should help start a conversation, not bury the recipient in a wall of markup.
Common preview problems and quick fixes
- The thumbnail is missing: check the floating-thumbnail setting in the Shift-Command-5 Options menu, then take another screenshot.
- The preview vanished: look in the configured save location. The thumbnail is temporary, but the capture may already have been saved.
- The image is hard to find: choose a consistent destination in screenshot Options and use descriptive filenames when organizing files.
- The annotation is difficult to read: reduce the number of marks, increase contrast, or capture a closer region.
- The image includes private information: do not share it until you have removed or safely obscured those details and checked the final image.
If an unfamiliar app does not accept a dragged thumbnail, save the screenshot first and insert the file through that app’s normal attachment or import command. App behavior can differ, so a saved file is the dependable fallback.
When the built-in preview is enough—and when it is not
The macOS preview works well for occasional screenshots, quick crops, and simple markup. It is a sensible place to start if you want to capture a region or full display and make a small change without installing anything. For straightforward sharing, the built-in workflow may be all you need.
A dedicated Mac screenshot app can be worth considering when you frequently create step-by-step guides, need a broader set of annotation tools, or want a more repeatable process for bug reports. Compare tools based on the features you will actually use: region and full-screen capture, arrows and shapes, text, blur, numbered steps, export options, and pricing. Also check where captures are stored and whether any sharing feature uploads them automatically.
For privacy-conscious work, understand the difference between local editing and online sharing. Local-first tools keep captures on your Mac by default, while optional cloud sharing may send an image to a connected service. Review the destination and sharing settings before sending sensitive material.
A simple checklist before you share
- Does the screenshot show the relevant app, area, or step?
- Is there enough context for someone unfamiliar with the screen?
- Are arrows, shapes, text, or numbered markers clear and minimal?
- Have you checked for private information and unreadable details?
- Do you know whether you are copying, saving, or sharing the image?
The floating screenshot preview is a small feature that can make a Mac screenshot workflow feel much more immediate. Capture with the right shortcut, use the thumbnail to review or annotate, and choose a clear destination before moving on. For people who want more annotation options while keeping captures local by default, Snip Halo is one Mac app to explore; its Google Drive sharing is optional.
