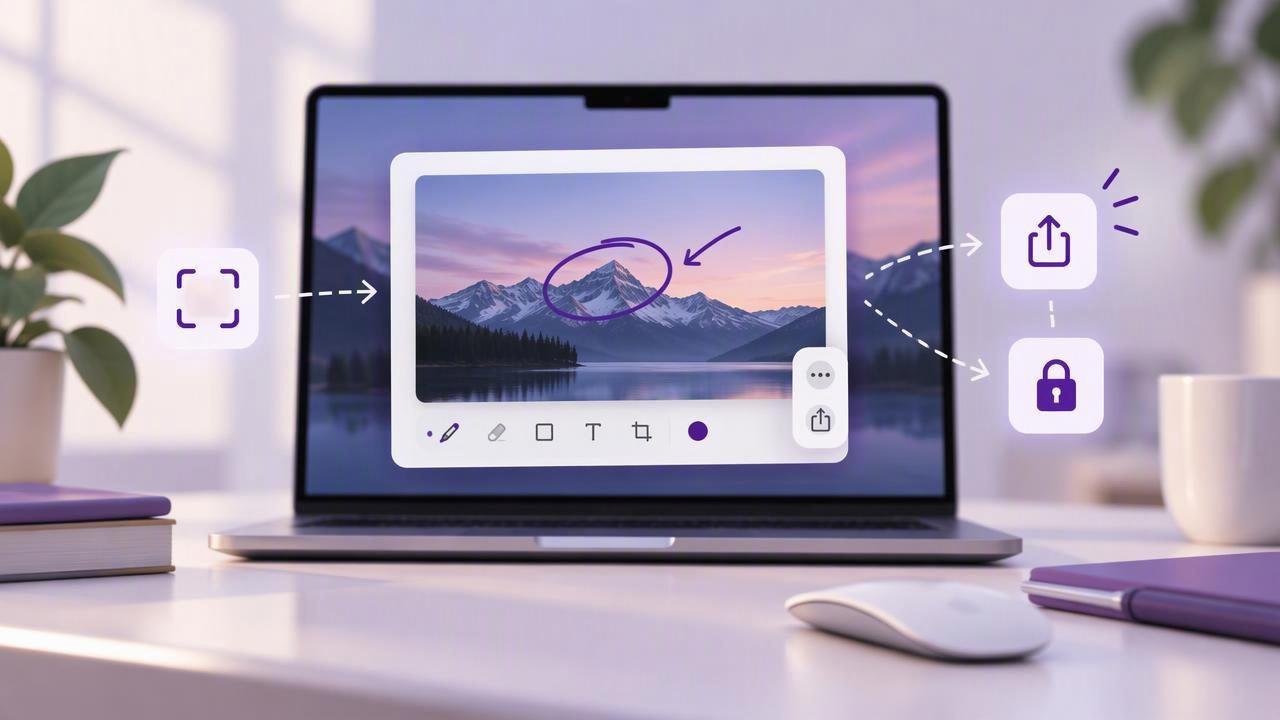
A floating screenshot preview can turn a quick capture into a useful piece of visual communication. Instead of saving an image, hunting for it, and reopening it elsewhere, you can review the capture immediately, make changes, and send it to the app or person who needs it.
On a Mac, this small preview is especially helpful for bug reports, tutorials, customer support, and visual feedback. Knowing how it appears, what you can do with it, and when to use a dedicated screenshot editor helps you move quickly without losing control of the image.
What is the floating screenshot preview on Mac?
When you take a screenshot using macOS’s built-in capture tools, a small thumbnail can appear near the lower-right corner of the screen. This is the floating screenshot preview. It stays visible briefly, giving you a chance to click it to open editing tools or drag it directly into a compatible destination, such as a document or message.
The preview is a handoff point, not just a miniature picture. It lets you decide whether to inspect, annotate, copy, or use the screenshot immediately. If you do nothing, macOS typically saves the capture to its configured destination after the thumbnail disappears. That default behavior can be changed in the screenshot options.
How to show the preview
Press Shift-Command-5 to open the macOS screenshot controls. Choose to capture the entire screen, a window, or a selected portion. Select Options and check that Show Floating Thumbnail is enabled. You can also choose where screenshots are saved and set a timer from this menu.
For a faster region capture, press Shift-Command-4 and drag over the area you want. Depending on your settings, the thumbnail appears after the capture. To capture a window, press Shift-Command-4, then press the Space bar and select the window. Keyboard shortcuts are convenient, but the Shift-Command-5 panel is useful when you want to review or adjust options.
A simple capture-to-share workflow
- Choose the right scope. Capture only the relevant interface, or use a full-screen capture when the surrounding context matters.
- Check the preview. Make sure the image shows the correct window, state, and details before sending it.
- Make any necessary edits. Click the thumbnail to open available markup tools, or move the capture into an image editor for more control.
- Deliver the image. Drag the thumbnail into a supported app, copy it for pasting, or save it in an appropriate folder.
- Verify the result. In a bug report or tutorial, confirm that the image appears at a useful size and is accompanied by enough explanation.
This sequence keeps the screenshot close to the moment you noticed something. That can reduce repeated captures and help preserve the exact visual state you intended to document.
Use annotations to make screenshots understandable
A screenshot can show what happened, but an annotation can explain where to look. Arrows are useful for pointing to a button, error, or field. Shapes can outline an area without covering it. A short text label can clarify what the viewer should notice, while blur can conceal private details that are not needed for the task.
For instructions with several actions, numbered step markers help establish order. Keep labels brief and use a consistent sequence. Avoid filling the image with arrows and text: too many marks compete with the interface and make the important detail harder to find. If a point needs a paragraph of explanation, put that explanation beside the screenshot rather than crowding it into the image.
Not every preview offers the same editing options. macOS provides basic markup after opening a screenshot, while a dedicated screenshot app may offer a broader set of annotation controls or a more persistent editing window. Choose the lightest tool that supports the job, and check that your edits are visible before sharing.
When a floating preview is most useful
- Bug reports: Capture the error, then mark the affected control or unexpected result. Add the app version and steps to reproduce in the report itself.
- Tutorials: Use a series of focused captures, with numbered markers that match the written steps.
- Customer support: Highlight the setting a customer needs to find, while blurring account details that do not help solve the issue.
- Visual feedback: Point to a specific layout or copy issue and keep the comment short enough to scan.
- Quick documentation: Drag a screenshot into a note or document while the relevant screen is still open.
For a one-off image, the preview may be all you need. For a multi-image guide or a complex report, it is worth choosing a consistent naming and storage approach so the screenshots are easy to locate later.
Preview, clipboard, or saved file?
These three routes solve different problems. Dragging the thumbnail is convenient when the destination is already open. Copying is useful when you want to paste into a form, chat, or document. Saving a file is better when you need a reusable asset, a clear filename, or a copy for an organized project folder.
| Route | Best for | Consider |
|---|---|---|
| Drag the preview | Fast transfer to a compatible app | Some destinations may not accept image drops |
| Copy and paste | Messages, forms, and quick notes | Confirm the image pasted correctly |
| Save a file | Archives, tutorials, and repeat use | Choose a useful folder and filename |
For a workflow that needs edits before delivery, capture into an editor rather than treating the thumbnail as the final destination. A good editor should make the next action clear: annotate, copy, save, or share.
Privacy checks before sharing
A screenshot can contain more than the detail you meant to show: email addresses, account names, notifications, browser tabs, internal URLs, or customer information. Before you send it, inspect the entire frame, not just the annotated area. Crop unnecessary surroundings and blur sensitive details where appropriate.
Also understand where the image goes. The built-in screenshot workflow saves to the selected location unless you copy or drag it elsewhere. A local-first screenshot app can keep captures and recent history on the Mac by default, while a cloud destination may involve a separate upload. If you use cloud sharing, choose the destination deliberately and check who can access the resulting file.
Local storage is not a substitute for careful sharing: once you paste an image into a chat or upload it, that destination’s access and retention rules apply. Treat each screenshot as a document that may contain confidential information.
Common preview problems and fixes
- No thumbnail appears: Open the screenshot controls with Shift-Command-5 and confirm that Show Floating Thumbnail is enabled.
- The thumbnail disappears too quickly: Click it as soon as it appears, or use a workflow that keeps the capture available in an editor or history.
- You cannot find the screenshot: Check the save destination in Options. If you copied or dragged the image, look in the destination app instead.
- The image is too broad: Capture a selected region or window to remove distracting desktop content.
- Markup is hard to read: Use fewer annotations, increase contrast, and avoid covering the control you are explaining.
If screenshots are part of a repeated task, test the full sequence once—from capture through delivery—before relying on it during a time-sensitive report or support conversation.
Choosing a screenshot workflow
macOS’s built-in preview works well for quick captures and basic handoffs. A dedicated app may make more sense when you regularly add arrows, shapes, text, blur, or numbered steps, or when you want recent captures available for another round of editing.
When comparing tools such as CleanShot X, Shottr, Xnapper, Snagit, Dropshare, or Monosnap, focus on your actual routine rather than a long feature list. Check capture modes, annotation options, export steps, storage behavior, and pricing. Some tools emphasize editing, while others may fit sharing or broader capture needs; features and plans can change, so verify current details before choosing. If you only need a quick preview, a larger toolset may add unnecessary steps. If you create visual instructions every day, those controls may save time.
Consider cost as well as convenience. A one-time Mac software license can suit people who prefer paying once, while subscription pricing may make sense for a service with ongoing needs. Compare the total workflow and privacy model, not just the headline price.
A quick checklist for clearer screenshots
- Capture the smallest area that still gives enough context.
- Check the preview for errors, notifications, and private details.
- Use arrows or numbered markers only where they improve comprehension.
- Blur information that the recipient does not need.
- Choose copy, drag, or save based on what happens next.
- Confirm the image arrived and can be read at its displayed size.
Make the preview work for you
The floating screenshot preview on Mac is a small feature with a practical role: it gives you a moment to inspect a capture and decide what should happen next. With the right capture area, a few purposeful annotations, and a quick privacy check, it can make bug reports, tutorials, and feedback more precise without interrupting your work.
If you need a more persistent local editing workflow, Snip Halo is one Mac option for capturing, annotating, and handling screenshots before copying, saving, or sharing them through your own Google Drive.
