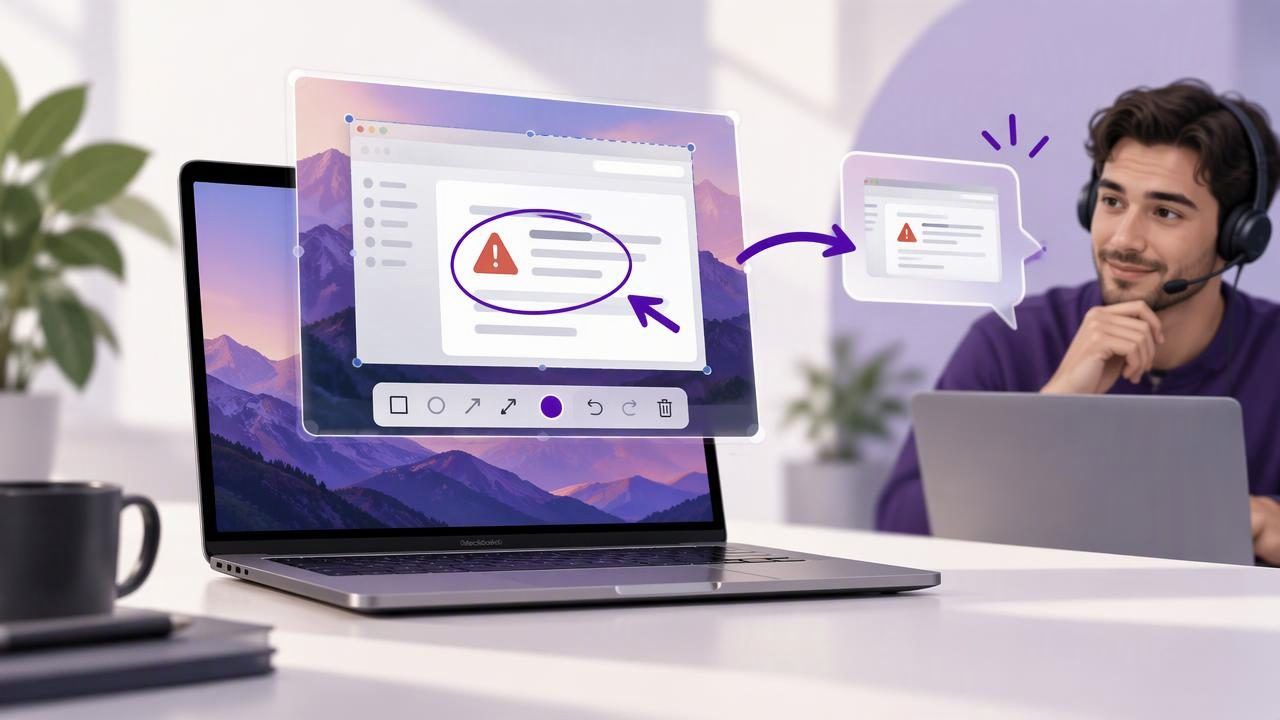
When someone asks for help, a screenshot can explain a problem faster than a long description. But capturing an image is only part of the job. You still need to identify the relevant area, show what matters, and get the image into a reply without losing your place. A floating screenshot preview for faster support replies makes that handoff smoother by keeping a fresh capture available while you write, troubleshoot, or gather details.
This workflow is useful for customer support agents, IT teams, product specialists, and anyone who answers questions on a Mac. The goal is not to add more steps or send images automatically. It is to make the few steps between capture and reply quick, clear, and deliberate.
What Is a Floating Screenshot Preview?
A floating screenshot preview is a small, movable window or thumbnail that stays visible above other windows after you take a screenshot. Instead of switching to a desktop or searching through a folder, you can inspect the capture while keeping your support conversation open. Depending on the screenshot tool, you may be able to drag the preview into a message, copy it, save it, or open it for annotation.
On macOS, the built-in screenshot interface already offers a temporary thumbnail after a capture. That is convenient for quick actions, but it disappears after a short time. A persistent preview can be more useful when you need to review details, add a visual note, or wait until a reply is ready. The key distinction is that a preview helps you handle an image; it does not need to upload, store, or share that image on your behalf.
Why It Can Speed Up Support Replies
Support work often involves several windows: a ticket, a browser, a settings panel, a chat, and perhaps a knowledge base. Without an accessible preview, each window switch interrupts your train of thought. You may save the screenshot, find it later, reopen it, then attach it to the reply. A floating preview shortens this loop by keeping the capture close to the conversation.
- Fewer context switches: Check the screenshot while drafting the explanation instead of reopening it from a folder.
- Faster clarification: Point to a button, error message, or setting that is difficult to describe in text.
- Less attachment friction: Drag or copy the image into a supported ticket or chat composer when appropriate.
- Better accuracy: Review the image before sending and catch an irrelevant window or sensitive detail.
Speed matters, but clarity matters more. A rushed screenshot can create another round of questions. A useful preview gives you a moment to confirm that the image supports the answer you are about to send.
A Practical Mac Workflow
A reliable process separates capture, explanation, and sharing. You do not need a complex system. You need a repeatable sequence that makes the intended detail obvious and gives you a chance to check the image before it leaves your Mac.
- Choose the smallest useful capture. Use region capture for a specific dialog, control, or error. Use a full-screen capture only when the surrounding context helps explain the issue.
- Keep the preview visible. Position it near the support conversation without covering the text or controls you need to reference.
- Review before annotating. Check that the right screen is shown and that unrelated personal or customer information is not visible.
- Add only useful marks. Use an arrow or shape to direct attention, brief text for context, or blur to obscure information that should not be shared.
- Copy, drag, or save intentionally. Choose the method that fits the support platform and your record-keeping needs.
- Write a short explanation. Tell the recipient what to look at and what action to take next.
For example, if a customer cannot find an export option, capture just the relevant menu. Add an arrow to the option and write, “Choose Export after selecting a project.” A tightly framed, labeled image is easier to scan than a full desktop accompanied by a paragraph explaining where to look.
Annotate for Action, Not Decoration
Screenshot annotation is most effective when every mark answers a question: Where should the reader look? What should they do? What information should they ignore? Too many highlights, colors, or labels compete with the interface and make a reply harder to understand.
| Annotation | Best use in a support reply | Keep in mind |
|---|---|---|
| Arrow | Direct attention to one control or location. | Use a clear starting point and avoid crossing important text. |
| Shape | Outline a field, panel, or area to inspect. | Leave enough of the interface visible to preserve context. |
| Text | Add a short instruction or identify a numbered step. | Keep labels concise and readable at message size. |
| Blur | Hide personal, account, or confidential details. | Check the result at full size; do not assume a tiny blur is sufficient. |
| Numbered markers | Show a sequence of actions in a tutorial-style reply. | Match the marker order to the written instructions. |
For a single-step answer, one arrow may be enough. For a multi-step fix, numbered markers can connect the image to a short list: “1. Open Preferences. 2. Select Accounts. 3. Turn on Sync.” If the sequence spans several screens, separate captures may be clearer than crowding every instruction into one image.
Protect Privacy Before You Share
A screenshot can contain more than the issue at hand: names, email addresses, account identifiers, open tabs, notifications, or internal notes. Treat every capture as a document that needs review. Crop to the relevant region where possible, close unrelated windows when practical, and blur information that the recipient does not need.
It also helps to understand where an app keeps images and what sharing actions it performs. A local-first screenshot workflow keeps captures and recent history on the Mac by default, with sharing initiated by the user rather than happening automatically. If a tool supports cloud storage, such as optional Google Drive sharing, check which account receives the file and whether the link permissions are appropriate. Convenience should not remove your chance to decide what leaves your device.
For support teams, a simple rule is valuable: capture only what is needed, inspect it, then share it through the approved channel. A floating preview should make that review easier—not encourage automatic sending.
Set Up a Repeatable Support Reply Pattern
Consistency saves time when multiple people respond to similar issues. Create a small checklist that fits your team’s support style, rather than a rigid template for every situation. A clear visual reply usually includes the screenshot, one sentence describing the relevant detail, and a specific next action.
- Capture the relevant region or screen.
- Remove or obscure details the recipient does not need.
- Use one visual cue per important instruction.
- Write the next step in plain language.
- Confirm that the attachment or pasted image is the final, reviewed version.
When answering a bug report, the same discipline improves the report itself. Include the visible error and enough surrounding context to reproduce the issue, but avoid unrelated desktop content. If the image is part of a longer investigation, save a copy with a descriptive filename or follow your organization’s ticketing process rather than relying on a temporary preview as permanent storage.
Choosing a Screenshot Tool for This Workflow
The right tool depends on how much you need beyond capture. macOS’s built-in tools can handle straightforward screenshots. A dedicated Mac screenshot app may be worthwhile if you regularly need region capture, full-screen capture, arrows, shapes, text, blur, numbered steps, or a preview that stays available while you work.
When comparing screenshot apps, test the workflow you actually use: Can you capture a precise region? Is annotation quick? Can you copy or drag the result into your support platform? Does the preview remain available long enough? Where are captures stored, and does sharing require an upload? Also consider pricing. A one-time license may suit someone who prefers to pay once, while a subscription may make sense if it includes services or team features you rely on. Compare the complete workflow rather than choosing by feature count alone.
Apps such as Snagit, CleanShot X, Shottr, Xnapper, Dropshare, and Monosnap differ in their editing, sharing, storage, and pricing approaches. Availability and features can change, so check current product details and test the steps that matter to your team. The best choice is the one that removes friction without creating unnecessary uploads, accounts, or complexity.
Common Mistakes That Slow Replies Down
A floating preview is not automatically a better workflow. It can become another window to manage if it blocks the conversation or remains open after you finish. Avoid capturing the entire display when a small region would do, adding several annotations that say the same thing, or sending a preview before checking for sensitive information.
Another common mistake is assuming that an image explains itself. Even a well-marked screenshot benefits from a brief sentence that gives the recipient context. Conversely, do not write a long description that forces the reader to search the image for the referenced detail. Let the visual and the message work together.
Finally, distinguish temporary handling from long-term documentation. A preview is a convenient bridge from capture to reply, not necessarily an archive. Save important evidence to the appropriate ticket or project record, and follow your team’s retention and privacy policies.
Make the Screenshot Part of the Answer
A floating screenshot preview can make support replies faster by reducing window switching and putting the image within reach while you compose a response. Its real value comes from combining quick capture with deliberate review: frame the relevant detail, annotate sparingly, protect private information, and share through the right channel.
For Mac users who want this kind of focused, local-first workflow, Snip Halo is one option to explore. The broader principle applies to any tool: keep the capture process simple, keep sharing under your control, and make every screenshot help the recipient take the next step.
