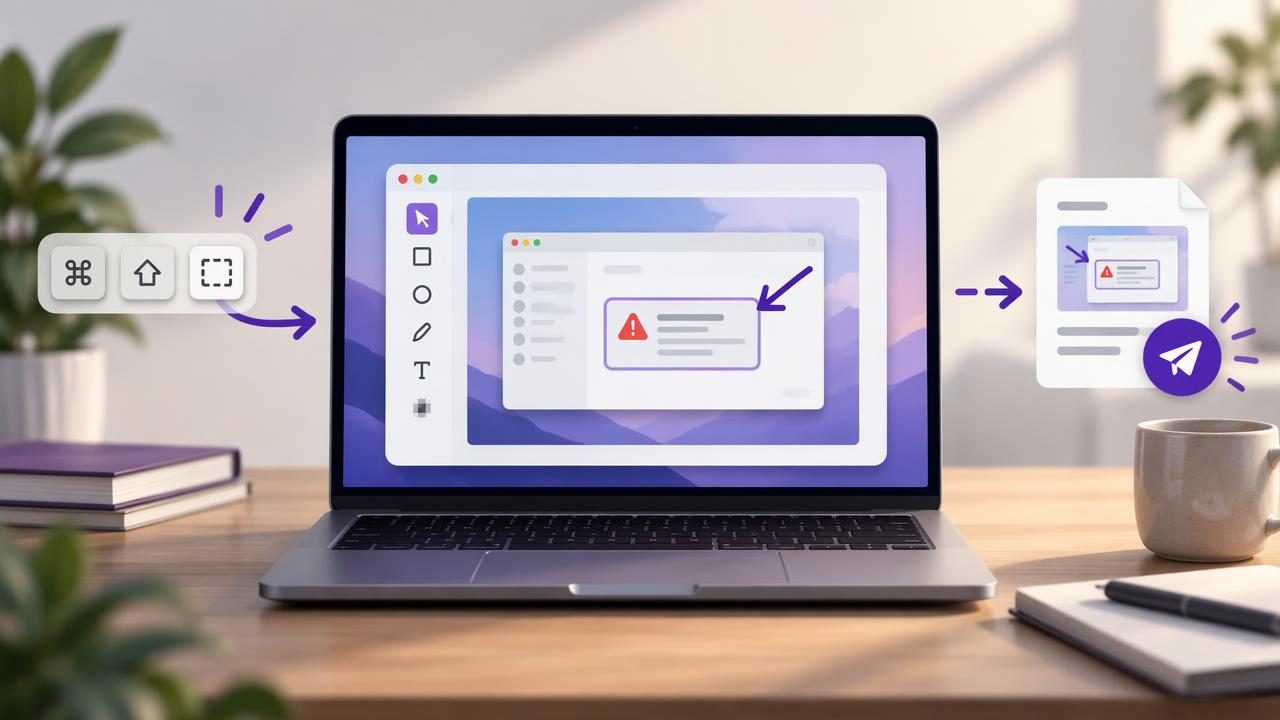
A useful bug report screenshot does more than show that something looks wrong. It helps another person understand what happened, where to look, and what to do next. A clean capture with a few well-chosen annotations can save a developer or support teammate from a long chain of clarification questions.
On a Mac, the challenge is not simply taking a screenshot. It is building a repeatable process for capturing the right area, highlighting the problem, protecting sensitive details, and getting the image to the right person. The good news: you can create clear, subscription-free screenshot workflows without turning every report into a design project.
What makes a bug report screenshot effective?
An effective screenshot provides enough context to reproduce or investigate an issue without making the reader hunt for the important detail. It should answer three questions: What am I looking at? What is wrong? Where should I focus? A screenshot cannot replace steps to reproduce, device details, or a written description, but it can make that supporting information much easier to understand.
For example, a report about a settings button that does nothing is stronger with the full settings panel visible, an arrow pointing to the button, and a short note such as “Clicking this does not save.” A tightly cropped image of the button alone might hide the page, app state, or surrounding controls needed to diagnose the issue.
Use annotations to guide attention, not decorate the image. One arrow, a brief label, or a numbered marker is usually more useful than several colors and shapes competing for attention.
A repeatable Mac screenshot workflow for bug reports
- Choose the right capture area. Use region capture when the relevant interface is self-contained, such as a dialog, toolbar, or error message. Include enough nearby context to identify the screen and state. Capture the full display when the issue involves multiple windows, a menu-bar item, a layout across screens, or a window that behaves differently in context. Avoid including unrelated desktop clutter when it adds no diagnostic value.
- Re-create the issue before capturing. If possible, return the app to the state where the problem occurs. Keep the relevant window open and move unrelated windows out of the way. A capture made immediately after reproducing the bug is more trustworthy than one assembled later from memory. If a transient error appears, capture it promptly and add the action that triggered it to the report.
- Mark the point of failure. Add an arrow or simple shape around the control, message, or layout issue. Keep the annotation close to the target without covering it. If the problem is a sequence, use numbered step markers to show the order of actions. This is especially helpful when reporting a multi-step flow, such as opening a menu, changing a setting, and receiving an unexpected result.
- Add only the context a reader needs. A short text label can identify the expected behavior or the result you observed. Keep detailed reproduction steps in the report itself rather than squeezing a paragraph into the image. If you need to show a comparison, use separate labeled captures or a concise visual sequence instead of layering multiple explanations over one screenshot.
- Review, then send. Check that the image is legible at its likely display size, the annotation points to the correct place, and no private information is exposed. Then copy it into a ticket, save it as an attachment, drag it into a message, or share it through an approved destination. Include a short caption explaining what the reader should notice.
Capture the right amount of context
Choosing between region capture and full-screen capture is a small decision with a large effect on report quality. A region can make a defect easier to see and reduce unnecessary information. A full-screen image can preserve relationships between windows, menus, and desktop elements. Neither is automatically better; select the smallest view that still explains the issue.
Before cropping, ask whether a reviewer could identify the app, screen, and relevant state from the image. If not, widen the selection. For a visual alignment bug, include the surrounding elements that show what is misaligned. For a dialog error, include the dialog and enough of the parent window to establish where it appeared. When a full display contains private notifications or unrelated documents, a focused region is often safer.
Annotate for clarity, not volume
Good screenshot annotation follows a simple hierarchy: preserve the original interface, point to the issue, and add the minimum explanation required. Arrows work well for a precise target. Rectangles or circles can outline a larger area. Text labels can clarify expected versus actual behavior, while numbered steps communicate sequence.
Blur sensitive details before sharing, including names, email addresses, account identifiers, customer data, and notification previews. Blur only what should not be visible; excessive blur can remove information needed to diagnose the issue. After applying it, inspect the image at full size to confirm the sensitive text is no longer readable. Do not assume a crop alone removes private data if the original capture or an editable project file will also be shared.
Keep privacy and sharing intentional
A screenshot can contain more than the visible bug. Browser tabs, menu-bar icons, file names, notifications, and account details may reveal information the report does not need. Review the complete image before sending it, especially when capturing the full display. If a screenshot tool offers local storage by default, that can make the workflow easier to reason about: the image stays on your Mac unless you choose to copy, save, or share it.
Cloud sharing can still be useful for large files or distributed teams. The important distinction is whether sharing is an explicit step and whether the destination is one you control. For example, a workflow that lets you choose when to send a capture to your own Google Drive is different from a tool that automatically uploads every screenshot. Check where images are stored, how links are created, and whether the link permissions match the audience.
Subscription-free screenshot workflows: what to evaluate
Subscription-free does not mean feature-free, and a recurring plan is not automatically the wrong choice. The right question is whether the tool’s ongoing cost matches the value of the services you use. If your needs are mainly capture, arrows, shapes, text, blur, and numbered steps, a focused Mac screenshot editor may cover the daily workflow without requiring a larger hosted platform.
When comparing options, separate the editing features from the delivery model. CleanShot X, Shottr, Xnapper, Snagit, Dropshare, and Monosnap may suit different combinations of annotation, capture, storage, and sharing needs. Features and pricing can change, so verify current terms rather than assuming every app works the same way. Consider these questions:
- Can you capture a region and a full display quickly?
- Can you add arrows, shapes, text, blur, and numbered markers without switching apps?
- Are captures and recent history local by default, or uploaded automatically?
- Can you copy, save, drag, or share an image in the way your team already works?
- Is the price a one-time purchase, a subscription, or a mix of paid services?
A one-time license can be appealing when you want to pay once for the app and do not need a hosted collaboration service. A subscription may make sense when its cloud features, team administration, or ongoing services are central to your work. Compare the total workflow, not just the price shown on a product page.
Quick checklist before sending a bug report
| Check | What to confirm |
|---|---|
| Capture | The image shows the relevant screen and enough context. |
| Annotation | Arrows, shapes, text, or numbered steps clarify the issue. |
| Privacy | Unneeded personal or customer information is hidden. |
| Delivery | The image is attached, copied, or shared with the intended audience. |
| Report | The written description includes the action, expected result, and actual result. |
Make the screenshot serve the report
A strong bug report screenshot is focused, annotated sparingly, and shared deliberately. Start with the capture that best explains the app state, add just enough visual guidance, and review privacy before sending. Pair the image with concise reproduction steps so the recipient knows both what they are seeing and how to see it again.
For a Mac workflow built around local captures, practical annotations, and optional sharing, Snip Halo is one example of a focused tool that offers a lifetime license rather than a recurring app subscription. Whatever tool you choose, the most valuable improvement is a consistent process that makes every report easier to understand.
