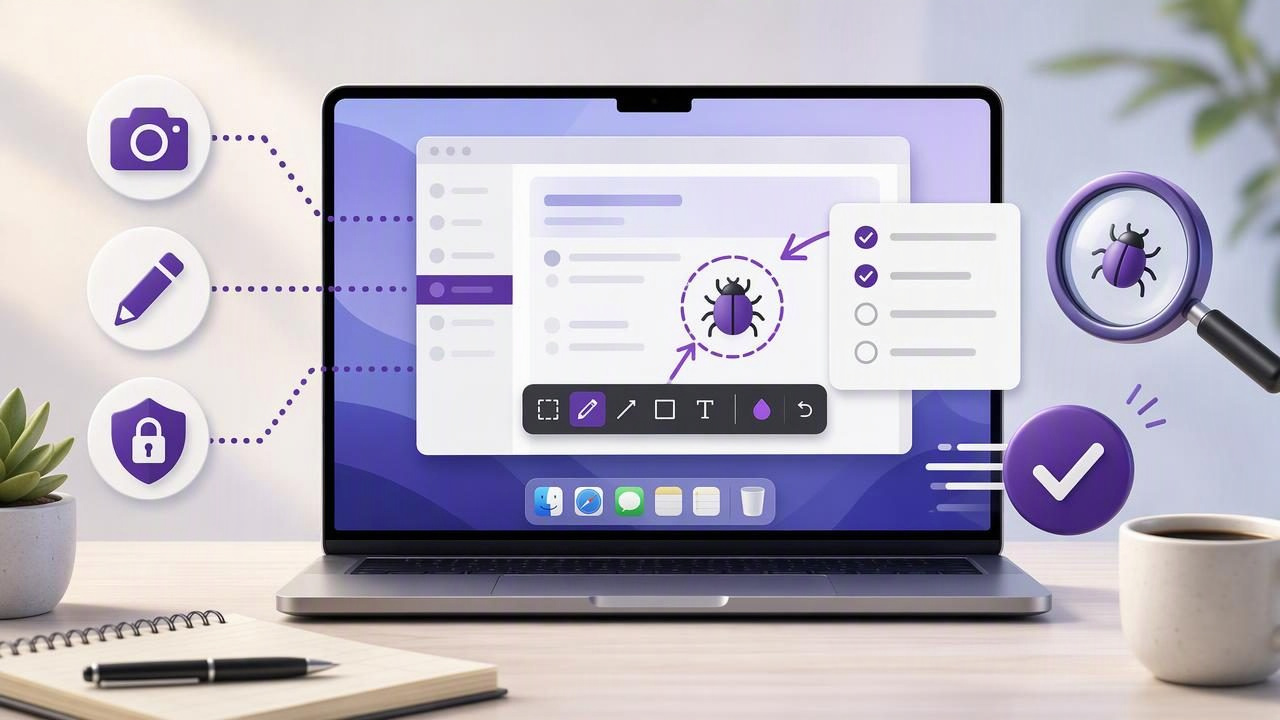
A well-written bug report can save hours of back-and-forth, but words alone are often not enough. A screenshot shows developers, support teams, and clients exactly what happened: the error message, the misplaced button, the missing data, or the confusing workflow step. For beginners, the key is not simply taking a picture of the screen. It is creating a clear, focused, and safe visual explanation that someone else can understand quickly.
This guide covers practical bug report screenshot app tips for beginners on Mac. You will learn what to capture, how to annotate screenshots without making them cluttered, how to hide sensitive information, and how to share images in a way that helps teams reproduce and resolve problems faster.
Why Screenshots Matter in Bug Reports
A bug report should answer a few basic questions: What were you trying to do? What happened instead? Where did the issue appear? A screenshot is especially useful for the final question because it provides visual context that is difficult to describe precisely.
For example, compare these two reports:
Unclear: “The save button looks wrong on the settings page.”
Clear: “On the Settings page, the Save button is partially hidden below the bottom edge of the window after resizing it to a smaller height. See the attached screenshot; the red arrow points to the hidden button.”
The second report gives a developer a location, a condition, and visual evidence. That combination reduces guesswork. A good bug report screenshot app helps you capture the right area and add useful context before you send the image.
Start With the Right Type of Screenshot
Mac users generally have two useful capture choices: region capture and full-screen capture. The best option depends on how much context the bug requires.
Use region capture for focused UI problems
A region capture includes only the relevant section of the display. It works well when the issue is isolated, such as:
- A button has the wrong label or color.
- An error message appears in a dialog box.
- A form field overlaps another field.
- A chart, menu, or toolbar is displaying incorrectly.
- A browser page has a broken layout in one section.
Region capture keeps the viewer focused. It also reduces the chance of accidentally including unrelated tabs, private messages, customer details, or other desktop content.
Use full-screen capture when context explains the issue
A full-screen screenshot is better when the surrounding environment matters. For instance, the problem may involve multiple windows, an external monitor, the macOS menu bar, a dock icon badge, or an interaction between two applications.
Before taking a full-screen capture, close anything unrelated. A clean desktop makes a bug report easier to scan and protects information that does not belong in the report.
Capture the Bug at the Right Moment
The timing of a screenshot matters. Take the image while the bug is visible and before you dismiss a dialog, refresh a page, or move to another screen. If an error appears briefly, repeat the action and keep the app open long enough to capture it.
For intermittent bugs, one screenshot may not tell the whole story. Capture a short sequence of images showing:
- The starting state before the action.
- The action or screen where the issue begins.
- The resulting error, unexpected behavior, or incorrect layout.
Name the files in order, such as 01-before-login.png, 02-submit-form.png, and 03-error-message.png. Ordered screenshots make it far easier for another person to follow the path you took.
Use Annotations to Explain, Not Decorate
Screenshot annotation is one of the biggest advantages of using a dedicated bug report screenshot app instead of sending an unedited image. Still, annotations should guide attention rather than overwhelm the reader.
The most useful annotation tools are arrows, shapes, text labels, blur, and numbered step markers. Each has a specific purpose.
| Annotation | Best use | Beginner tip |
|---|---|---|
| Arrow | Pointing to one exact issue | Use one arrow per issue when possible. |
| Rectangle or circle | Highlighting an area | Use a bright outline instead of covering the UI. |
| Text label | Adding a short explanation | Keep labels under one sentence. |
| Blur | Hiding private or irrelevant details | Blur before sharing, not afterward. |
| Numbered marker | Showing a sequence of actions | Match numbers to steps in the report. |
Make arrows precise
An arrow should end at the exact item that is broken. Do not point generally toward a large section of the screen if the real issue is a single icon or line of text. A precise arrow eliminates ambiguity.
Use arrows sparingly. Five arrows on one image can make the report difficult to read. If there are five separate problems, consider creating separate screenshots or listing them as independent issues.
Use shapes to show boundaries
Shapes are useful when a bug affects an entire component. For example, a rectangle can outline a clipped navigation panel, while a circle can highlight an incorrectly positioned toggle. Prefer a thin, high-contrast border. Solid filled shapes can hide the very information the recipient needs to inspect.
Add short labels with meaningful wording
Text labels should explain the problem, not repeat what is obvious. Instead of writing “Button,” write “Save button is cut off after resizing.” Instead of “Error,” write “Error remains after valid email is entered.” Specific language turns an image into actionable evidence.
Protect Sensitive Information Before Sharing
Bug reports can unintentionally expose personal or business information. Screenshots may include email addresses, customer names, invoices, API keys, internal URLs, account balances, browser tabs, or notification banners. Even a small detail can be sensitive when shared in a public issue tracker or with an outside vendor.
Before exporting a screenshot, inspect these common areas:
- Usernames, email addresses, and profile photos.
- Customer records and contact information.
- Passwords, tokens, license keys, and API credentials.
- Private Slack, Messages, or calendar notifications.
- Browser tabs and bookmarks.
- Internal project names, URLs, and server details.
Use blur or opaque redaction to conceal information that is not needed to reproduce the bug. Be careful with light blur effects: text can sometimes remain readable. If a detail is highly sensitive, crop it out entirely or cover it with a solid shape.
A local-first screenshot workflow can also be helpful for privacy. When captures remain on your Mac by default, you can review, annotate, and decide exactly what to share rather than having every screenshot automatically uploaded to a third-party service.
Pair the Screenshot With Reproduction Steps
A screenshot is evidence, not a complete bug report. The most effective reports combine an annotated image with short reproduction steps. Keep the written section structured so the reader can test the issue without asking for basic details.
Title: Save button is hidden in a small Settings window

Steps to reproduce:
1. Open Settings.
2. Resize the window to approximately 700 x 500 pixels.
3. Select Notifications.

Expected result:
The Save button remains fully visible.

Actual result:
The Save button is clipped below the bottom edge of the window.

Environment:
macOS version, app version, display setup

Attachment:
settings-save-button-clipped.png
If you use numbered markers in the screenshot, match them to the numbered written steps. This is particularly useful for onboarding problems, multi-page forms, and bug reports involving several controls on the same screen.
Choose a Clear Export and File Name
PNG is usually the best format for UI bug reports because text, icons, and interface edges stay sharp. JPEG files may be smaller, but compression can make fine details and error text harder to read. Use JPEG only when file-size restrictions are strict and the image does not contain small text.
Use descriptive file names instead of generic names like Screenshot 2026-04-18 at 10.22.03.png. A better name is:
checkout-error-after-coupon-code.pngGood file names help support teams search attachments later and make issue trackers easier to organize.
Common Beginner Mistakes to Avoid
- Sending a giant screenshot without a highlight: The recipient may not know where to look.
- Over-annotating: Too many colors, arrows, and labels create confusion.
- Capturing only the error: Include enough context to identify the page, panel, or action involved.
- Leaving private information visible: Review every edge of the image before sharing.
- Using vague labels: Explain what is wrong, not merely what the viewer can see.
- Forgetting the environment: Browser, app, macOS version, display size, and account type can affect reproduction.
- Sharing an image without steps: A developer still needs a reliable path to recreate the problem.
Build a Repeatable Bug Screenshot Workflow
Once you report bugs regularly, a simple workflow makes the process fast and consistent:
- Reproduce the issue and pause on the affected screen.
- Choose a region capture or full-screen capture based on needed context.
- Crop out unrelated content.
- Add one or two precise annotations.
- Blur or remove private information.
- Export as a clearly named PNG.
- Attach it to reproduction steps, expected behavior, and actual behavior.
This process works for software teams, freelance designers, customer support specialists, QA testers, and anyone giving visual feedback. The goal is always the same: make the next person understand the issue in seconds.
Conclusion: Make Every Screenshot Actionable
The best bug report screenshots are focused, readable, and safe to share. Capture the appropriate amount of context, point directly to the problem, use numbered steps for multi-stage flows, and remove sensitive details before exporting. These small habits turn screenshots from casual images into practical debugging tools.
If you want a lightweight Mac workflow for region or full-display capture, editable annotations, local capture history, and optional sharing through your own Google Drive, Snip Halo is one option to consider. Whatever tool you use, clarity and privacy should guide every bug report you send.
