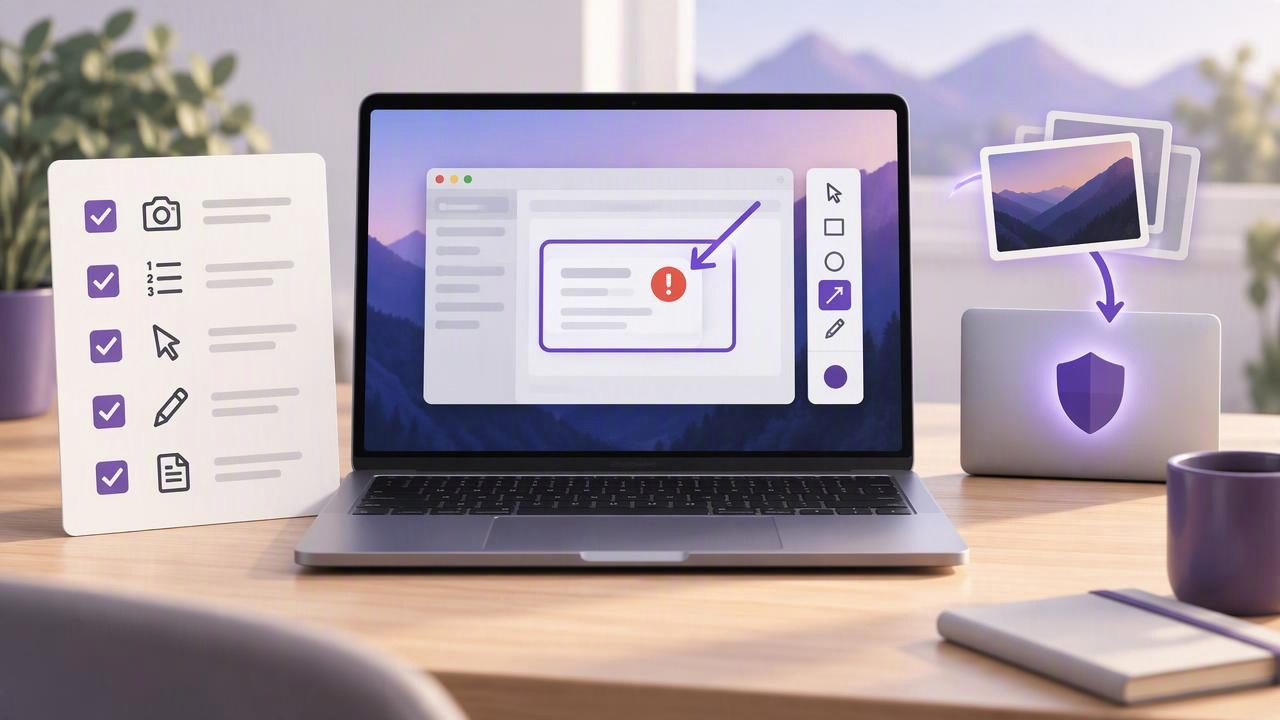
A useful bug report helps someone else see the problem, understand what should have happened, and reproduce the issue. A screenshot can make that explanation faster, but an image without context may leave developers guessing. The best reports pair a carefully framed capture with concise steps, expected and actual results, and relevant environment details.
This guide walks through a repeatable bug report checklist for Mac users. It explains when to capture a region or full display, how to annotate without obscuring evidence, and how a local-first screenshot app can help you handle sensitive information thoughtfully. The aim is not to create a perfect graphic. It is to make the problem easy to verify and act on.
Why screenshots improve bug reports
Written descriptions are essential, but they can be ambiguous. “The button is broken” does not show whether it is disabled, clipped, hidden behind another window, or displaying an error. A screenshot provides visual evidence of the state you encountered. Arrows, labels, and numbered steps can direct attention to the relevant detail.
Images work best as supporting evidence rather than a replacement for text. A screenshot usually cannot show what you clicked before the problem, whether the issue happens every time, or what you expected the application to do. Include those details in the report so a teammate can investigate instead of asking basic follow-up questions.
The clear bug report checklist
Before sending a report, check each item below. You may not need every field for a minor visual glitch, but including the relevant information makes the report more useful.
- Short, specific title: Name the action and the result, such as “Export button stays disabled after choosing a folder.” Avoid vague titles like “App issue.”
- Environment: Include the app and version, macOS version, and device or display details if they may affect the issue. Mention relevant browser, account type, or network conditions when applicable.
- Starting state: Explain what was open and what setup is needed before the issue occurs. Note whether you were signed in, using a particular file, or working in a specific project.
- Reproduction steps: Number each action in order. Keep one meaningful action per step and use the exact menu, button, or field names visible in the interface.
- Expected result: State what you thought would happen after the final step. Be concrete: for example, “The selected image should appear in the export folder.”
- Actual result: Describe what happened instead, including any error message, delay, unexpected change, or lack of response.
- Frequency and impact: Say whether the issue happens every time, intermittently, or only once. Explain how it blocks work or affects users.
- Visual evidence: Attach a screenshot or short relevant sequence. Make sure it shows the state that demonstrates the issue, not just the screen before it happened.
- Privacy check: Remove or obscure passwords, private messages, customer data, access tokens, and other information that the recipient does not need.
When information is unknown, say so rather than guessing. A report that separates observed facts from assumptions gives developers a cleaner starting point.
Choose the right Mac screenshot capture
Capture only as much of the screen as the reader needs. A region capture is often best for a dialog, button, or error message: it keeps attention on the relevant area and can reduce the amount of unrelated content included. Leave enough surrounding interface visible to identify where the problem occurs. A tightly cropped error with no window or control context may be hard to interpret.
Use a full-screen capture when the issue depends on the arrangement of windows, a menu bar, multiple panels, or content outside a single application window. This can help explain layout problems, interactions between apps, or a workflow spread across the display. Before capturing the full display, close unrelated windows and check for personal information.
For a sequence of actions, decide whether one annotated image or several clean captures will be easier to follow. One image is convenient when the relevant controls are visible together. Separate images may be clearer when the interface changes substantially between steps. Avoid combining so much information that labels and controls become difficult to read.
Annotate to guide attention, not decorate
Good screenshot annotation makes evidence easier to scan. Use an arrow to point toward the unexpected result, a shape to outline a control or affected area, and a short text label to clarify what the reader should notice. Keep wording factual: “Message remains after Save” is more useful than “This is very broken.”
Numbered step markers can connect a screenshot to reproduction instructions. Match the marker order to the written list and place each number beside the action or area it describes. If the image shows the final error state, do not imply that the numbered markers represent actions that are not visible. Use a caption or separate step captures where that distinction matters.
Blur or cover information that should not be shared, but preserve enough context for the issue to make sense. Check the finished image at its actual viewing size. Annotations that look readable while editing may become tiny in a ticket or chat preview. Keep arrows and outlines away from important text, and do not cover the evidence you are trying to report.
A practical example
Imagine a file export control remains unavailable after you choose a destination. A concise report might read:
Title: Export button stays disabled after selecting a destination
Environment: App version 4.2, macOS version 14.x, MacBook display
Steps: 1. Open the project. 2. Choose File > Export. 3. Select a destination folder.
Expected: The Export button becomes available after a destination is selected.
Actual: The button remains disabled. The issue occurs on each attempt.
Attach a region capture showing the export dialog and selected destination. Add a simple outline around the disabled button and, if needed, an arrow pointing to it. If the path or project name is confidential, crop or obscure it without hiding the selected-folder state. The written steps explain how to arrive at the dialog; the image shows the result.
How a local-first screenshot workflow supports privacy
A local-first screenshot app keeps captures and recent history on your Mac by default, rather than automatically uploading every image to a service. That can make review and annotation more predictable, especially when bug reports contain internal interfaces or customer information. Local storage is not a substitute for careful handling, however: anyone with access to the Mac or exported file may still see its contents.
Before sharing, review the image, filename, and destination. Decide who needs access, and use the organization’s approved ticketing or file-sharing process. If you use optional cloud sharing, such as connecting your own Google Drive, treat it as an intentional transfer: confirm the destination and access settings rather than assuming a local-first tool makes a shared file private.
A practical workflow is to capture the relevant screen, annotate the evidence, inspect the final image, and then copy, save, drag, or share it through the intended channel. Avoid capturing unrelated screens “just in case.” The smaller and more purposeful the evidence, the easier it is to review and the less unnecessary information it contains.
Common screenshot reporting mistakes
- Capturing too early: Take the screenshot after the unexpected result appears, not before the action that triggers it.
- Using annotations as the explanation: An arrow identifies a location; it does not explain the steps or expected behavior. Include both in text.
- Over-editing the evidence: Too many colors, labels, and shapes compete with the interface. Use only marks that improve understanding.
- Sending a full desktop unnecessarily: Extra windows can distract readers and expose unrelated information. Prefer a focused region when it preserves enough context.
- Forgetting the original details: Keep the wording of error messages and the order of actions accurate. Do not paraphrase a message if the exact text may help diagnose the issue.
- Assuming one screenshot tells the whole story: Add a second image or a short screen recording only when it contributes information that a still image cannot convey, and follow your team’s privacy rules.
Choosing a screenshot app for bug reports
When comparing Mac screenshot apps, look beyond capture speed. Consider whether the tool supports region and full-display capture, useful annotation tools such as arrows, shapes, text, blur, and numbered markers, and a straightforward way to copy or save the result. Also check where captures and recent history are stored, whether uploads happen automatically, and how sharing is controlled.
Apps such as CleanShot X, Shottr, Xnapper, Snagit, Dropshare, and Monosnap differ in features, storage, pricing, and workflow. The right choice depends on whether you need advanced capture options, team sharing, editing, or a small set of dependable annotation tools. If you prefer to avoid recurring fees, compare the license model as well as the feature list; a one-time purchase may suit a focused workflow better than a subscription.
For a lightweight process, prioritize tools that make it easy to capture, mark up, inspect, and deliver an image without adding unnecessary steps. Snip Halo is one example of a Mac screenshot app with region and full-display capture, annotation tools, local-first handling, and optional Google Drive sharing; evaluate it alongside other options against your own reporting and privacy needs.
Make every report easier to act on
A clear bug report is a small piece of teamwork: it gives someone enough evidence to understand the problem without making them reconstruct your experience from vague notes. Start with the checklist, capture the most relevant screen state, and use annotations sparingly to guide the reader. Then verify that the image supports the written steps and contains no information that should remain private.
With a consistent Mac screenshot workflow, visual evidence becomes easier to create, review, and share responsibly. The result is not just a cleaner screenshot; it is a report that helps the next person reproduce the issue and decide what to do next.
