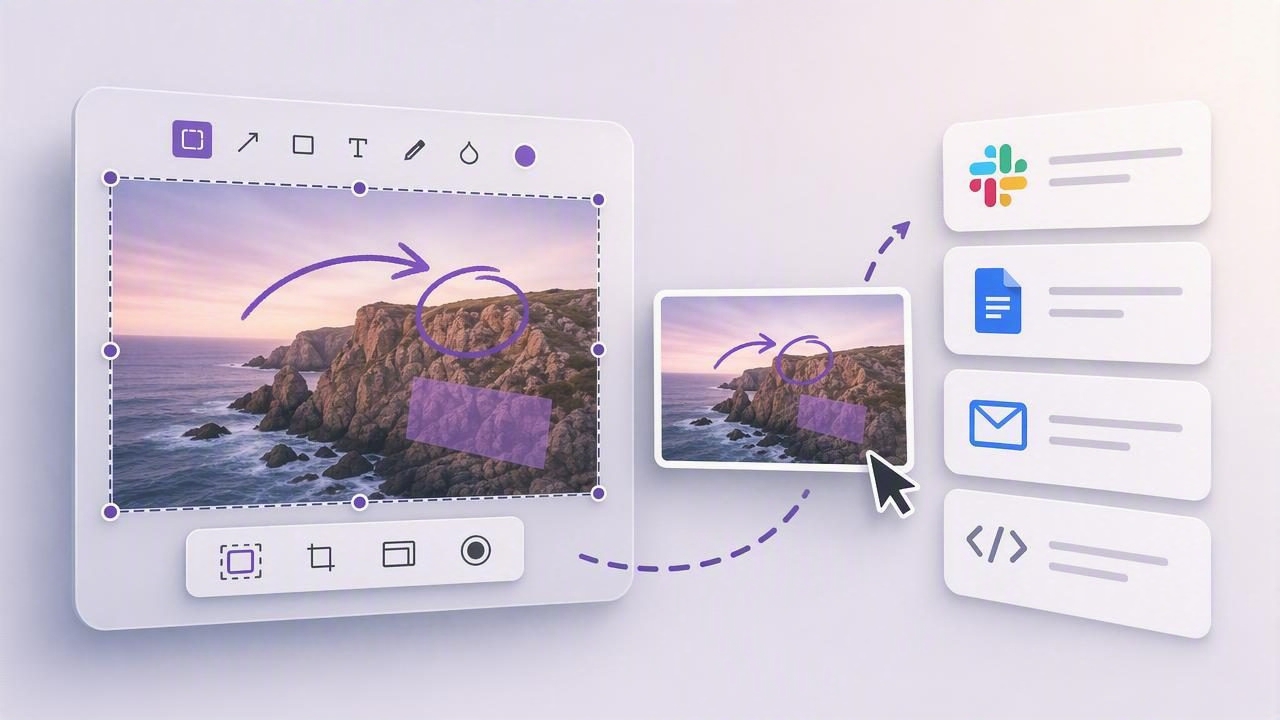
If you regularly share screenshots in Slack, Notion, Jira, Figma, email, support tickets, or documentation, taking the screenshot is only half the task. The real productivity gain comes from being able to drag a screenshot directly into another app immediately after you capture and annotate it.
The best Mac screenshot app to drag a screenshot into another app should make that handoff feel natural: capture a region, add a quick arrow or blur, then drag the finished image where it needs to go. No hunting through Finder, no confusing export dialog, and no accidental uploads to a third-party server.
This guide explains what to look for in a drag-and-drop screenshot workflow on macOS, how the built-in screenshot tools compare, which features matter for different jobs, and how to choose an app that keeps visual communication fast and private.
Why drag-and-drop screenshots matter on Mac
A screenshot is often an intermediate file, not a final destination. You capture an interface because you need to explain a problem, give feedback, document a process, or answer a question. In those cases, saving an image and manually attaching it creates unnecessary friction.
With a good drag-and-drop workflow, the sequence becomes simple:
- Capture a screen region or full display.
- Annotate the image with the context the recipient needs.
- Drag the screenshot from a floating preview or capture window.
- Drop it directly into the destination app.
That can save only a few seconds per screenshot, but the difference adds up for developers, support teams, designers, product managers, teachers, writers, and remote workers. More importantly, it helps you share the right visual evidence while the details are still fresh.
For example, a bug report with a cropped screenshot, a red arrow, and a blurred customer name is far clearer than a message saying, “The button looks wrong on this page.” A drag-and-drop screenshot tool makes that clearer report the path of least resistance.
What makes the best Mac screenshot app for dragging images?
Not every screenshot utility handles drag-and-drop equally well. Some focus on long-term image libraries, cloud links, or elaborate editing features. Those can be useful, but the best choice depends on whether your main goal is moving a finished screenshot into another application quickly.
1. A visible post-capture preview
After you capture a region, the image should remain accessible in a small floating preview or a compact editing window. This gives you something tangible to drag into Slack, Apple Mail, Messages, a browser upload field, or a project-management comment.
A disappearing notification is not enough. If the image vanishes before you can edit or drag it, the workflow becomes dependent on locating the saved file later.
2. Fast, practical screenshot annotation
Dragging an unmarked screenshot is useful, but annotation is what turns it into communication. Look for tools that provide the essentials without placing a full design suite between capture and sharing:
- Arrows to point at a control, error, or spacing issue.
- Shapes such as rectangles, circles, and outlines to highlight an area.
- Text for labels, short explanations, or callouts.
- Blur or redaction for names, email addresses, account numbers, and private content.
- Numbered step markers for tutorials, QA notes, and multi-step instructions.
The best annotation tools are easy to reach, easy to undo, and quick to adjust. If adding one arrow requires several clicks, people tend to skip it—and the screenshot becomes less useful.
3. Real drag-and-drop support
“Share” does not always mean “drag.” Some apps upload an image and copy a link; others export a file to a selected folder. A true drag-and-drop workflow should let you pick up the actual image from the app’s preview and place it in a compatible destination.
Common destinations include:
- Slack and Microsoft Teams channels
- Jira, Linear, GitHub, and GitLab issues
- Notion, Confluence, and Google Docs
- Figma comments and design-review tools
- Mail clients and Messages
- Browser-based upload boxes for support portals
Compatibility can vary by destination app. Some apps embed the image immediately, while others attach it as a file. Test your most-used destination before committing to a screenshot workflow.
4. Local-first handling of captures
Screenshots can contain sensitive material: customer records, unreleased product screens, internal dashboards, financial data, or personal messages. A screenshot app should clearly communicate where captures live and whether they are uploaded automatically.
A local-first screenshot workflow keeps captures and recent history on your Mac by default. If you need to send a link rather than drag a file, optional sharing through a service you control is generally easier to evaluate than automatic cloud uploads.
Using the built-in Mac screenshot tools
macOS includes capable screenshot shortcuts. Press Shift + Command + 4 to capture a selected region, Shift + Command + 3 for the full screen, or Shift + Command + 5 to open the Screenshot toolbar. When the floating thumbnail is enabled, clicking it opens basic markup controls.
For occasional screenshots, this setup can be enough. You can often drag the thumbnail into another app before it disappears, and the markup panel offers basic drawing and text options. However, the workflow has limits for frequent visual communication:
- The thumbnail is temporary and can be easy to miss.
- Annotation options are less optimized for repeated bug reports or tutorials.
- There is limited capture history for revisiting recent work.
- Advanced blur, reusable numbering, and streamlined editing may require extra steps.
If you only need to attach a screen image once in a while, built-in tools are a sensible starting point. If screenshots are part of your daily work, a dedicated Mac screenshot app can reduce the number of interactions between capture and drop.
A practical workflow for bug reports and visual feedback
The fastest workflow is not always the best one if the recipient cannot understand what the image means. Before dragging a screenshot into a ticket or message, add enough context to make it actionable.
Use this repeatable process for a visual bug report:
- Capture only the relevant region. Include the affected UI and enough surrounding context to identify the page or feature.
- Blur sensitive information. Mask user names, addresses, tokens, customer data, and private conversation content.
- Add one clear indicator. An arrow or outlined rectangle should point to the exact issue.
- Use numbered markers for sequences. Label steps when more than one area needs attention.
- Drag the image into the issue. Then add concise reproduction details in text.
A strong issue description can follow this simple pattern:
Expected: The Save button remains visible below the form.
Actual: The button is hidden after selecting a long account name.
Environment: macOS, Safari, 1440 px-wide window.
See screenshot: marker 1 shows the missing button area.
This combines the speed of a screenshot with the precision of written context. The image shows what happened; the text explains expected behavior and conditions.
Screenshot app comparison: what to prioritize
Popular Mac screenshot tools serve different needs. CleanShot X is widely known for an extensive capture feature set and polished utilities. Shottr is often appreciated for a lightweight approach and useful capture features. Xnapper emphasizes attractive screenshot presentation, while Snagit offers broad annotation and documentation capabilities. Dropshare and Monosnap can be useful for people whose workflows center on uploading and sharing files or links.
Rather than choosing based on a feature count, compare tools against the workflow you actually repeat.
| Priority | What to look for | Why it matters |
|---|---|---|
| Immediate sharing | Floating preview with drag support | Lets you drop screenshots into work apps without Finder. |
| Clear feedback | Arrows, text, shapes, blur, numbered steps | Makes the screenshot understandable at a glance. |
| Privacy | Local storage by default and transparent sharing controls | Reduces the chance of unintended uploads. |
| Frequent use | Keyboard shortcuts and recent capture history | Keeps repetitive capture tasks quick. |
| Budget | One-time license versus subscription | Helps match the tool to your long-term costs. |
For some users, cloud links are essential because recipients need access outside a chat tool. For others, dragging the image directly into an existing workspace is simpler and avoids creating another external link to manage. The best Mac screenshot app is the one that supports your preferred handoff without adding unwanted steps.
Common drag-and-drop problems and fixes
If dragging a screenshot into another app does not work as expected, the problem is often the destination rather than the screenshot tool. Try these checks:
- Wait for the editor to finish rendering. Very large captures may need a moment before they are ready to drag.
- Drop into the message body or upload zone. Some apps reject drops on sidebars, headers, or inactive fields.
- Check app permissions and updates. An outdated browser or desktop client may have inconsistent file-drop behavior.
- Try a smaller region capture. Smaller images upload and embed faster.
- Use copy and paste as a fallback. Many communication apps accept pasted image data even if a drop fails.
- Export only when necessary. Saving a file is useful for archives, but it should not be required for every quick share.
Choose a workflow, not just a screenshot tool
When evaluating the best Mac screenshot app to drag a screenshot into another app, focus on the entire journey: capture, clarify, protect sensitive details, and deliver. A tool that saves one click during capture but adds friction during annotation or sharing may not improve your day-to-day process.
For most people, the ideal setup is a region capture shortcut, a lightweight editor with arrows, shapes, text, blur, and numbered steps, a reliable drag target, and local storage by default. If you occasionally need remote sharing, choose an option that makes that upload explicit and controllable.
Snip Halo is one example of a focused macOS option built around this local-first capture, annotation, and drag-or-copy workflow, with optional Google Drive sharing when a link is genuinely needed.
