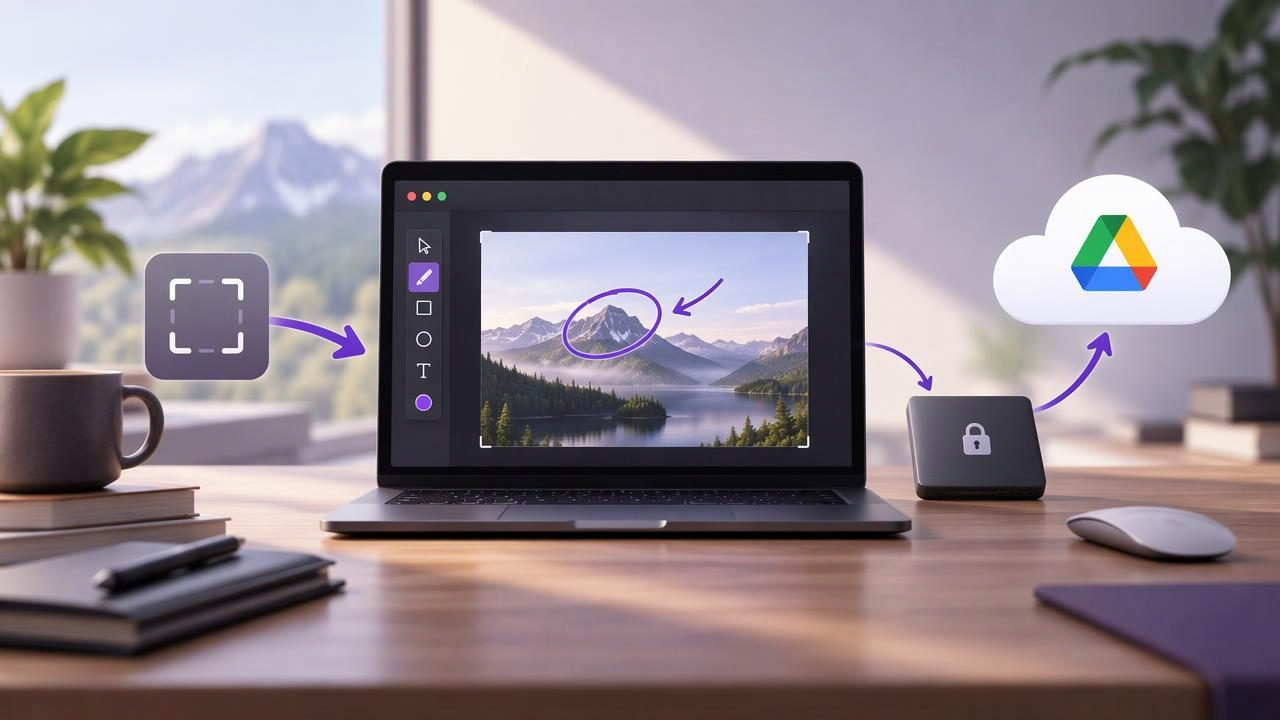
A screenshot can explain a bug, demonstrate a setting, or give someone clear visual feedback—but sharing it should not require uploading every capture to a third-party service. A local-first Mac screenshot workflow lets you capture and annotate an image on your Mac, then choose whether and where to share it.
If you are looking for the best local first screenshot app to share a capture through Google Drive, focus on more than the share button. Consider how the app handles local files, what annotation tools it offers, whether Drive sharing is optional, and how much control you have over the final image and link. The right choice depends on the way you work, not simply the number of features in a comparison chart.
What “local-first” means for screenshots
A local-first screenshot app keeps captures and recent history on your computer by default. You decide when an image leaves your Mac. That is different from a workflow that automatically uploads every capture, creates a cloud link, or records activity in the background.
Local-first does not mean you can never use cloud storage. It means that sharing is a deliberate action. For example, you might capture a settings panel, blur an email address, add an arrow, and save the finished image locally. If a teammate needs access, you can then send that selected capture to your own Google Drive.
This distinction matters when screenshots contain customer details, internal dashboards, unpublished designs, or personal information. Keeping files local by default gives you a chance to review and edit an image before deciding whether to share it.
A practical capture-to-Drive workflow
A reliable process separates capture, annotation, review, and sharing. That makes it easier to catch sensitive details and reduces the chance of sending an unfinished image.
- Capture only what is needed. Use region capture for a dialog, button, or error message. Choose full-screen capture when the surrounding layout or a sequence of windows is important to the explanation.
- Annotate for a specific reader. Add an arrow to identify a control, a short text label to explain an action, or a shape to outline an area. Numbered step markers can show the order of operations in a tutorial or bug reproduction.
- Review privacy and clarity. Blur information the recipient does not need, check that labels are readable, and confirm that the image shows enough context to make the point.
- Save or copy a local version. Keep an original or finished file where it belongs in your project, then copy or drag the image into another app if that better fits your workflow.
- Share selectively through Google Drive. Upload only the reviewed capture, choose an appropriate folder, and check the file’s access settings before sending a link.
These steps work for a support reply, a design review, or a reproducible bug report. The key is that Drive is one destination you choose—not an automatic stop for every screenshot.
How to evaluate a local-first screenshot app
Start with the actions you perform repeatedly. A small, responsive annotation tool may be more useful than a large suite if your daily need is to capture a region, add a few marks, and send the result.
- Capture options: Does it support both region capture and full-screen capture? Can you select the exact area without taking several attempts?
- Useful annotations: Look for arrows, shapes, text, blur, and numbered markers if you create tutorials or step-by-step instructions.
- Flexible output: Can you copy, save, or drag the image into the apps you already use? A screenshot workflow should not force you into one destination.
- Clear sharing controls: If Google Drive is supported, determine whether sharing is initiated by you and uses your account. Check what permissions you can set and whether the app explains the link or file-sharing process.
- Privacy defaults: Review whether captures and history remain local and whether the app uploads or records anything automatically. Read the current privacy documentation rather than assuming all tools behave alike.
- Pricing and platform fit: Confirm macOS compatibility, licensing terms, and whether the price is a subscription or a one-time purchase.
Try the workflow with a harmless test image before relying on it for confidential work. Verify where the file is saved, what happens when you use the share action, and how to remove or update Drive access later.
How screenshot tools differ
Mac screenshot products overlap, but they are built around different priorities. Features and plans can change, so treat this as a workflow-level comparison and verify current product details before choosing.
| Tool or category | Often a fit for | Check before choosing |
|---|---|---|
| Native macOS capture | Quick captures without installing another editor | Whether its built-in markup and file handling cover your needs |
| Focused tools such as Shottr or Xnapper | People who want a lightweight capture or annotation workflow | Current annotation, export, and cloud-sharing options |
| CleanShot X | Users comparing a broader screenshot utility with multiple workflow features | Which features require a plan and how its sharing model fits your privacy preferences |
| Snagit | Users who need a more extensive capture and documentation toolkit | Whether its wider feature set justifies the cost and complexity for your use |
| Dropshare or Monosnap | People considering sharing-oriented workflows | Upload defaults, account requirements, storage destinations, and link controls |
No product is automatically the best local-first screenshot app for every person. Some tools emphasize editing, some add recording or broader capture features, and others make cloud sharing central. If your requirement is sharing a selected image through your own Google Drive, confirm that exact workflow instead of assuming a general share feature means direct Drive support.
Keep Drive sharing intentional
Google Drive can be useful when a team already works in shared folders or needs to comment on files. But putting an image in Drive and granting access are separate decisions. A file can be stored in a personal folder, placed in a team folder, or shared with specific people; the best option depends on the sensitivity of the capture and your organization’s rules.
Before sending a link, check whether access is limited to named people or available to anyone with the link. Avoid broad access for captures containing customer data, account details, or internal information. If the screenshot is no longer needed, remove it or adjust its sharing permissions according to your retention practices.
Also remember that blurring is a visual edit, not a substitute for checking the whole image. Make sure sensitive text is actually obscured, and consider cropping out information that has no role in the explanation. When possible, retain an unshared original locally and send only the edited copy.
Choose the workflow that matches the task
For a bug report, a region capture with an arrow and a short label can identify the issue without overwhelming the reader. Add numbered markers if the problem requires several reproduction steps. Include enough surrounding interface to help a developer understand where the error occurred, but avoid capturing unrelated tabs or notifications.
For a tutorial, full-screen capture may show the application context, while several focused images can make each step easier to follow. Use consistent numbering and concise text. Save working images locally as you go, then share the final set from a Drive folder with carefully chosen access.
For visual feedback, mark the specific element you mean and keep commentary neutral and actionable. A shape can indicate a layout area; an arrow can point to a detail; a short text note can describe the change. Too many annotations make a screenshot harder to scan, so use only what helps the recipient act.
Questions to ask before you commit
- Can I capture a region and a full display without switching between several apps?
- Can I add arrows, shapes, text, blur, and numbered steps before sharing?
- Do captures stay local until I choose to copy, save, or share them?
- Does the Google Drive workflow use my account, and can I control access?
- Does the price and license suit how many Macs I use?
Answering these questions with a real test capture is more useful than choosing based on a feature list alone. A good tool should make the safe path straightforward: capture what matters, clarify it, review it, then share only when needed.
Final takeaway
The best local-first screenshot app for Google Drive sharing is one that keeps routine captures on your Mac, provides the annotations your work requires, and makes cloud sharing an explicit choice. Compare the complete workflow—from region capture or full-screen capture to permissions on the shared file—not just the editor or upload button.
For a focused native Mac option, Snip Halo is one example of an app designed around local captures, practical annotations, and optional sharing through a user’s own Google Drive. As with any tool, check that its current features and license match your needs before choosing.
