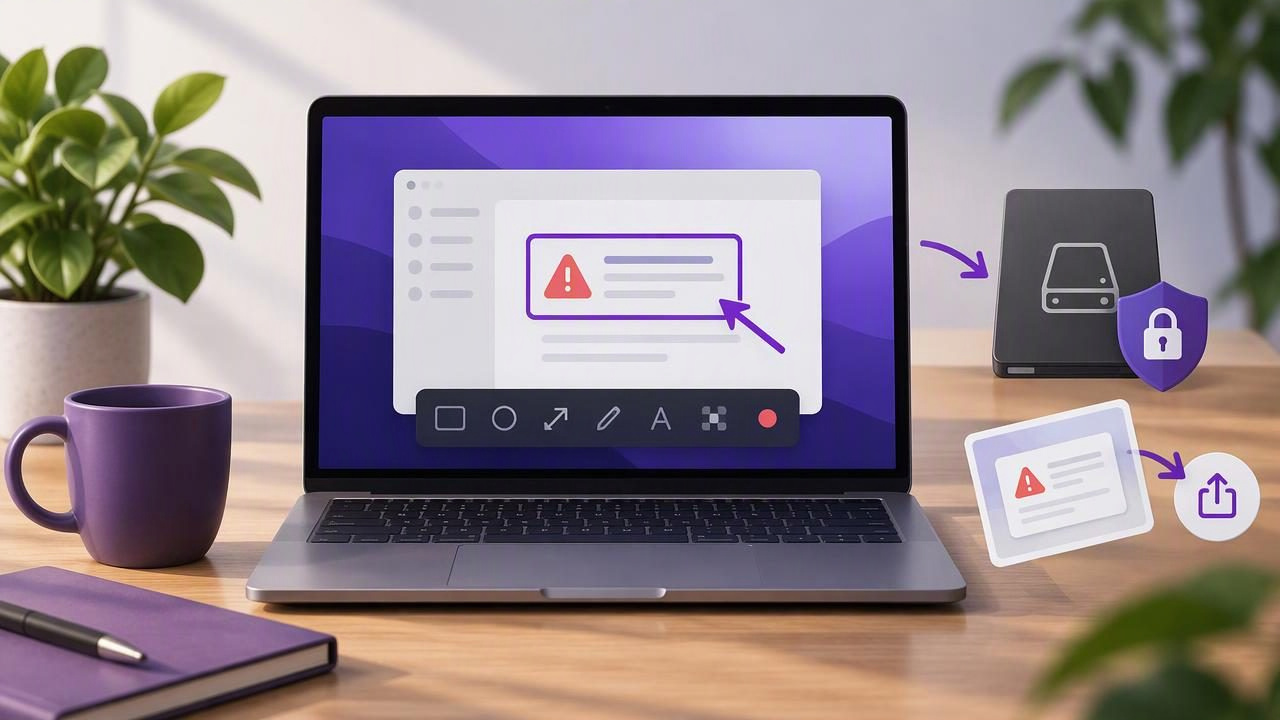
A screenshot can turn a vague bug report into something a developer can investigate. But capturing the screen is only the first step. A useful image shows the problem clearly, highlights where it happens, and gives enough context to reproduce it—without exposing unrelated information or uploading private files unexpectedly.
That makes choosing the best local first screenshot app to document a software problem about more than capture quality. The right Mac tool should fit your workflow: capture a region or full display, add focused annotations, keep files under your control, and share them deliberately. This guide explains what to look for and how popular screenshot apps differ.
What makes a screenshot useful in a bug report?
A strong bug-report screenshot answers three questions at a glance: What should I look at? What did you expect to happen? What happened instead? The image should preserve enough interface context to identify the screen while drawing attention to the affected control, message, or layout.
For example, if a Save button appears disabled, capture the relevant form and button rather than the entire desktop. Add an arrow or outline to the button, then use a short text note to explain the state. If the issue requires a sequence, numbered markers can connect the image to reproduction steps.
- Capture the right area: Include the surrounding interface needed to understand the issue, but omit unrelated windows.
- Mark the important detail: Use an arrow, shape, or brief label instead of relying on a long explanation.
- Protect sensitive content: Blur account details, customer names, tokens, or other information that is not needed.
- Keep the original context: Avoid annotations that cover the error message or change what the image appears to show.
Why choose a local-first screenshot workflow?
“Local-first” means the app keeps captures on your Mac by default, rather than sending them to a hosted service as part of every capture. That distinction matters because screenshots often contain more than the bug: browser tabs, names, internal tools, or details from another open window may be visible at the edges.
A local workflow gives you a review step before sharing. You can capture, annotate, inspect the result, and then decide whether to copy it into a report, save it to a folder, or share it through a service you choose. It also avoids making a cloud account or automatic upload part of a simple screenshot task.
Local-first does not mean that sharing is impossible. It means that sharing is an intentional action. Some apps offer optional connections to storage providers, while others emphasize links or hosted image delivery. Check what happens when you capture, where files are stored, and whether uploads are automatic or user-initiated. If your team handles regulated or confidential information, follow its security rules regardless of the app’s defaults.
Features to look for when documenting software problems
Region capture and full-screen capture
Region capture is usually the fastest choice for a dialog, menu, or single control. It reduces visual noise and makes the bug easy to scan. Full-screen capture is useful when the issue depends on the whole layout, multiple windows, a display arrangement, or the position of an interface element. A practical Mac screenshot app should make both options easy to access.
Arrows, shapes, text, and blur
Annotations work best when each one has a clear purpose. An arrow can point to a control; a rectangle can frame a panel; a short text label can distinguish expected from actual behavior. Blur is useful for removing incidental private details, but check the exported image at full size to confirm the sensitive area is genuinely unreadable.
Keep notes concise. “Error appears after selecting Export” is more helpful on an image than a paragraph covering half the interface. Put longer reproduction instructions in the issue tracker or support message, and use the screenshot to guide the reader’s attention.
Numbered steps for reproducible issues
Numbered markers can connect a visual sequence to written steps. They are especially useful for onboarding bugs, multi-screen workflows, and problems that occur only after a particular action. Use one marker per meaningful action, and make sure the order is obvious. If a single screenshot becomes crowded, use a small set of images rather than shrinking everything into one canvas.
A repeatable screenshot workflow for a software bug
- Reproduce the issue. Confirm the behavior and note the action that triggers it.
- Prepare the screen. Close unrelated windows, remove sensitive information where possible, and leave the relevant interface visible.
- Choose the capture area. Use a region for a focused interface detail or the full display when surrounding context matters.
- Annotate sparingly. Add an arrow, outline, short label, or numbered marker only where it helps explain the problem.
- Review for privacy and accuracy. Check that the image shows the real state and does not reveal unnecessary personal or business information.
- Share with useful context. Attach the image to the bug report and include the expected result, actual result, and reproduction steps in text.
A concise report might say: “After selecting Export, the progress indicator stops at 80%. I expected a completed file. Steps: 1) Open the project, 2) choose Export, 3) select PDF.” The screenshot can show the stalled indicator, with a numbered marker beside the Export control if the sequence is not self-evident.
How popular Mac screenshot apps differ
Screenshot tools are not interchangeable. Some prioritize a broad set of capture and editing features, others focus on polished presentation, and some make sharing a central part of the workflow. Product features and plans can change, so check each app’s current documentation before deciding.
| App | Typical fit | What to consider |
|---|---|---|
| CleanShot X | A feature-rich Mac capture workflow | Useful for people who want numerous capture and productivity options; compare its broader feature set and pricing with your actual needs. |
| Shottr | A lightweight Mac screenshot and annotation workflow | Consider whether its available editing tools and capture options cover the bug reports you create. |
| Xnapper | Presenting screenshots with a polished appearance | It may suit shareable visuals; distinguish presentation-focused needs from detailed troubleshooting annotations. |
| Snagit | More extensive capture and documentation tasks | Often considered for richer editing and instructional workflows; assess whether that depth is worthwhile for occasional bug reports. |
| Dropshare | Sharing and delivering files | Compare its sharing-oriented workflow with a tool that keeps capture and annotation local until you choose to send an image. |
| Monosnap | Capture, markup, and sharing in one workflow | Review its current storage and sharing behavior if local control is a priority. |
Rather than declaring one universal winner, compare apps against your actual routine. Do you need quick arrows and blur, elaborate tutorial editing, a hosted link, or simply a clean image copied into a ticket? A focused tool can be a better fit than a large feature set if it makes your most common task faster.
Questions to ask before choosing an app
- Where do captures go? Check whether images remain on the Mac by default and whether any upload happens automatically.
- Can I review before sharing? A preview gives you a chance to catch private details and unclear annotations.
- Does it support my common marks? Confirm that arrows, shapes, text, blur, and numbered steps are available if you rely on them.
- How do I hand off the image? Copying, saving, dragging, and optional cloud sharing each suit different bug-report workflows.
- Does the price match how I work? Compare subscriptions, one-time purchases, and included Mac licenses, not just the initial feature list.
It is also worth testing the app with a real, low-risk example. Capture a harmless settings screen, annotate it, save or copy it, and inspect the result in the destination where you plan to file reports. This quickly reveals whether the workflow feels natural and whether the image remains legible after being pasted into a ticket or chat.
Choosing the right balance of privacy and convenience
The best screenshot workflow is not necessarily the one with the most buttons. It is the one that helps you explain a problem accurately while keeping control over the image. For many Mac users, that means local capture, straightforward annotation, and a deliberate choice about when and where to share.
If a tool offers optional cloud storage, treat it as a choice rather than a default assumption: understand which account is used, what gets uploaded, and how links are accessed. If you prefer a one-time purchase, verify the license terms and supported macOS versions before buying. These checks help you select a tool that fits both your technical needs and your comfort with data handling.
For a focused example of this approach, Snip Halo supports region and full-display capture, common annotations, local recent history, and optional sharing through your own Google Drive. The larger lesson applies whichever app you choose: make the screenshot clear, keep sensitive details out of frame, and share only after reviewing the final image.
