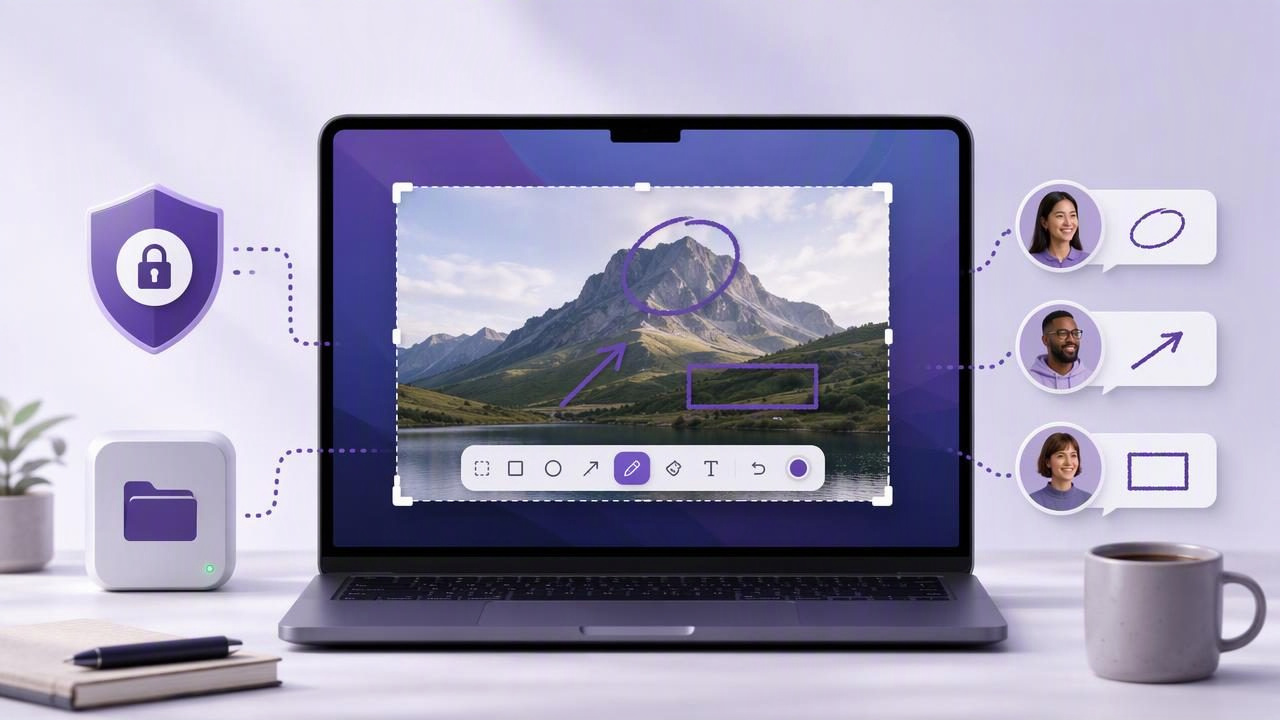
Client feedback is easier to understand when people can see exactly what needs to change. A written message such as “move this section down” or “the button looks wrong” often creates follow-up questions, delays, and unnecessary revisions. A marked-up screenshot can turn that same vague request into a clear instruction in seconds.
For designers, developers, agencies, consultants, and support teams, the best local-first screenshot app to send visual client feedback should do more than capture pixels. It should make it simple to capture the relevant area, annotate it clearly, protect private information, and share the final image without forcing every screenshot into a third-party cloud service.
This guide explains what local-first screenshot workflows are, why they matter for client communication, which features are most useful, and how to choose a Mac screenshot tool that fits your feedback process.
What Is a Local-First Screenshot Workflow?
A local-first screenshot workflow means that captures, annotations, and recent screenshot history remain on your Mac by default. The app does not automatically upload files, create public links, record your screen in the background, or require a cloud account just to perform basic capture and markup tasks.
This approach gives you more control over where visual feedback goes. You can still attach an image to an email, drag it into a project-management tool, paste it into a support ticket, or upload it to your preferred storage provider. The difference is that you choose when and where sharing happens.
For client work, this distinction matters. Screenshots may include unfinished designs, customer data, internal dashboards, pricing information, source code, analytics, or credentials. Keeping captures local until you intentionally share them helps reduce accidental exposure.
Local-first does not mean difficult to share
Some teams assume private workflows are slower. In reality, a well-designed local screenshot app can make sharing fast because it supports the actions people already use:
- Copying an annotated screenshot directly to the clipboard
- Dragging an image into Slack, email, Notion, Linear, Jira, or a browser upload field
- Saving a file to a project folder with a clear name
- Opening a share sheet only when an external upload is needed
- Using an optional cloud destination that you control
The goal is not to avoid sharing. It is to avoid making automatic sharing the default.
Why Visual Client Feedback Works Better Than Text Alone
Visual feedback reduces interpretation. Instead of describing a problem across several messages, you can capture the exact screen and point to the exact element. This is especially valuable when clients are reviewing websites, product interfaces, presentations, onboarding flows, documents, or marketing assets.
Good screenshot feedback answers three questions immediately: What is the issue? Where is it? What should happen next?
A useful feedback screenshot does not need to be heavily designed. It simply needs to be readable and intentional. A region capture focused on the affected UI, a short text note, and a numbered marker can be enough to prevent a long clarification thread.
Common situations where annotated screenshots help
- Website reviews: Highlight spacing, broken alignment, mobile layout issues, or missing content.
- Design approvals: Show which version of a component, color, or headline needs approval.
- Bug reports: Mark the unexpected result and include the steps that caused it.
- Client onboarding: Create quick tutorials that show where to click in a portal or CMS.
- Internal handoffs: Provide developers with visual context before a ticket is created.
- Support requests: Blur sensitive details while preserving enough context for troubleshooting.
Essential Features for Sending Clear Client Feedback
When comparing Mac screenshot apps, prioritize the tools that improve clarity rather than collecting every possible feature. A focused workflow is usually faster than a complex editor with options you will never use.
1. Fast region and full-screen capture
Most feedback should begin with a region capture. It keeps attention on the issue and avoids sending unrelated content from your desktop. For example, if a client wants a pricing-card adjustment, capture the card and its nearby context rather than the entire browser window.
Full-screen capture remains helpful for showing broader page layouts, multi-window software behavior, or issues that depend on the overall desktop state. The best tools make it easy to choose either mode without interrupting your flow.
2. Arrows, shapes, and concise text
Arrows tell a recipient where to look. Rectangles and circles frame the relevant area. Text labels explain the requested action. Together, these simple annotation tools make a screenshot scannable.
Keep labels short. A note such as “Use 24 px gap” is much clearer than a large paragraph covering the interface. If you need a detailed explanation, pair the screenshot with a brief message in your project tool.
3. Numbered step markers
Numbered markers are one of the best features for multi-part visual feedback. They create an order that clients, developers, and collaborators can follow without guessing which note applies to which element.
- Place a numbered marker near each issue.
- Use the same number in your accompanying message or task description.
- Give each item one clear action.
- Ask for confirmation when an item requires a business decision.
This approach works particularly well for website QA reviews. Instead of sending five separate images, you can send one annotated capture and a compact checklist.
4. Blur for privacy and professionalism
A screenshot may contain information that should not be shared with a client or stored in a project thread. Blur tools help hide email addresses, account balances, user names, API keys, order information, and private messages.
Before sending, scan the whole image—not just the section you are discussing. Browser tabs, bookmarks, notifications, and sidebar content can reveal more than expected. Blurring sensitive details is not merely a privacy feature; it is a professional review habit.
A Practical Screenshot Feedback Process
The following workflow works for most client-facing teams and can be adapted for bug reports, approval rounds, or tutorial creation.
| Step | Action | Why It Helps |
|---|---|---|
| 1 | Capture the relevant region | Removes distractions and keeps the request focused. |
| 2 | Mark the issue with an arrow or shape | Shows the exact interface element under review. |
| 3 | Add a number and short note | Creates a clear action order for multiple requests. |
| 4 | Blur private information | Prevents accidental disclosure in client messages. |
| 5 | Copy, drag, save, or upload intentionally | Keeps sharing fast while maintaining control. |
Example: turning a vague request into an actionable one
Imagine a client says, “The checkout page feels cluttered.” That is useful feedback, but it is not yet actionable. Capture the checkout page and add three numbered markers:
- 1: “Reduce this promotional banner height.”
- 2: “Move delivery details below the order summary.”
- 3: “Increase contrast on the primary checkout button.”
Now the client can approve, revise, or prioritize each point. The development team receives visual context and specific next steps. The screenshot becomes a compact decision document rather than a loose opinion.
How to Compare Screenshot Apps for Client Work
Popular Mac screenshot tools differ in their emphasis. Some prioritize scrolling captures, some focus on polished backgrounds, some bundle screen recording, and others are built around team sharing. Those features can be useful, but they are not always necessary for a fast visual feedback workflow.
When comparing options such as CleanShot X alternatives, Shottr, Xnapper, Snagit, Dropshare, or Monosnap, evaluate them against your actual process rather than a generic feature checklist.
Questions to ask before choosing
- Can I capture a region and annotate it in a few seconds?
- Are arrows, shapes, text, blur, and numbered steps easy to use?
- Do screenshots stay on my Mac by default?
- Does the app automatically upload images or create links?
- Can I copy or drag an image directly into my existing tools?
- Is cloud sharing optional and connected to an account I control?
- Will the pricing model remain reasonable for occasional client feedback?
A feature-rich app can be the right choice for a media-heavy workflow, especially if you need recording, scrolling pages, or hosted libraries. But if your daily task is capturing a UI issue, adding two annotations, and sending it privately, a simpler local-first app may be more efficient.
Privacy Checks Before You Send a Screenshot
Even with a local-first tool, privacy depends on your habits. Use this short review before sharing client feedback:
- Check for names, addresses, invoices, or customer records.
- Blur passwords, tokens, account IDs, and API keys completely.
- Review browser tabs and desktop notifications.
- Confirm the recipient and project channel are correct.
- Use a descriptive filename if saving the image, such as
checkout-feedback-v2.png. - Share only the resolution needed for the task.
These small checks reduce the risk of sending the wrong information while making your feedback easier to search and reference later.
Choose the Workflow, Not Just the App
The best local-first screenshot app to send visual client feedback is ultimately the one that helps you communicate clearly without adding friction or sacrificing control. Look for fast region capture, practical screenshot annotation, numbered markers, reliable blur, and flexible export options. Then build a repeatable process so every review is easy for clients to understand.
For Mac users who want a focused, local-first option with annotations and optional Google Drive sharing, Snip Halo is worth considering as part of a simple visual feedback workflow.
