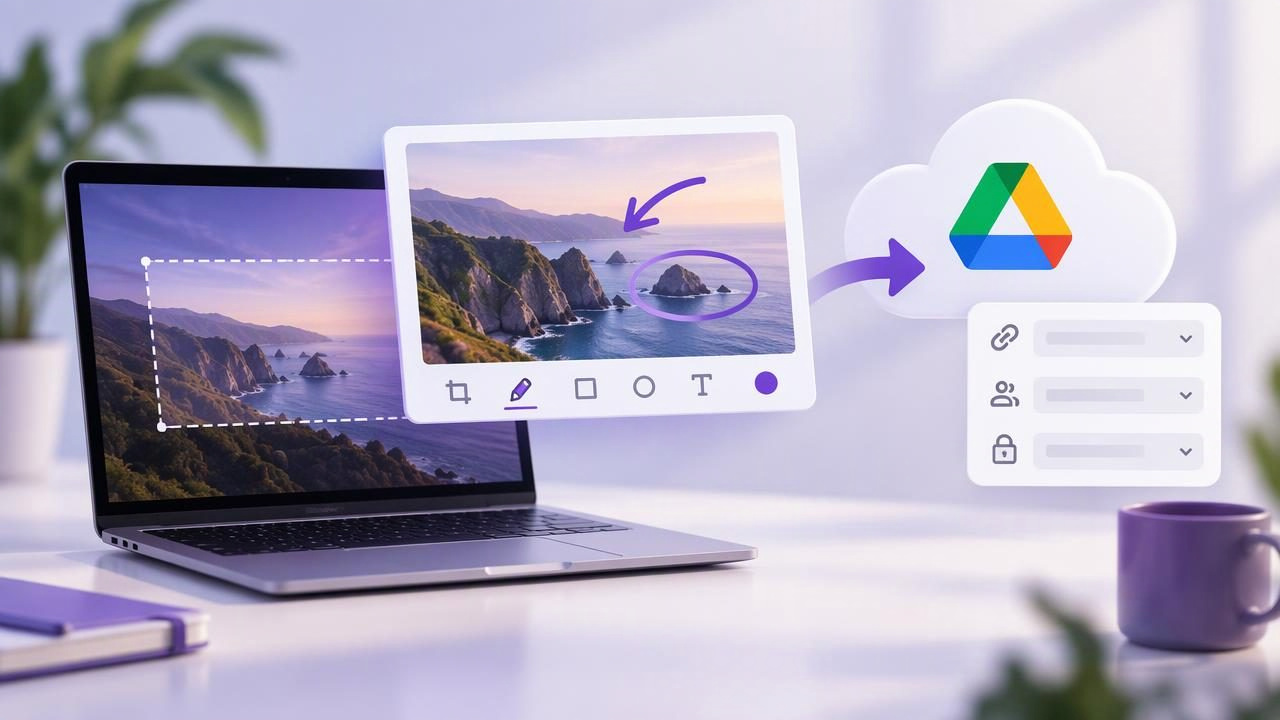
A floating screenshot preview can make a Mac workflow feel almost instant: capture a screen, check the result, make a quick edit, then send it to someone. But when the next step is sharing through Google Drive, speed is only part of the job. The image also needs to be clear, saved in the right place, and shared with the right people.
The best floating screenshot preview for sharing a capture through Google Drive is not necessarily the one with the most tools. It is the one that fits your work: whether you need to drag a quick capture into a message, annotate a bug report, or upload a polished image and control access with a Drive link. This guide explains the choices and outlines a reliable Mac workflow.
What a floating screenshot preview actually does
On macOS, a screenshot can appear as a small thumbnail near the corner of the screen after capture. That temporary preview lets you open the image for a closer look or, in some workflows, drag it directly into another app. It is useful for quick handoffs, but it is not the same as a complete screenshot workspace.
A preview is best understood as a short-lived checkpoint. You can confirm that the capture includes the right content before moving on. Depending on your capture method and tools, you may also be able to crop or mark up the image. Once the thumbnail disappears, you will need to find the saved file or capture it again if it was not saved where expected.
A dedicated screenshot app may extend that moment into a more deliberate workflow: capture a region or full display, add annotations, copy or save the result, and choose whether to share it. That distinction matters when screenshots are used as instructions, customer-support replies, or evidence for a software bug.
Choose the right route to Google Drive
There are two common ways to get a Mac screenshot into Google Drive. The first is to save the image locally and upload it using Drive in a browser or the Google Drive desktop app. The second is to use a screenshot tool that can send a capture to your own Drive after you initiate the action. Neither approach is universally better.
| Workflow | Works well when | Keep in mind |
|---|---|---|
| Save, then upload | You want to choose the folder and review Drive settings yourself. | It adds a file-selection step and can be slower for frequent captures. |
| Share through a connected Drive | You regularly send annotated captures and want fewer handoffs. | Check which account and destination are selected before sharing. |
| Copy or drag the image | You need to paste into a document, chat, or email immediately. | A pasted image is not automatically a Drive file or shareable link. |
In each case, distinguish uploading an image from sharing access to it. A file can exist in Drive without being visible to the intended recipient. Conversely, a link set to broader access may reach more people than you planned.
A dependable Mac screenshot-to-Drive workflow
- Capture only what is needed. Use region capture for a dialog, interface detail, or specific error. Choose full-screen capture when context across multiple windows matters. A tighter image is usually easier to review and may reveal less unrelated information.
- Inspect the floating preview. Check that the important text is readable and that the pointer, menu, or dialog is in the right state. If the preview is temporary, decide promptly whether to edit, drag, copy, or save it.
- Annotate for a purpose. Add an arrow to direct attention, a shape to outline an area, or a short text label to clarify what the viewer should notice. Use blur to conceal sensitive details that do not need to be shared.
- Use numbered markers for sequences. When a capture explains several actions, place numbered steps in the order a reader should follow them. Keep the sequence short and pair it with concise instructions in the message or document.
- Save or send to Drive deliberately. Confirm the destination folder and account. Give the file a useful name, especially if other people will need to find it later.
- Review sharing permissions. Decide whether named people should have access or whether anyone with the link can view it. Apply the least broad setting that still lets the recipient do their job.
- Test the handoff. Open the link or verify the attachment from the recipient’s perspective when possible. A clear screenshot is not useful if the person cannot access it.
Make annotations useful, not noisy
Screenshot annotation should reduce the effort needed to understand an image. Before adding a mark, ask what question it answers. An arrow can indicate the button to select; a box can isolate a section; a short label can explain an unexpected result. If a mark merely decorates the image, leave it out.
For bug reports, capture the visible error and enough surrounding context to identify where it occurred. Add a concise marker rather than covering the message with a paragraph. Include supporting details separately: what you expected, what happened, and the steps to reproduce it. For tutorials, use numbered markers consistently and avoid putting numbers on unrelated elements.
Blur deserves special care. It can help hide an email address, account number, or private message, but confirm that the sensitive information is truly obscured in the exported image. If the information is not relevant, the safer choice may be to adjust the capture region before taking the screenshot.
Floating preview, built-in capture, or screenshot app?
The built-in macOS screenshot tools are convenient for straightforward captures. A floating thumbnail is handy when you want to inspect or quickly move an image. If you repeatedly add arrows, shapes, text, blur, or step numbers, a dedicated annotation workflow can reduce the number of separate edits and app switches.
When comparing tools such as CleanShot X, Shottr, Xnapper, Snagit, Dropshare, and Monosnap, compare the workflow you actually use rather than relying on feature lists alone. Products change over time, and capabilities depend on the app version and configuration. Test the same task in each candidate: capture a region, mark it up, save or copy it, and complete your intended Drive handoff.
- For occasional captures: Built-in macOS capture and a manual Drive upload may be enough.
- For frequent visual feedback: Look for fast region capture, practical annotation tools, and an easy way to retrieve recent work.
- For shared files: Check whether the app uploads only when you ask it to, how it handles Drive accounts, and whether you can verify the destination.
- For predictable costs: Compare subscription plans with one-time Mac software pricing, and confirm what updates or licenses are included.
There is no single best screenshot app for everyone. A tool designed around cloud sharing may suit a team that sends links all day. Someone who prefers local files and occasional uploads may value a different balance. Consider privacy defaults as carefully as convenience.
Keep privacy and Drive permissions in view
A local-first screenshot workflow keeps captures and recent history on your Mac by default, rather than uploading every image automatically. That can be a useful safeguard for work involving customer details, internal interfaces, or unreleased designs. Local storage does not remove the need for care: screenshots may still be included in backups or shared manually.
Before connecting a screenshot app to Google Drive, understand what happens when you choose to share. Does the action upload a file, create a link, or both? Which account is used? Can you choose where the capture goes? Good workflows make the user’s decision clear and avoid background uploads or recording that are not needed for the task.
For sensitive work, follow your organization’s rules for approved storage and access. Do not assume that a convenient link is appropriate for confidential material. Check the file’s audience after uploading, and remove access when it is no longer needed.
Quick checklist before sending a capture
- Does the image show the relevant screen area at a readable size?
- Are arrows, shapes, labels, and numbered steps easy to interpret?
- Have you blurred or excluded personal and confidential details?
- Is the file saved to the intended Google Drive account and folder?
- Do the link permissions match the intended audience?
- Can the recipient open the image without requesting access?
Build a workflow around the handoff
The most effective floating screenshot preview is part of a dependable sequence, not just a thumbnail on the screen. Capture the right area, inspect it, annotate only where needed, then choose whether to copy, save, drag, or share through Drive. That approach works for bug reports, tutorials, design reviews, and everyday visual feedback.
If you take screenshots often, test your routine with real tasks and compare the time spent on capture, markup, saving, and permissions. A Mac app such as Snip Halo is one option for region or full-display capture, annotation, local-first history, and user-initiated Google Drive sharing. Whatever tool you choose, make the sharing decision explicit and keep the image clear, purposeful, and accessible to the right people.
