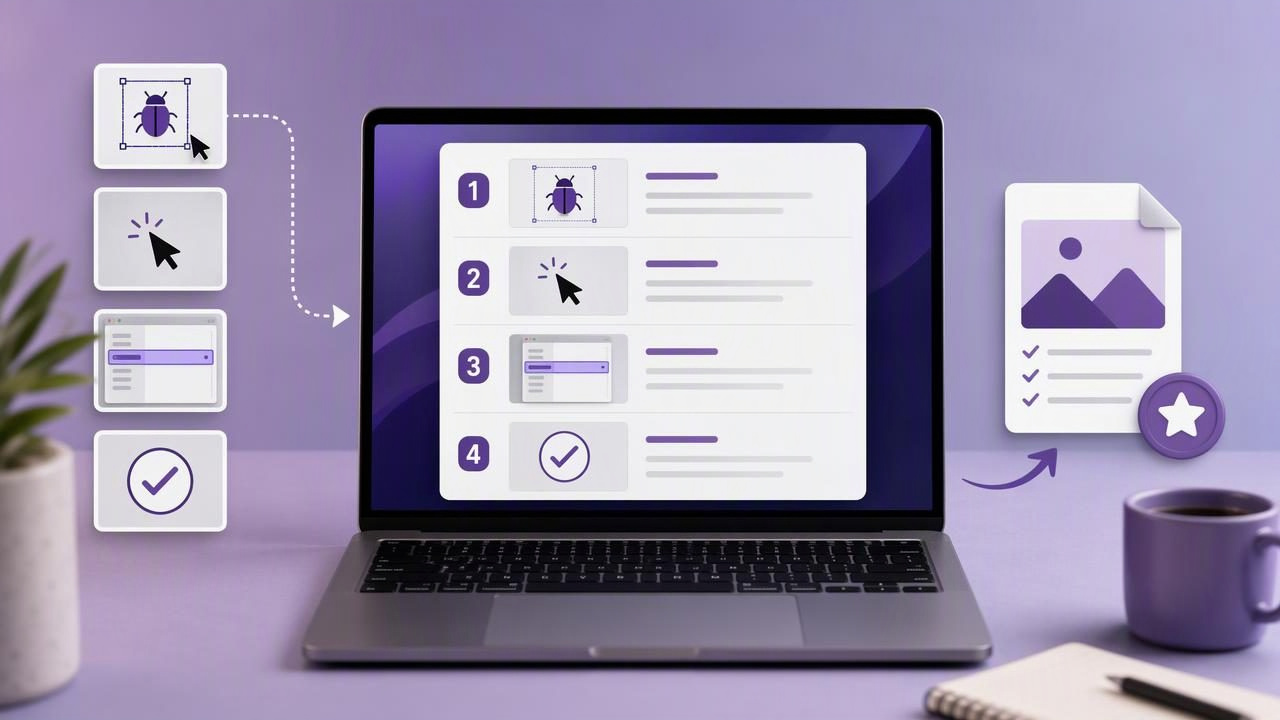
When a process is easier to show than explain, an image checklist can save time for everyone involved. A numbered screenshot turns a vague instruction such as “click the menu, then update the setting” into a visual guide that is easy to scan, follow, and verify.
Whether you create onboarding documents, customer support replies, QA notes, internal SOPs, product tutorials, or visual client feedback, numbered markers make screenshots more useful. They establish a clear sequence, reduce ambiguity, and prevent readers from missing a small but important interface detail.
This guide explains how to add numbered steps to an image checklist with a one-time purchase Mac app, how to structure annotated screenshots effectively, and what to look for when choosing a Mac screenshot workflow that does not depend on an ongoing subscription.
Why Numbered Image Checklists Work Better Than Plain Screenshots
A plain screenshot records what was on screen, but it does not necessarily explain where a person should look or what they should do next. Modern app interfaces can contain many buttons, panels, tabs, and fields. Without direction, a reader may have to guess which control matters.
Numbered step markers solve that problem by connecting an image to a sequence of actions. Instead of adding lengthy paragraphs of directions, you can place a 1, 2, and 3 directly beside the relevant controls. The result is a visual checklist that communicates faster than text alone.
- Faster comprehension: Readers can identify the action order at a glance.
- Fewer support questions: Clear visuals reduce “Where do I click?” follow-ups.
- Better documentation: Numbered screenshots make SOPs and knowledge-base articles easier to maintain.
- Clearer bug reports: QA teams can show both the reproduction path and the unexpected result.
- More useful feedback: Designers and clients can reference a specific area without writing a long explanation.
For short workflows, one annotated image may be enough. For longer processes, a set of consistently numbered screenshots can serve as a complete image checklist.
When to Use Numbered Steps in a Screenshot
Numbered annotations are especially effective when the order of actions matters. They are less useful for purely decorative callouts or screenshots where there is only one obvious item to inspect.
Good uses for numbered screenshot markers
- Explaining how to configure an account setting
- Documenting a repeatable team process
- Showing customers how to complete a setup task
- Creating product walkthroughs for new employees
- Providing reproduction steps in a software bug report
- Giving design feedback on a webpage or app prototype
- Building a visual checklist for an internal operations task
For example, a support specialist helping a customer update notification preferences could capture the relevant settings screen and label the sequence: 1. Open Notifications, 2. Choose the delivery channel, 3. Save changes. The customer can complete the task without switching constantly between written instructions and the interface.
A Simple Workflow for Creating a Numbered Image Checklist on Mac
A reliable workflow matters more than any single annotation feature. The goal is to capture the right amount of context, add only the annotations that clarify the task, and share the finished image in a format appropriate for the reader.
- Prepare the screen. Close unrelated windows, remove distracting notifications, and arrange the app so the relevant controls are visible.
- Choose region capture or full-screen capture. Use a region capture when the task is confined to one window or panel. Use full-screen capture when navigation across multiple areas provides important context.
- Capture before the interface changes. If menus, hover states, or temporary dialogs are part of the instruction, capture them while they are visible.
- Add numbered step markers in reading order. Place markers close to the intended control, but do not cover labels, values, or essential UI details.
- Use arrows when direction needs emphasis. A numbered circle identifies sequence; an arrow can point precisely to a small icon, toggle, or field.
- Add short text only where needed. Use a brief label for terminology that may be unfamiliar, such as “Workspace menu” or “Export format.”
- Blur sensitive information. Obscure email addresses, account IDs, financial data, customer names, tokens, and private conversations before sharing.
- Review at actual viewing size. Make sure marker numbers remain legible when pasted into a ticket, document, chat message, or email.
This process is quick enough for one-off feedback and structured enough for formal documentation. The key is to treat the screenshot as a concise instructional asset, not merely as an image attachment.
How to Make Numbered Annotations Easy to Follow
Even a well-captured screen can become confusing if annotations are inconsistent. Use a small set of visual rules so every image checklist feels familiar to the reader.
Place markers close to the target
Keep each marker near the button, field, or menu item it references. If the target is tiny, position the number beside it and use a short arrow to avoid hiding the interface.
Follow a natural visual path
Most readers scan from top to bottom and left to right. When possible, place step markers in that same order. If the workflow moves in an unusual direction, use arrows or short labels to reinforce the path.
Keep each screenshot focused
Trying to explain ten actions in one image often creates clutter. If a process has multiple screens or branches, create separate images for each stage. A sequence of two clean screenshots is usually better than one crowded capture.
Use consistent colors and shapes
A bright, high-contrast numbered circle works well because it stands out from most interfaces. Keep the same marker style throughout a tutorial so readers immediately recognize what the numbers mean.
Combine Numbered Steps With Other Screenshot Annotations
Numbered markers are powerful, but they work best alongside a few carefully chosen annotation tools. The table below shows when to use each one.
| Annotation | Best use | Example |
|---|---|---|
| Numbered step marker | Showing action order | 1. Open Settings; 2. Select Billing |
| Arrow | Pointing to a precise small target | Highlighting a three-dot menu icon |
| Rectangle or circle | Grouping or emphasizing an area | Outlining a form section to review |
| Text label | Clarifying unfamiliar terminology | Labeling an “Advanced” panel |
| Blur | Protecting private information | Hiding an API key or customer email |
A practical rule is to use one annotation for one purpose. Do not add arrows, boxes, labels, and markers to the same element unless each one provides distinct value. Minimal annotation improves readability.
Example: Turn a Bug Report Into a Visual Checklist
Bug reports often fail because they describe the issue but do not show the exact reproduction path. A numbered screenshot checklist can make reports more actionable for developers, product managers, and QA teammates.
Example bug report structure:
1. Open the project settings.
2. Select the Integrations tab.
3. Click Connect beside the service.
4. The authorization window remains blank.
For this workflow, capture the screen at the moment the failure occurs. Add markers to the controls used before the problem, then use an arrow or outlined rectangle to show the unexpected blank window. Blur any customer, workspace, or authentication information before attaching the image to an issue tracker.
The visual evidence helps reviewers reproduce the problem more quickly. It also avoids confusion when button names vary by browser, account type, permission level, or product version.
Privacy Considerations for Screenshot Checklists
Screenshots are useful precisely because they capture context, but that context can include information you should not share. Before sending a numbered image checklist outside your team, check for personal data, credentials, internal URLs, customer records, and confidential project details.
- Blur names, email addresses, phone numbers, and physical addresses.
- Hide passwords, API keys, access tokens, and recovery codes completely.
- Check browser tabs, bookmarks, desktop icons, and notification banners.
- Use region capture to exclude unrelated parts of the display.
- Prefer tools that keep captures local unless you intentionally choose to share them.
Local-first screenshot workflows are particularly useful for sensitive documentation. They let you capture, annotate, copy, save, or drag an image where it needs to go without automatically uploading every screen you capture to a third-party service.
What to Look for in a One-Time Purchase Mac Screenshot App
If you create image checklists regularly, built-in macOS screenshot shortcuts are a useful starting point, but a dedicated app can reduce repetitive work. When evaluating a one-time purchase option, focus on the workflow rather than a long feature list.
- Fast region and full-screen capture: You should be able to grab the right area without interrupting your task.
- Immediate annotation: Numbered markers, arrows, shapes, text, and blur should be available directly after capture.
- Clear export options: Copy to clipboard, save locally, or drag into another app as needed.
- Local history controls: Recent captures should be easy to revisit without creating unwanted cloud copies.
- Optional sharing: Cloud sharing can be useful, but it should be intentional rather than automatic.
- Transparent licensing: Understand whether the price is truly a one-time purchase and how many Macs are included.
For users who want a focused Mac workflow with local captures, direct annotation, and optional Google Drive sharing, Snip Halo is one example of a lightweight one-time purchase screenshot app.
Make Every Screenshot a Clear Next Step
The best image checklist does not add decoration; it removes uncertainty. By capturing the right context, placing numbered markers in a logical order, using arrows and labels sparingly, and blurring private details, you can turn an ordinary screenshot into clear operational guidance.
Start with one recurring task: a support reply, a QA report, or an onboarding instruction. Create a numbered visual version, compare it with the text-only alternative, and refine your annotation style. In most cases, clearer screenshots mean fewer questions, faster completion, and more confident readers.
