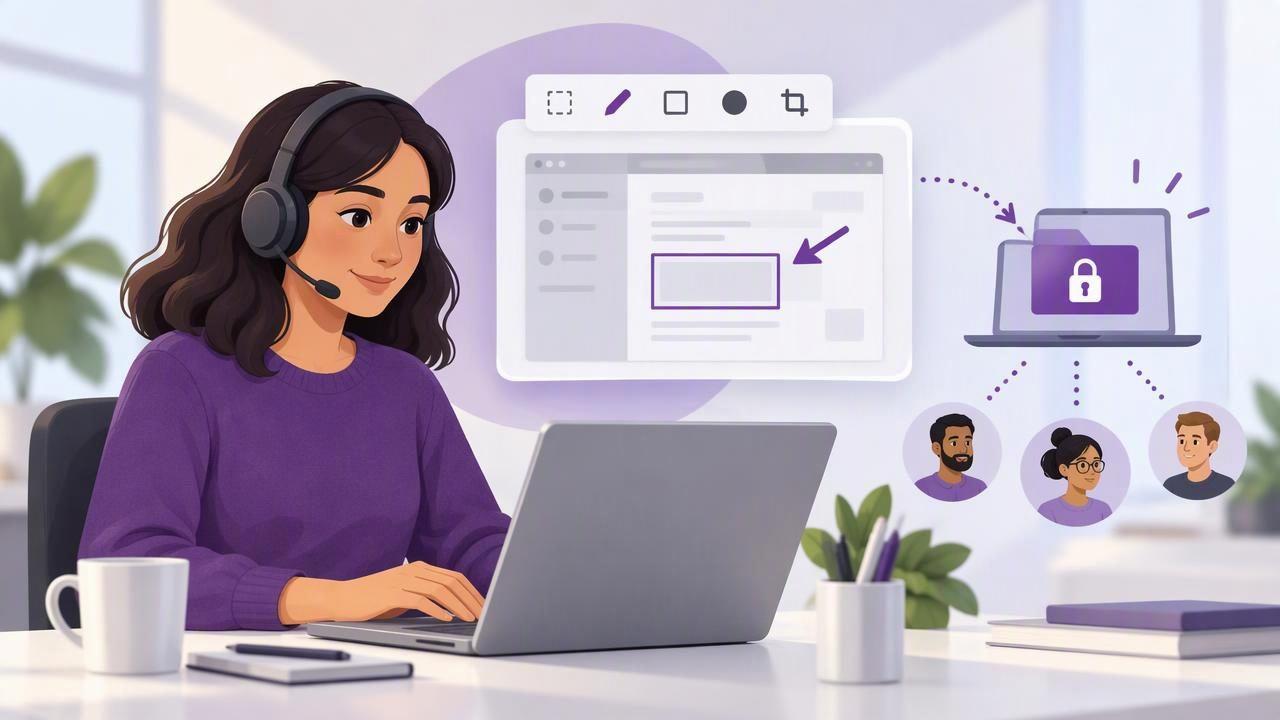
Customer support often comes down to helping someone see what to do next. A carefully cropped screenshot can clarify a confusing setting, show where an error appears, or make a bug report easier for a product team to act on. But screenshots can also expose names, email addresses, account details, or internal information. That makes the tool and workflow behind each image important.
This guide explains how support teams can build a practical Mac screenshot workflow with privacy in mind. It covers capture choices, annotations, redaction, sharing, and the questions to ask when comparing apps. The goal is not to add more steps. It is to make visual support clearer while keeping control of customer information.
What local-first means in a support workflow
A local-first screenshot app processes and stores captures on the Mac by default rather than automatically uploading them to a vendor’s cloud. That distinction matters when a support agent captures a customer portal, a private dashboard, or a conversation containing identifying details.
Local-first does not mean a screenshot can never be shared. It means sharing is a deliberate action, such as copying an image into an approved support ticket or choosing a team’s cloud drive. The team can decide where an image goes and who can access it instead of relying on automatic uploads or background syncing.
It is also useful to distinguish local-first from a complete data security policy. A desktop app cannot decide whether an image belongs in a ticket, whether a shared link is public, or how long a team should retain attachments. Those decisions still depend on company rules, access controls, and staff habits.
Start with the purpose of the screenshot
Before capturing anything, identify the image’s job. A screenshot for a customer tutorial may need to show a whole page. A bug report may need only a small region around an error. A visual reply might need one arrow and a short instruction. Choosing the purpose first helps avoid oversized, confusing images that reveal more than necessary.
- Customer instructions: Show the relevant controls in context and keep the sequence easy to follow.
- Bug reports: Capture the state that reproduces the problem, including useful error text or nearby controls.
- Internal escalation: Make the symptom and its location clear to the receiving team without adding unsupported conclusions.
- Account-specific help: Include only the details needed to explain the issue, and remove or avoid unrelated personal information.
Choose the smallest useful capture
Mac screenshot workflows generally involve a region capture or a full-screen capture. A region capture is often the better starting point for customer support because it limits distractions and reduces the amount of information included. Frame the relevant control, message, or error, with enough surrounding context for the viewer to understand where it appears.
Use a full-screen capture when the issue depends on the relationship between several windows, a complete workflow, or the overall page layout. Before capturing, close unrelated windows and notifications where practical. If the customer’s identity or account details are not needed, navigate to a neutral example or choose a tighter crop.
Capture framing is a privacy measure as well as a presentation choice. Cropping before sharing can reduce exposure, but it should not replace careful review. A name, browser tab, notification, or secondary monitor may still be visible in a full-display image.
Annotate for clarity, not decoration
Useful screenshot annotation answers a simple question: what should the viewer notice or do? A small set of consistent marks is usually easier to understand than a screenshot covered in shapes and notes.
- Arrows: Point toward a specific button, field, or part of an error message.
- Shapes: Outline an area without obscuring the content inside it.
- Text: Add a brief instruction or explain what the viewer should observe.
- Numbered steps: Show an ordered sequence when the person needs to complete several actions.
- Blur: Conceal sensitive details that are visible in an otherwise necessary image.
For a short reply, one arrow and one sentence may be enough. For a tutorial, numbered markers can connect the image to written steps. Keep text labels short and readable, and use a visual style that remains legible at the size the customer will see. Avoid putting a marker directly over the control it is meant to identify.
Redact sensitive details before sharing
Review every screenshot at full size before sending it. Look for customer names, email addresses, account numbers, payment details, access tokens, private messages, internal URLs, and browser notifications. Also check areas outside the main subject: sidebars, tabs, menus, and the edges of a full-screen capture.
When information is not needed, the safest option is often not to capture it in the first place. If it must appear, use an opaque cover or a blur feature appropriate to the information and the team’s policy. Do not assume that a light highlight, a small annotation, or a crop placed over text permanently removes what is underneath. If the app offers multiple export formats, follow its guidance for producing a flattened image and inspect the exported file before sharing.
Blur is helpful for reducing exposure, but it should not be treated as a universal security guarantee. For highly sensitive information, avoid including it or use an approved method that fully obscures it. When in doubt, capture a safe example or ask the customer to provide a redacted image through the organization’s approved channel.
Use a repeatable capture-to-share checklist
A lightweight checklist helps agents produce consistent visuals without turning every reply into a lengthy process. Teams can adapt these steps to their privacy and record-keeping requirements:
- Confirm the purpose. Decide whether the image is for customer guidance, troubleshooting, or internal escalation.
- Choose the capture area. Use a region when possible; use the full display only when wider context is necessary.
- Inspect the image. Check for personal information, unrelated windows, and notifications.
- Add the minimum annotations. Use arrows, shapes, text, blur, or numbered steps only where they improve understanding.
- Review the final version. Confirm that the marks are readable and sensitive information is no longer visible.
- Share through an approved destination. Copy, attach, or save the image according to team policy, then verify recipient and access settings.
For recurring issues, use a neutral test account or sample data whenever possible. This can make reusable instructions safer and easier to maintain than screenshots taken from a live customer account.
Compare screenshot apps by workflow, not feature count
Screenshot apps differ in capture controls, annotation tools, sharing options, pricing, and where images are stored. A long feature list does not automatically make an app the right fit for a support team. Test the complete path from capture through review and delivery, and check whether the defaults match your privacy expectations.
| Evaluation area | Questions for a support team |
|---|---|
| Capture | Can agents capture a region or full display quickly and predictably? |
| Annotation | Are arrows, shapes, text, blur, and numbered steps available and easy to read? |
| Privacy | Are captures local by default? Does sharing require an intentional action? |
| Delivery | Can agents copy, save, drag, or share images through an approved destination? |
| Cost and setup | Does the license suit the number of Macs and avoid unwanted recurring costs? |
When reviewing familiar options such as CleanShot X, Shottr, Xnapper, Snagit, Dropshare, or Monosnap, verify current features and storage behavior directly. Capabilities and plans can change, and a tool designed around cloud sharing may suit a different workflow from one centered on local editing. A CleanShot X alternative, for example, should be assessed against the specific tasks agents perform rather than a generic list of features.
For smaller teams, also consider setup time and consistency. If agents use different tools or export settings, customers may receive visuals with mismatched sizing and unclear marks. A shared workflow can matter as much as the app itself.
Make privacy part of team practice
App settings are only one part of a local-first workflow. Explain what information should never appear in screenshots, where approved images may be stored, and who can access shared folders or ticket attachments. Include examples of safe and unsafe captures in onboarding, and revisit guidance when a product interface changes.
Set a retention expectation for screenshots attached to tickets or saved for internal documentation. Some images need to remain with a case for audit or troubleshooting purposes; others are temporary working files. Follow company policy rather than keeping every capture indefinitely. For shared-drive links, check permissions and avoid broad access when a specific recipient or team folder will do.
It can also help to standardize file naming for saved images. Use neutral descriptions such as the feature name and issue type, and avoid putting customer names or other personal data in filenames. Good naming makes a local library easier to search without adding unnecessary identifying information.
Build a clearer, more controlled support workflow
The strongest support screenshots are focused, readable, and shared intentionally. Start with the smallest useful capture, remove details the viewer does not need, and annotate only the action or evidence that matters. Keep local processing and deliberate sharing in mind, but pair those tool choices with clear team rules for review, storage, and retention.
When evaluating a Mac screenshot app, try it on real support tasks using safe sample data. Confirm that its capture and annotation workflow is fast enough for agents and that its sharing behavior fits your organization. Snip Halo is one example of a Mac app built around local captures, annotation, and optional Google Drive sharing; the right choice is the one that supports your team’s needs and policies.
