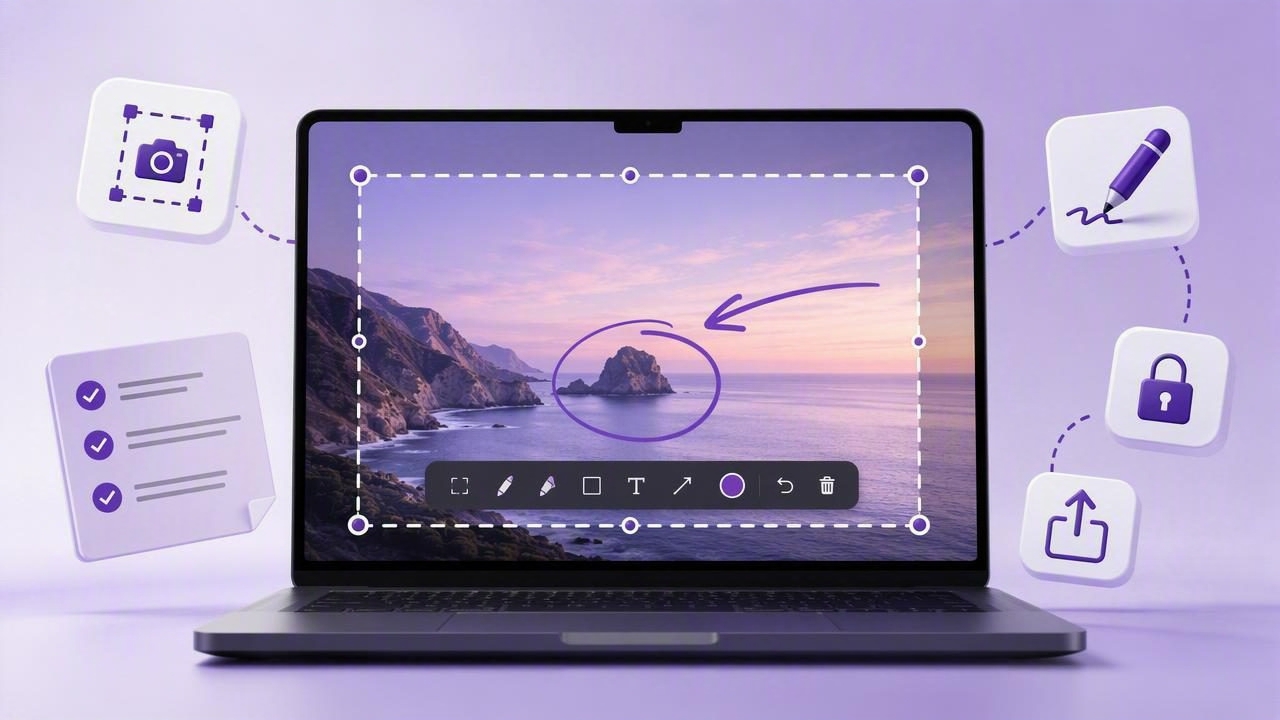
A screenshot can explain a problem, demonstrate a workflow, or document an important detail in seconds. Yet many people still send cluttered captures with unreadable text, sensitive information exposed, or no indication of what the recipient should notice. Learning a few full screen capture tool tips for beginners can make your screenshots far more useful without making your workflow complicated.
Whether you are preparing a bug report, creating a tutorial, giving website feedback, or saving a reference image, the goal is the same: capture the right visual information and make the next action obvious. This guide covers practical Mac screenshot habits, including when to use full-screen versus region capture, how to annotate effectively, and how to share captures with more control.
1. Decide Whether You Need Full-Screen or Region Capture
The first decision is not which annotation color to use. It is how much of the screen the other person actually needs to see.
A full-screen capture is best when context matters. For example, an app may behave differently depending on the browser, menu bar, desktop, connected display, or notification visible at the time. Capturing the full display can help a developer reproduce a bug or help a teammate understand where you are in a process.
A region capture is better when the important detail is small and obvious context is unnecessary. Capturing only a form field, chart, dialog box, or design component keeps attention focused and reduces the chance of exposing private material.
- Use full-screen capture for bugs, system settings, multi-window workflows, and broad design reviews.
- Use region capture for error messages, product details, social posts, and focused visual feedback.
- When unsure, capture the full screen first, then crop or annotate the important area.
Beginners often over-crop screenshots. A tightly cropped image can hide the application name, URL, or surrounding controls that explain the issue. Keep enough context for the viewer to orient themselves.
2. Prepare Your Screen Before You Capture
The fastest way to create a polished screenshot is to remove distractions before pressing the capture shortcut. Close unrelated windows, hide personal tabs, dismiss notifications, and position the relevant content at a readable zoom level.
For a full display screenshot, check the menu bar and Dock as well. They may reveal account names, calendar events, Wi-Fi network names, messages, or open apps. If those elements are not relevant, consider using a region capture instead.
Before capturing, run through this simple checklist:
- Make the key screen or state visible.
- Set text size so labels can be read without zooming.
- Close unrelated tabs, files, and chat windows.
- Pause or hide notifications if possible.
- Move the pointer away from the important content unless it supports your explanation.
These small steps reduce the need for heavy editing later and make your screenshots look intentional rather than accidental.
3. Know the Built-In Mac Screenshot Shortcuts
macOS includes capable screenshot controls, which are useful for quick captures. Knowing the shortcuts helps you capture a screen immediately, even before you open a dedicated full screen capture tool.
| Shortcut | What It Does | Best Use |
|---|---|---|
Shift + Command + 3 | Captures the full screen | Desktop-wide context or multi-window issues |
Shift + Command + 4 | Lets you select a region | Focused details and smaller areas |
Shift + Command + 5 | Opens screenshot controls | Choosing capture options and save locations |
Control + Shift + Command + 3 | Copies a full-screen capture to the clipboard | Pasting directly into chat or documents |
These shortcuts are a good foundation, but beginners quickly benefit from a workflow that allows annotation before a screenshot is copied, saved, or shared. That extra step can prevent back-and-forth messages and unclear instructions.
4. Capture at a Readable Scale
Readable screenshots are more valuable than large screenshots. If the recipient cannot read the error message, button label, or setting name at normal viewing size, the image has not done its job.
Increase browser zoom, enlarge an application window, or adjust the interface scale before capture. For tutorials, it is usually better to show fewer controls at a legible size than to squeeze an entire workspace into one image.
A useful screenshot answers a question at a glance: What happened, where did it happen, and what should I do next?
If you must show a full screen with many small elements, use arrows, numbered steps, or an accompanying caption to direct attention to the correct location.
5. Use Arrows for Direction, Not Decoration
Arrows are among the most effective screenshot annotation tools because they tell the viewer exactly where to look. However, too many arrows can create a visual maze. Use one arrow per instruction whenever possible, and point the arrowhead precisely at the target.
For example, instead of writing, “Click the small icon near the profile area,” add an arrow pointing directly to the icon and write “Select this icon.” The image and instruction reinforce each other.
Choose a high-contrast arrow color that does not blend into the interface. Red, blue, orange, or bright green can work well, depending on the screenshot background. Maintain the same color throughout a tutorial so viewers learn what your markup means.
6. Match Each Annotation Type to Its Purpose
Effective screenshot annotation is not about using every available tool. It is about choosing the clearest visual signal for each situation.
- Arrows: Show where someone should look or click.
- Rectangles and circles: Highlight a button, field, panel, or status area.
- Text labels: Add short clarification that the interface does not provide.
- Blur: Hide private data while preserving layout context.
- Numbered step markers: Show an ordered sequence across one or more screens.
A common beginner mistake is drawing a large box around half the screen. Instead, place a compact shape around the exact control. Precise markup reduces cognitive load and helps the viewer respond faster.
7. Use Numbered Steps for Multi-Action Instructions
When a task requires more than one click, numbered step markers are clearer than a paragraph of directions. They turn a static screenshot into a visual checklist.
Imagine explaining how to change an account setting:
- Open the profile menu.
- Select Settings.
- Choose the correct section in the sidebar.
- Save the change.
Place a numbered marker beside each relevant control in the screenshot. If the process spans several screens, keep the numbering continuous. This prevents ambiguity and makes your tutorial easier to scan, especially for customers, colleagues, and less technical users.
8. Blur Sensitive Details Before Sending Anything
Privacy should be part of every screenshot workflow. Full-screen captures can accidentally include email addresses, API keys, customer records, financial data, browser tabs, passwords, private messages, or internal project names.
Blur is useful because it hides the content while preserving enough surrounding context to explain the interface. Use it over individual values, names, addresses, and credentials. For highly sensitive material, cropping the information out entirely may be safer than blurring it.
Do not rely on a quick glance. Review your screenshot at full size before sharing. In particular, check:
- Browser tabs and bookmarks
- Desktop files and folder names
- Notification banners
- Account avatars and email addresses
- Access tokens, QR codes, and license keys
9. Keep Bug Reports Factual and Visual
A full screen capture tool is especially useful for bug reports because it records the state of the interface when the problem occurs. Pair the image with a short, structured description rather than a long narrative.
Expected: The Save button should remain enabled.
Actual: The button becomes disabled after selecting a file.
Steps: 1. Open Upload. 2. Select a PDF. 3. Review Save.
Environment: macOS version, app version, browser if relevant.
Annotate the unexpected behavior with an arrow or shape. If the issue involves several steps, use numbered markers. A clear capture plus reproducible steps gives the recipient a much better chance of diagnosing the problem quickly.
10. Choose the Right Output Method for the Situation
After editing, decide how the screenshot should move into the next part of your work. Copying to the clipboard is ideal for Slack, email, support tickets, documents, and project-management comments. Dragging the image into another application can be equally fast when you are composing a message or attaching feedback.
Save files when you need an archive, want to reuse screenshots in documentation, or must attach images through a web form. Use descriptive names when saving a series, such as checkout-error-step-2.png, rather than leaving a generic timestamp-only filename.
For sharing outside your organization, consider whether a link is appropriate and whether the image contains confidential information. A local-first workflow gives you more control because captures remain on your Mac unless you deliberately choose to upload or share them.
11. Avoid Over-Editing Your Screenshots
Annotation should clarify, not compete with the original interface. Use consistent colors, readable text, and modest line thickness. Avoid covering important labels with arrows or using long paragraphs inside the image. If an explanation needs several sentences, put it in the message or document beside the screenshot.
For visual feedback, one annotated image per issue is often easier to act on than a single crowded image containing ten unrelated comments. Separate captures also make it easier for the recipient to reply, assign work, and confirm completion.
12. Build a Repeatable Screenshot Workflow
The best full screen capture tool tips for beginners become more valuable when they turn into routine. A reliable workflow can be as simple as:
- Prepare the screen and choose full-screen or region capture.
- Capture at a readable size.
- Add only the annotations needed to explain the point.
- Blur sensitive information.
- Review once, then copy, drag, save, or deliberately share.
Native macOS shortcuts are excellent for basic captures, while dedicated screenshot apps can streamline immediate markup, numbered instructions, capture history, and controlled export. When evaluating one, consider annotation speed, privacy defaults, file handling, sharing options, and pricing—not just the number of tools listed on the feature page.
For Mac users who prefer a focused, local-first annotation workflow with optional Google Drive sharing, Snip Halo is one example of a lightweight option worth considering. Whatever tool you choose, clear screenshots will help you communicate faster, reduce confusion, and make everyday visual work easier.
